

Introduction
Xamarin is a platform to develop cross-platform and multi-platform apps (for example, Windows phone, Android, iOS). In Xamarin platform, the code sharing concept is used. In Xamarin Studio, Visual Studio is also available.
Prerequisites
- Visual Studio 2015 Update 3.
The steps, given below, are required to be followed in order to Create an Table Layout in the Xamarin Android app, using Visual Studio 2015.
Step 1
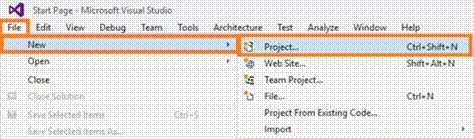
Click File--> New--> Project, or press Ctrl+Shift+N.
Step 2
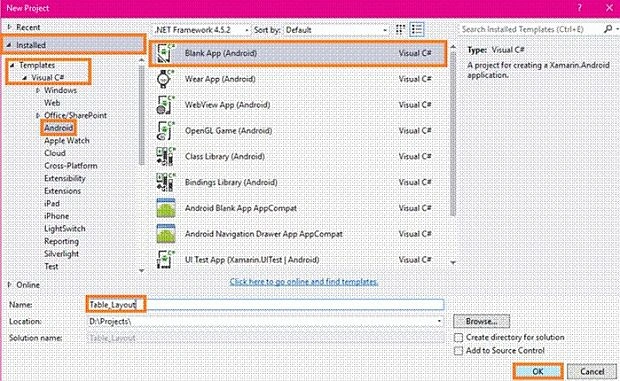
After opening the new project, select Installed -->Templates --> Visual C# --> Android --> Blank App (Android).
Now, give your Android app a name (Ex:sample) and give the path of your project. Afterwards, click OK.
Step 3
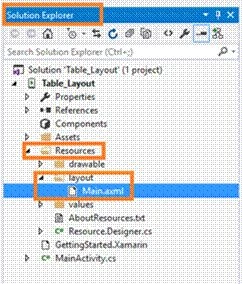
Next go to the Solution Explorer. Select Resource --> Layout --> double click to open the Main.axml page.
Step 4
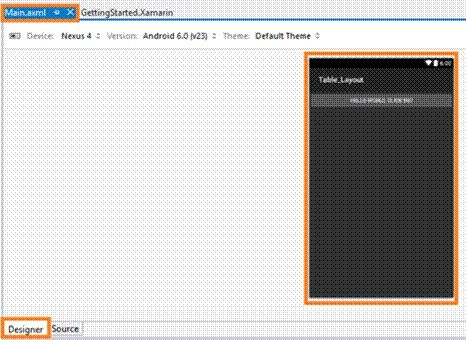
Opening Main.axml file will open the main page designer. In this page, select the mode of designing (either Source or Designer) as per your choice.
Next, delete the default "Linear Layout".
Step 5
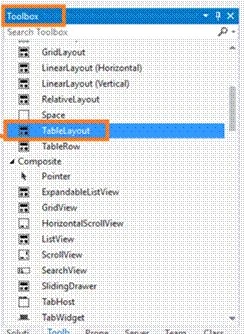
Now, go to the Toolbox window and scroll down to see all the tools and controls. You need to drag and drop the TableLayout.
Step 6
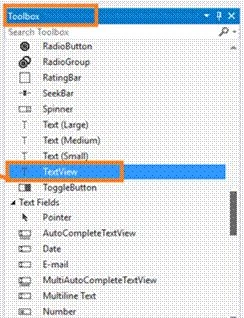
Now, drag and drop the TextView.
Step 7
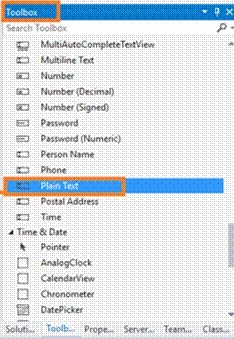
Now, drag and drop the Plain Text (EditText).
Step 8
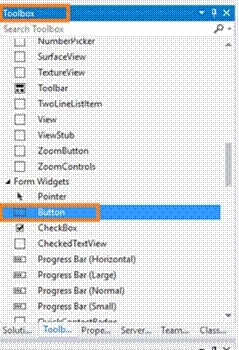
Now, drag and drop the Button.
Step 9
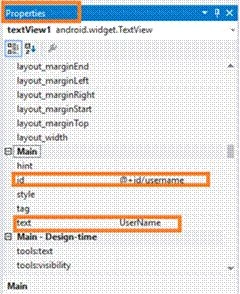
Now, go to the Properties window. You need to edit the TextView Id Value and Text Value (EX android:text="UserName" android:id="@+id/username").
Step 10
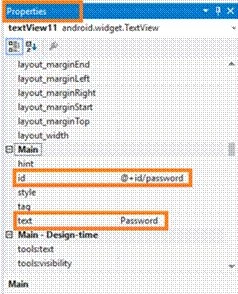
You need to edit another TextView Id Value and Text value (EX android:text="Password"android:id="@+id/password" ).
Step 11
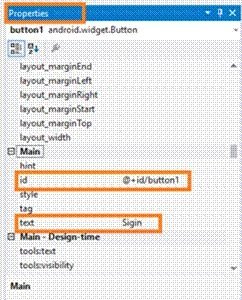
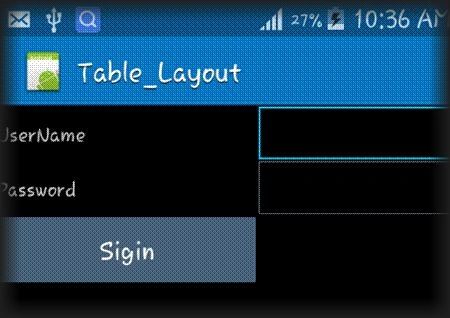
Edit the Button Id Value and Text Value (EX android:text="Sigin" android:id="@+id/button1" ).
Step 12
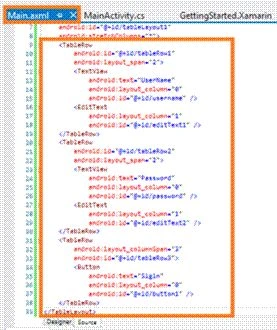
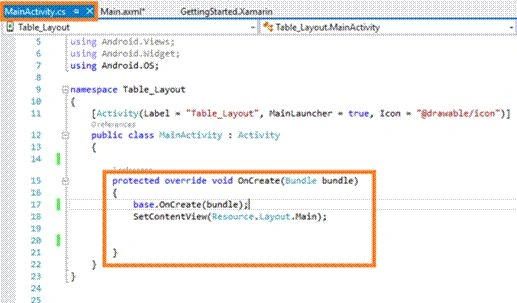
In this step, go to the Main.axml page Source Panel. Check the following code.
Main.axml

Join the conversation! Your thoughts help the community grow.