Silverlight OpenFileDialog Control
The OpenFileDialog allows users to select one or more files on the local computer or on a networked computer. This article demonstrates how to create and use an OpenFileDialog control in Silverlight using XAML and C#.
The OpenFileDialog element represents a Silverlight OpenFileDialog control in XAML.
<OpenFileDialog/>
Even though, we can create an OpenFileDialog control using XAML, most of the time, we will be using it using the OpenFileDialog object in the code behind. The following code snippet creates an OpenFileDialog object.
OpenFileDialog dlg = new OpenFileDialog();
The File property of the OpenFileDialog class represents the selected file name. If multiple files are selected, it returns the first file selected. The Files property gets the collection of files selected.
// Get the selected file name and set it as text of a TextBox
FileInfo fInfo = dlg.File;
TextBox1.Text = fInfo.Name;
The Filter property represents the filter string that sets the types of files may be selected using the OpenFileDialog. Using this property, you can restrict users to allow select specific file formats. For example, if you have an Image control on a page and want your users to select image files only, you can use the Filter property to browse JPEG, GIF, and PNG files only. The following code snippet makes sure only text files are selected.
// Set Filter to browser text files
dlg.Filter = "Text files (*.text)|*.txt|All Files (*.*)|*.*";
The MultiSelect property represents if more than one files selection is allowed using the OpenFileDialog or not.
// Create an OpenFileDialog object
OpenFileDialog dlg = new OpenFileDialog();
dlg.Multiselect = true;
The ShowDialog method launches the OpenFileDialog.
// Show dialog
if (dlg.ShowDialog() == true )
{
}
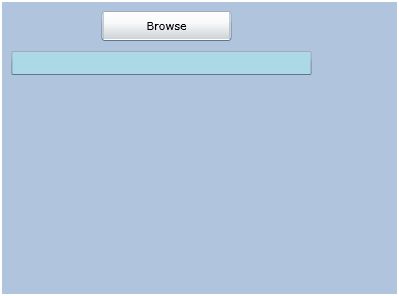
Now we are going to create an application that uses the OpenFileDialog. The UI of the page looks like Figure 1 and XAML code is in Listing 1.
<Canvas x:Name="LayoutRoot" Background="LightSteelBlue">
<Button Width="130" Height="30" Content="Browse"
Click="Button_Click"
Canvas.Left="100" Canvas.Top="10">
</Button>
<TextBox Background="LightBlue" Canvas.Top="50"
Canvas.Left="10" Width="300"
x:Name="TextBox1">
</TextBox>
</Canvas>
Listing 1

Figure 1
The Browse button click event handler code is listed in Listing 2.
private void Button_Click(object sender, RoutedEventArgs e)
{
// Create an OpenFileDialog object
OpenFileDialog dlg = new OpenFileDialog();
dlg.Multiselect = true;
// Set Filter to browser text files
dlg.Filter = "Text files (*.text)|*.txt|All Files (*.*)|*.*";
// Show dialog
if (dlg.ShowDialog() == true )
{
// Get the selected file name and set it as text of a TextBox
FileInfo fInfo = dlg.File;
TextBox1.Text = fInfo.Name;
}
}
Listing 2
Summary
In this article, I discussed how we can create an OpenFileDialog control in Silverlight and C# to browse files from a local machine or a network machine.