Introduction
In this article we will explore Wrap Panel in Silverlight 3. We will see how the Wrap Panel is useful.
Crating Silverlight Project
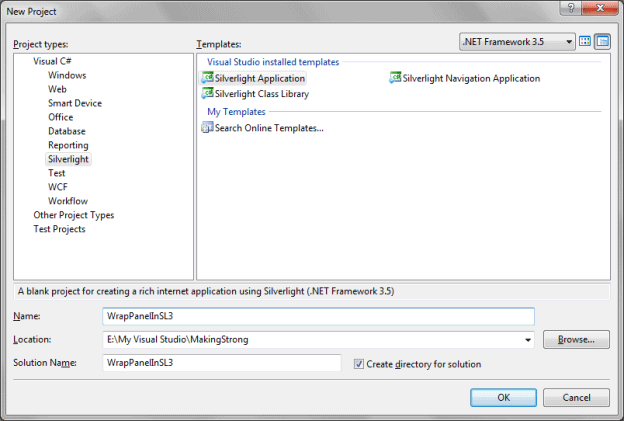
Fire up Expression Blend 3 and create a Silverlight Application. Name it as WrapPanelInSL3.

Now open the solution in Expression Blend 3. Here is the idea: we will add some Rectangles, TextBlocks and some Images dynamically to the Wrap Panel.
Wrap Panel is a panel which has two Orientation types such as Horizontal and Vertical. Whatever UIElement added to the Wrap Panel will wrap one by one.
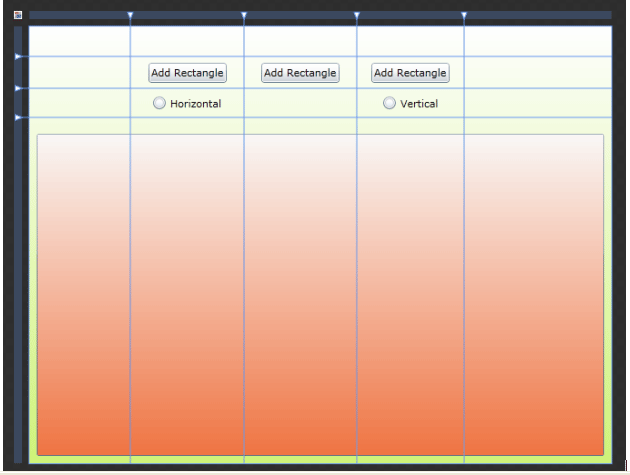
Go ahead and add a ScrollViewer and add WrapPanel inside of it. And add three Buttons for adding contents dyanamically to the WrapPanel and add two Radio Buttons for the Orientation of WrapPanel.
Our UI will look something similar as follows:

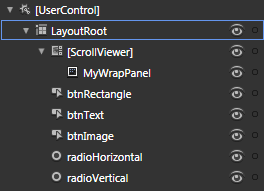
If you look the Object and Timeline Pane you will find the above hierarchy:

Here is the Xaml code behind for the above design:
<ScrollViewer x:Name="scrollViewer" Grid.Row="3" Grid.ColumnSpan="5" Width="500" Height="380" VerticalAlignment="Top" HorizontalAlignment="Center" VerticalScrollBarVisibility="Auto" d:LayoutOverrides="GridBox" HorizontalScrollBarVisibility="Auto">
<ScrollViewer.Background>
<LinearGradientBrush EndPoint="0.5,1" StartPoint="0.5,0">
<GradientStop Color="#FFFAF8F7" Offset="0"/>
<GradientStop Color="#FFF07442" Offset="1"/>
</LinearGradientBrush>
</ScrollViewer.Background>
<controlsToolkit:WrapPanel x:Name="MyWrapPanel" Width="475" HorizontalAlignment="Left" VerticalAlignment="Top" ScrollViewer.VerticalScrollBarVisibility="Auto" ScrollViewer.HorizontalScrollBarVisibility="Auto"/>
</ScrollViewer>
<Button x:Name="btnRectangle" Margin="5" Content="Add Rectangle" Grid.Column="1" Grid.Row="1" HorizontalAlignment="Center" VerticalAlignment="Center" Click="btnRectangle_Click" />
<Button x:Name="btnText" HorizontalAlignment="Center" Margin="5" VerticalAlignment="Center" Grid.Column="2" Grid.Row="1" Content="Add Text" Click="btnText_Click" />
<Button x:Name="btnImage" HorizontalAlignment="Center" Margin="5" VerticalAlignment="Center" Grid.Column="3" Grid.Row="1" Content="Add Image" Click="btnImage_Click" />
<RadioButton x:Name="radioHorizontal" Margin="5" Content="Horizontal" d:LayoutOverrides="Width, Height" HorizontalAlignment="Center" VerticalAlignment="Center" Grid.Row="2" Grid.Column="1" Checked="radioHorizontal_Checked"/>
<RadioButton x:Name="radioVertical" Margin="5" Content="Vertical" d:LayoutOverrides="Width, Height" Grid.Row="2" Grid.Column="3" VerticalAlignment="Center" HorizontalAlignment="Center" Checked="radioVertical_Checked"/>
Now go ahead and add event handlers for the Buttons and the RadioButtons.
Add the following code in respective event handlers:
private void btnRectangle_Click(object sender, RoutedEventArgs e)
{
Rectangle rect = new Rectangle();
rect.Width = 100;
rect.Height = 100;
rect.Fill= new SolidColorBrush(Colors.Green); rect.StrokeThickness = 5;
rect.Stroke = new SolidColorBrush(Colors.Black);
rect.RadiusX = 10;
rect.RadiusY = 10;
MyWrapPanel.Children.Add(rect);
}
private void btnText_Click(object sender, RoutedEventArgs e)
{
TextBlock text = new TextBlock();
text.Text = "I am a TextBlock";
MyWrapPanel.Children.Add(text);
}
private void btnImage_Click(object sender, RoutedEventArgs e)
{
Uri uri = new Uri("Images/User.png", UriKind.Relative);
StreamResourceInfo streamResource = Application.GetResourceStream(uri);
BitmapImage image = new BitmapImage();
image.SetSource(streamResource.Stream);
Image img = new Image();
img.Width = 100;
img.Height = 100;
img.Source = image;
MyWrapPanel.Children.Add(img);
}
private void radioHorizontal_Checked(object sender, RoutedEventArgs e)
{
MyWrapPanel.Orientation = Orientation.Horizontal;
}
private void radioVertical_Checked(object sender, RoutedEventArgs e)
{
MyWrapPanel.Orientation = Orientation.Vertical;
}
Don't forget to change the Image's build action to Content.
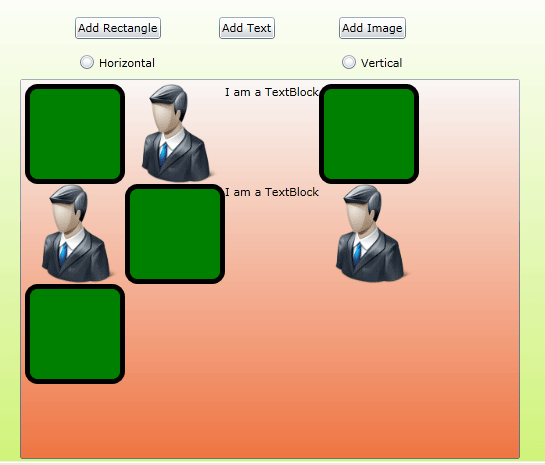
Now run your application and add some contents into the Wrap Panel.

And if you change the Orientation you can actually get to know about the Wrap Panel.
That's it you have successfully used Wrap Panel in Silverlight 3.
Enjoy Coding.