

Introduction
MySQL is an RDBMS (Relational Database Management System) database. In this blog, we will learn using JDBC (Java Database Connectivity) to insert, update and delete data into MySQL database using the NetBeans IDE.
student.sql
- --Go to MySql database and click on Import tab click on Browse button and select this file(student.sql)
- create database Studentinformation;
- use Studentinformation;
- create table student(roll int(3) primary key, name varchar(20), marks int(3));
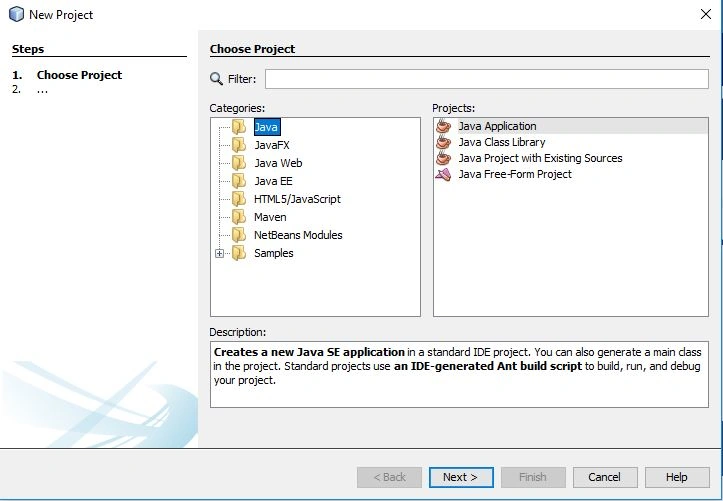
STEP 1
Select the "JDBC MYSQL Driver" click on the "Add Library" button.
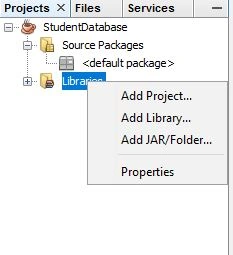
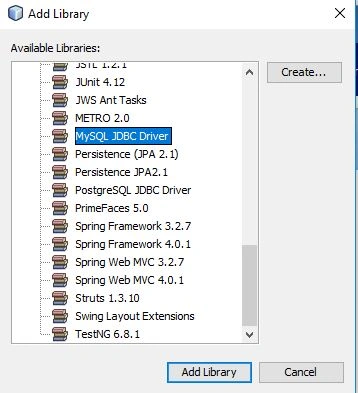
STEP 4
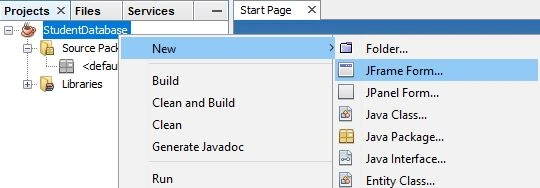
STEP 5
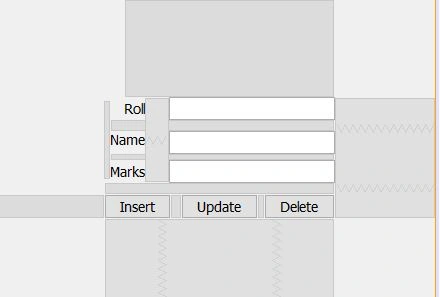
STEP 6
- // Import these package
- import java.sql.Connection;
- import java.sql.DriverManager;
- import java.sql.SQLException;
- import java.sql.Statement;
- import javax.swing.JOptionPane;
- // Create Referesh Method
- public void Referesh() {
- jTextField1.setText("");
- jTextField2.setText("");
- jTextField3.setText("");
- }
Insert
Right-click on the "Insert" button. Go to Event -> action -> actionPerformed and add the below code.
- private void jButton1ActionPerformed(java.awt.event.ActionEvent evt) {
- try {
- Class.forName("com.mysql.jdbc.Driver");
- // establish connection
- Connection con = DriverManager.getConnection("jdbc:mysql://localhost/Studentinformation", "root", "");
- Statement statement = con.createStatement();
- statement.executeUpdate("INSERT INTO student VALUES(" + jTextField1.getText() + ",'" + jTextField2.getText() + "'," + jTextField3.getText() + ")");
- JOptionPane.showMessageDialog(null, "Record inserted...");
- statement.close();
- con.close();
- Referesh(); //Calling Referesh() method
- } catch (SQLException | ClassNotFoundException e) {
- JOptionPane.showMessageDialog(null, e);
- }
- }
Update
Right-click the "Update" button. Go to Event -> action -> actionPerformed and add the below code.
- private void jButton2ActionPerformed(java.awt.event.ActionEvent evt) {
- try {
- Class.forName("com.mysql.jdbc.Driver");
- // establish connection
- Connection con = DriverManager.getConnection("jdbc:mysql://localhost/Studentinformation", "root", "");
- Statement stmt = con.createStatement();
- stmt.execute("UPDATE student SET name='" + jTextField2.getText() + "',marks=" + jTextField3.getText() + " WHERE roll=" + jTextField1.getText() + "");
- JOptionPane.showMessageDialog(null, "Record is updated...");
- stmt.close();
- con.close();
- Referesh(); //Calling Referesh() method
- } catch (SQLException | ClassNotFoundException se) {
- JOptionPane.showMessageDialog(null, se);
- }
- }
Delete
- private void jButton3ActionPerformed(java.awt.event.ActionEvent evt) {
- try {
- Class.forName("com.mysql.jdbc.Driver");
- // establish connection
- Connection con = DriverManager.getConnection("jdbc:mysql://localhost/Studentinformation", "root", "");
- Statement statement = con.createStatement();
- statement.executeUpdate("DELETE FROM student WHERE roll=" + jTextField1.getText() + "");
- JOptionPane.showMessageDialog(null, "Record deleted...");
- statement.close();
- con.close();
- Referesh(); //Calling Referesh() method
- } catch (SQLException | ClassNotFoundException e) {
- JOptionPane.showMessageDialog(null, e);
- }
- }
STEP 6
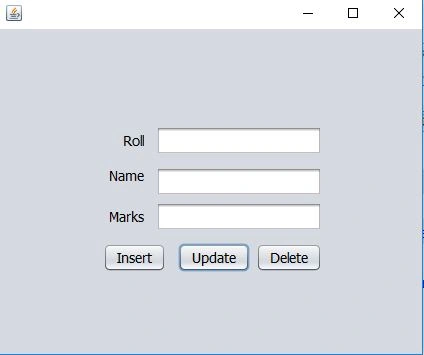
In this blog, I covered MySQL database operations (Insert, Update and Delete) with JDBC using NetBeans IDE. If you have any problem, please comment.
Join the conversation! Your thoughts help the community grow.