

Hello Readers,
Welcome to a blog on how to create a custom list in SharePoint 2013 programmatically, using a Console Application. We will use Visual Studio to create a list in SharePoint 2013.
Let’s see, how to do it.
- Open your Visual Studio.
- Select New Project.
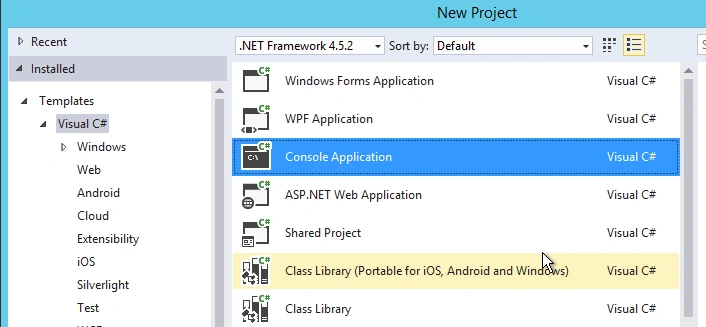
- Select Console Application.
- Add the references, which are:
Microsoft.SharePoint dll and Microsoft.SharePoint.Client dll. - Paste the code, given below, under Program.cs.
Code
- using System;
- using System.Collections.Generic;
- using System.Linq;
- using System.Security;
- using System.Net;
- using System.Text;
- using System.Web;
- using System.Data;
- using Microsoft.SharePoint;
- using Microsoft.SharePoint.Client;
- namespace ConsoleApplication1 {
- class Program {
- static void Main(string[] args) {
- //get the web
- ClientContext context = new ClientContext("http://devtest /SPTests/");
- Web web = context.Web;
- //provide the list creation information as Title and Description
- ListCreationInformation createlist = new ListCreationInformation();
- createlist.Title = "My List";
- createlist.Description = "My Custom List";
- //choose a template as Generic List.
- createlist.TemplateType = (int) ListTemplateType.GenericList;
- //add list to SharePoint
- web.Lists.Add(createlist);
- context.ExecuteQuery();
- Console.WriteLine("List Created");
- Console.ReadKey();
- }
- }
- }
- Run the code and your custom list will be created.

Join the conversation! Your thoughts help the community grow.