

Introduction
Xamarin.Forms code runs on multiple platforms - each of which has its own filesystem. This means that reading and writing files is most easily done using the native file APIs on each platform. Alternatively, embedded resources are a simpler solution to distribute data files with an app.
Plugin.Fingerprint
Authenticate a user via fingerprint, face id or any other biometric / local authentication method from a cross platform API.
Prerequisites
- Visual Studio 2017 or later (Windows or Mac)
Setting up a Xamarin.Forms Project
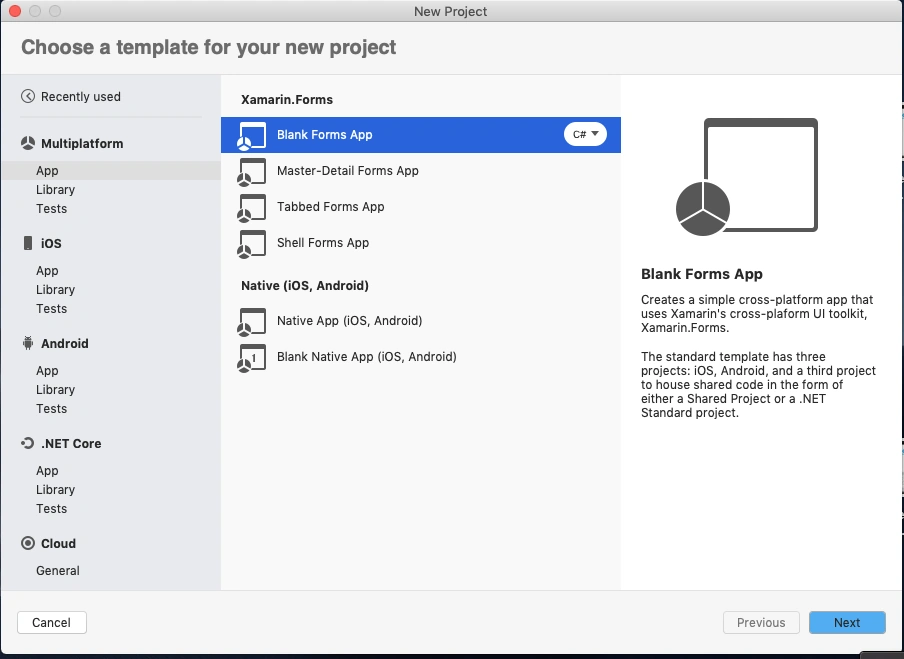
Start by creating a new Xamarin.Forms project. You wíll learn more by going through the steps yourself.
Create a new or existing Xamarin forms(.Net standard) Project. With Android and iOS Platform.
Nuget
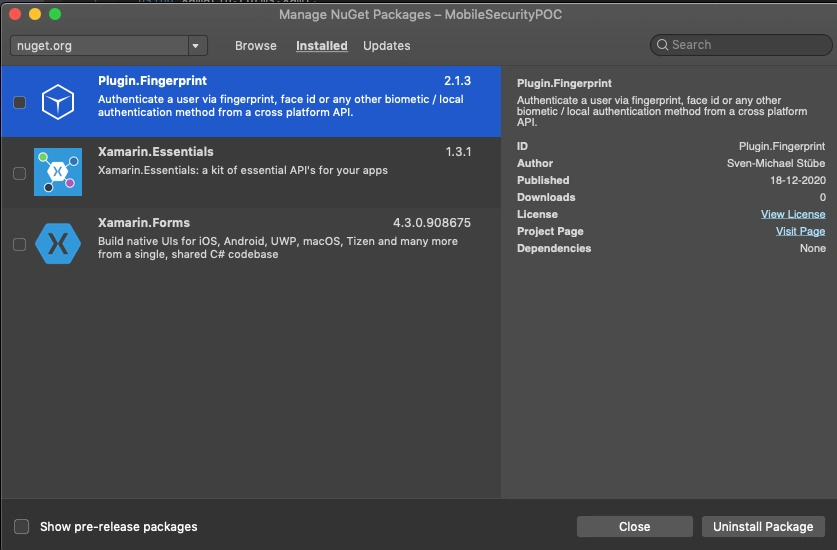
Install the following Nuget from Nuget Manager In your Visual Studio.
- Plugin.Fingerprint
iOS Setup
Add NSFaceIDUsageDescription to your Info.plist to describe the reason your app uses Face ID. Otherwise the App will crash when you start a Face ID authentication on iOS 11.3+.
<key>NSFaceIDUsageDescription</key>
<string>Need your face to unlock secrets!</string>
Android Setup
Request the permission in AndroidManifest.xml
<uses-permission android:name="android.permission.USE_FINGERPRINT" />
Add the below code in MainActivity.cs OnCreate Method.
- CrossFingerprint.SetCurrentActivityResolver(() => this);
Install Android X Migration
Since version 2, this plugin uses Android X. You have to install Xamarin.AndroidX.Migration in your Android project.
FingerPrint Authentication
- private async Task AuthenticateAsync(string reason, string cancel = null, string fallback = null, string tooFast = null)
- {
- _cancel = false ? new CancellationTokenSource(TimeSpan.FromSeconds(10)) : new CancellationTokenSource();
- var dialogConfig = new AuthenticationRequestConfiguration("My App", reason)
- {
- CancelTitle = cancel,
- FallbackTitle = fallback,
- AllowAlternativeAuthentication = true,
- ConfirmationRequired = false
- };
- dialogConfig.HelpTexts.MovedTooFast = tooFast;
- var result = await Plugin.Fingerprint.CrossFingerprint.Current.AuthenticateAsync(dialogConfig, _cancel.Token);
- await SetResultAsync(result);
- }
Enable AlternativeAuthentication
If you need to allow alternate authentication such as Pin, Pattern and password set AlternativeAuthentication=true
- var dialogConfig = new AuthenticationRequestConfiguration("My App", reason)
- {
- CancelTitle = cancel,
- FallbackTitle = fallback,
- AllowAlternativeAuthentication = true,
- ConfirmationRequired = false
- };
Full code
- protected override async void OnAppearing()
- {
- base.OnAppearing();
- var authType= await Plugin.Fingerprint.CrossFingerprint.Current.GetAuthenticationTypeAsync();
- if(authType==AuthenticationType.Fingerprint)
- {
- lblAuthenticationType.Text = "Auth Type: " + authType;
- await AuthenticateAsync("Authendicate with Touch ID");
- }
- }
- private async Task AuthenticateAsync(string reason, string cancel = null, string fallback = null, string tooFast = null)
- {
- _cancel = false ? new CancellationTokenSource(TimeSpan.FromSeconds(10)) : new CancellationTokenSource();
- var dialogConfig = new AuthenticationRequestConfiguration("My App", reason)
- {
- CancelTitle = cancel,
- FallbackTitle = fallback,
- AllowAlternativeAuthentication = true,
- ConfirmationRequired = false
- };
- dialogConfig.HelpTexts.MovedTooFast = tooFast;
- var result = await Plugin.Fingerprint.CrossFingerprint.Current.AuthenticateAsync(dialogConfig, _cancel.Token);
- await SetResultAsync(result);
- }
Run
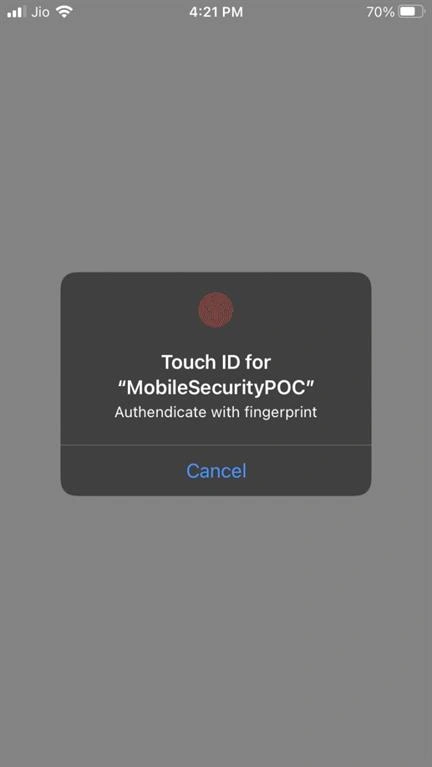
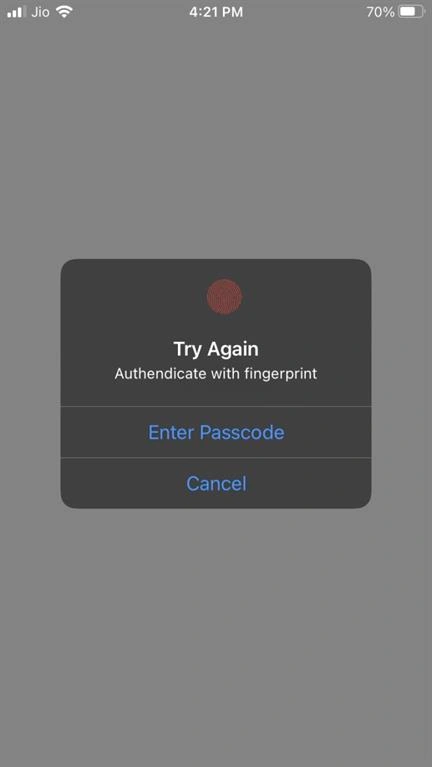
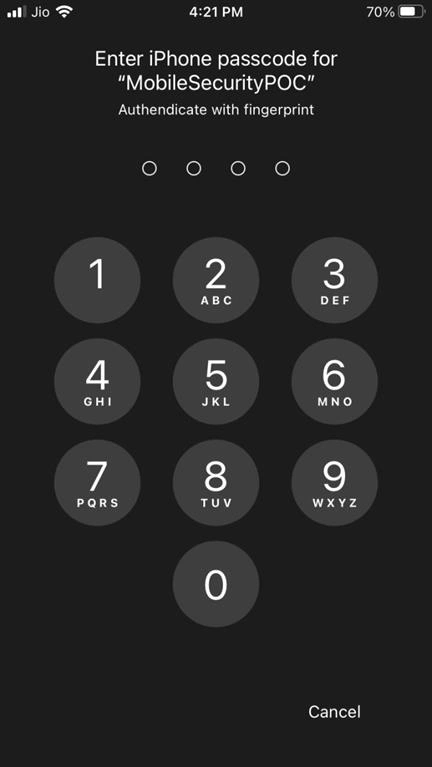
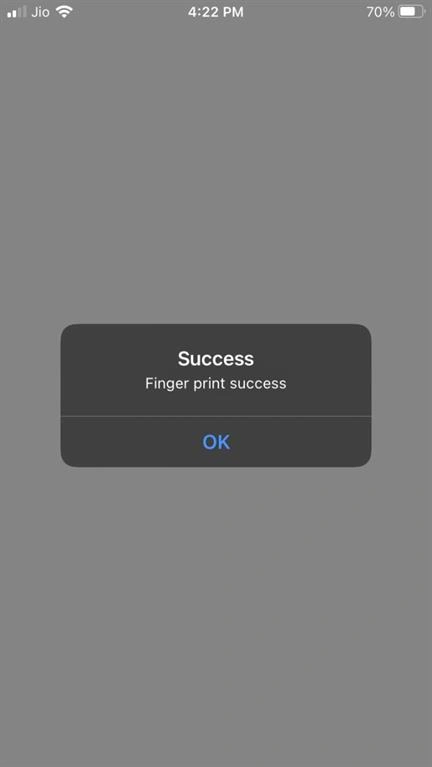
I hope you have understood and learned how to implement fingerprint, password and facelock authentication in your XamarinApp.
Thanks for reading. Please share your comments and feedback. Happy Coding :)
Join the conversation! Your thoughts help the community grow.