

Introduction
We have a type-safe wrapper for communicating with HTTP-based APIs thanks to the C# Refit framework. We can build an interface that represents the API we want to interact with, rather than utilizing the HttpClient that ASP.NET Core provides.
If you want to learn more about the Refit library, then please refer to this link for more understanding.
You can find the GitHub repository of the Refit here.
We specify the endpoints (GET, POST, and PUT) that our API has with this interface, as well as any route or body parameters. We can also add headers to the interface, like the Authorization headers.
Components of Refit Client
Let's examine some of the key elements of a Refit client before building an application to illustrate Refit.
HTTP Methods
Every time we communicate with an API over HTTP, we need to understand the various HTTP methods that are available to us and how they operate. Refit offers a collection of characteristics that let us customize our interface functions:
[Get("/api/employee")]
Task<IEnumerable<Employee>> GetEmployees();
We inform Refit that this is an HTTP GET method to the /employees endpoint by adorning the GetEmployees() method with [Get("/API/employee")].
Refit offers properties for every widely used HTTP protocol.
Route Parameters
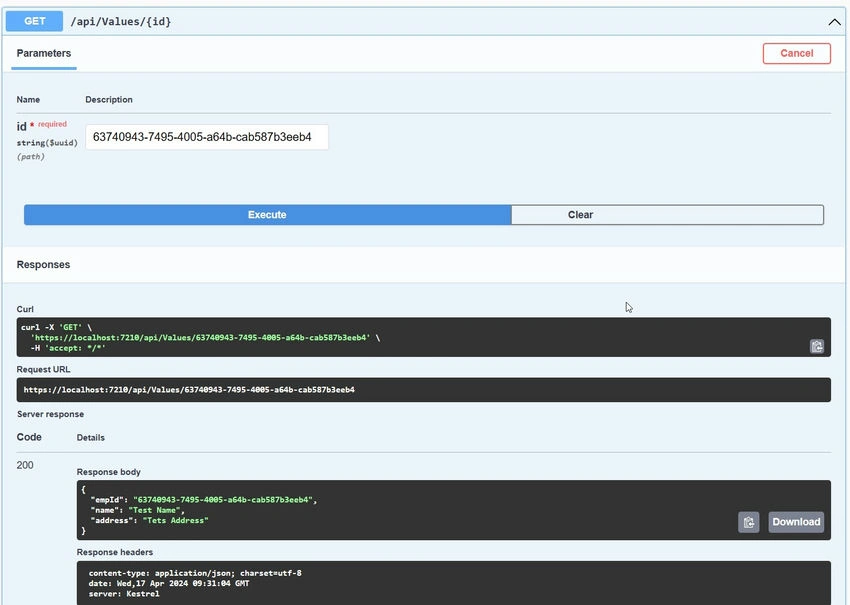
An endpoint like /employee/369f8eb0-7d8f-4f48-a2c8-884829d60de4, which we would anticipate to return an employee with id 369f8eb0-7d8f-4f48-a2c8-884829d60de4, is frequently seen when working with RESTful APIs that adhere to appropriate routing standards. Similar to ASP.NET Core, Refit makes advantage of attribute routing, which makes it simple to build routes using parameters:
[Get("/api/employee/{id}")]
Task<Employee> GetEmployee(Guid id);
We inform Refit that the id parameter in the GetEmployee() method is a dynamic parameter by enclosing it in curly braces ({ and }) in the route.
Request and Response Serialization
Data is most commonly sent via HTTP as JSON serialized and added to the request body. This is automatically provided for us by Refit.
This enables us to designate classes as the return type that we anticipate receiving from the API in addition to passing them in as parameters to a Refit method:
[Put("/employee/{id}")]
Task<Employee> UpdateEmployee(Guid id, Employee employee);
When sending the request, Refit will automatically serialize the employee parameter to JSON. It will then try to deserialize the response into an Employee object.
Instantiating a Refit Client
Refit gives us two options for creating clients: either register the Refit client with HttpClientFactory and inject the interface into a class constructor, or use the RestService class that Refit supplies.
To the project, add the Refit and Refit.HttpClientFactory Nuget packages:
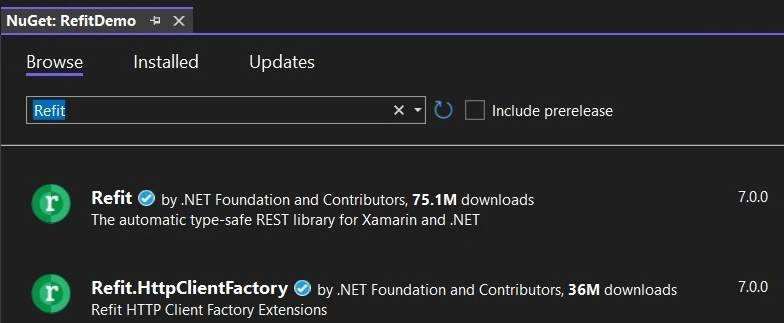
Assume we have both a Refit interface and an API for communicating with employees:
public interface IEmployeeClient
{
    [Get("/api/employee")]
    Task<IEnumerable<Employee>> GetEmployees();
}
Initially, we may use the RestService class to instantiate the client:
var employeeClient = RestService.For<IEmployeeClient>("https://localhost:7061");

var employees = await employeeClient.GetEmployees();
Additionally, we can register the client using the ASP.NET Core-provided HttpClientFactory:
services
    .AddRefitClient<IEmployeeClient>()
    .ConfigureHttpClient(c => c.BaseAddress = new Uri("https://localhost:7061"));
These are two legitimate methods for signing up and using Refit clients.
Nevertheless, registering the client with HttpClientFactory and injecting it into the necessary class constructors is the way to go if we want to make our code more tested and manageable. This spares us from depending on any implementation details of HttpClient or the Refit library, and makes it simple to inject a mock of the interface for testing reasons.

Join the conversation! Your thoughts help the community grow.