

Introduction
In this article, we are going to create a TN Image View in Android using Android Studio. It is a type of library that makes the images touchable and movable. By using this, we can move the image with a simple touch.
Step 1
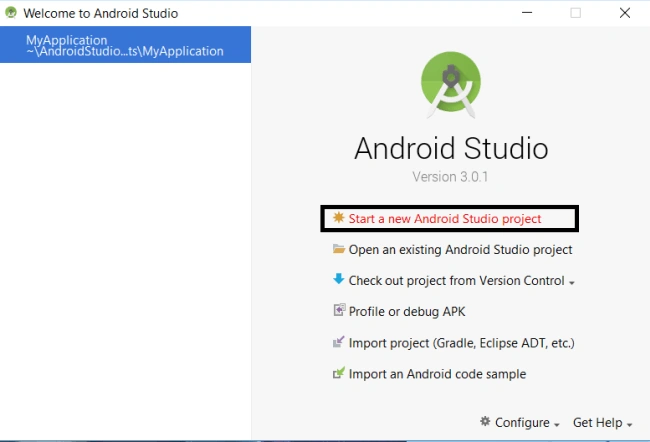
Create a new project in Android Studio.
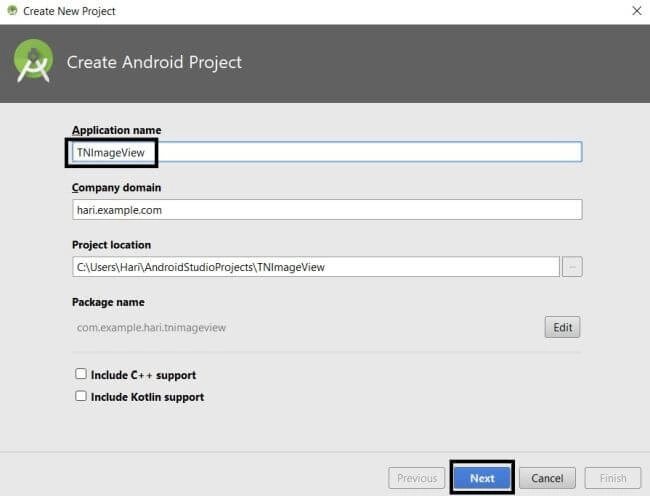
Give a name to the project and click "Next".
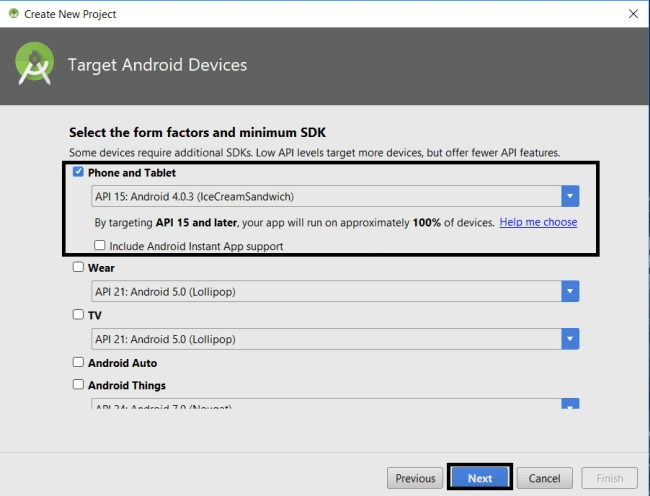
Select the "Phone and Tablet" option and click "Next".
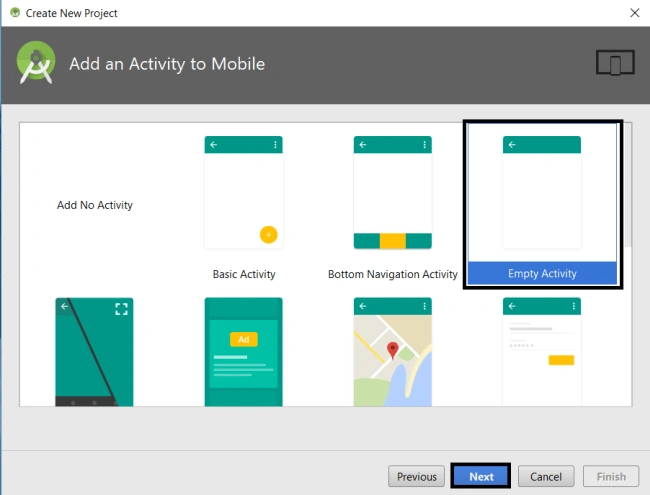
Select an empty activity and click "Next".
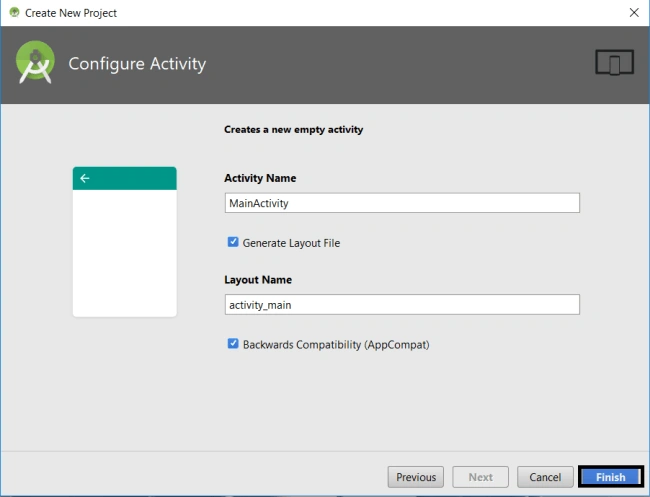
At last, give the activity name and click on "Finish".
Step 2
Next, copy the source image in .png format.
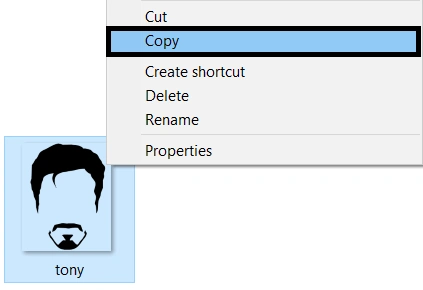
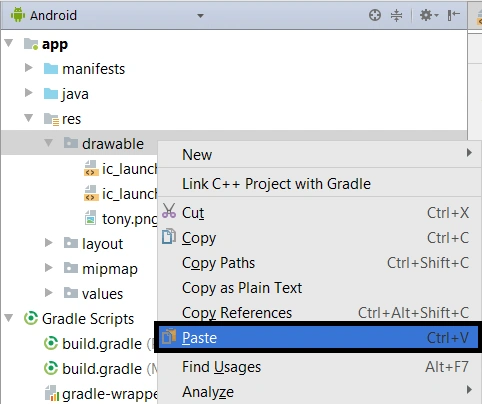
Locate app>>res>>drawable folder and paste the copied image into the drawable folder.
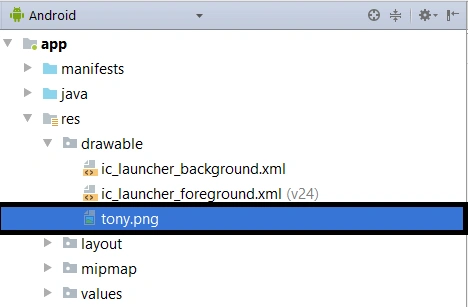
Check whether it is pasted correctly.
Step 3
Locate the Gradle Scripts>>Build.Gradle 1.
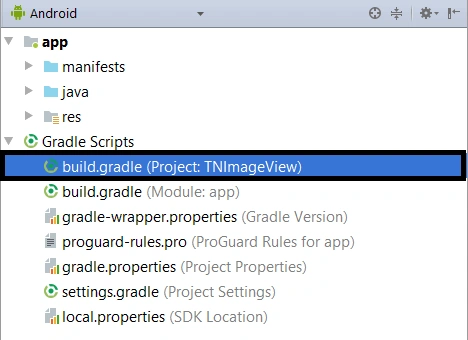
And, type the following dependency in your app's build.gradle.
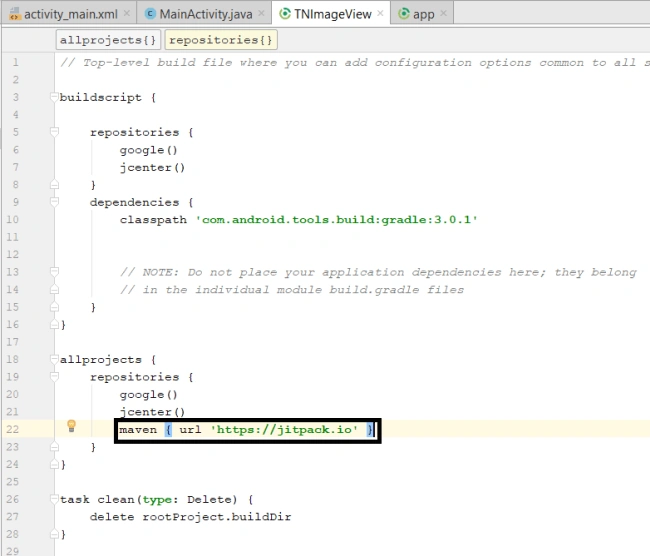
Code copy is here:
- maven { url 'https://jitpack.io' }
Step 4
Locate the Gradle Scripts>>Build.Gradle 2.
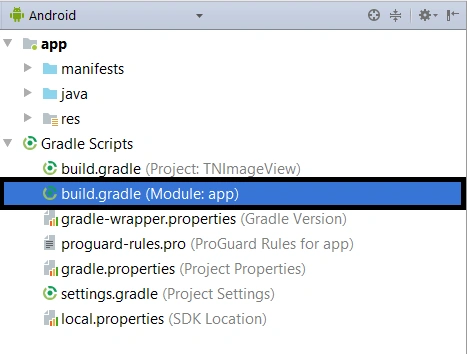
Type the following dependency in your app's build.gradle.
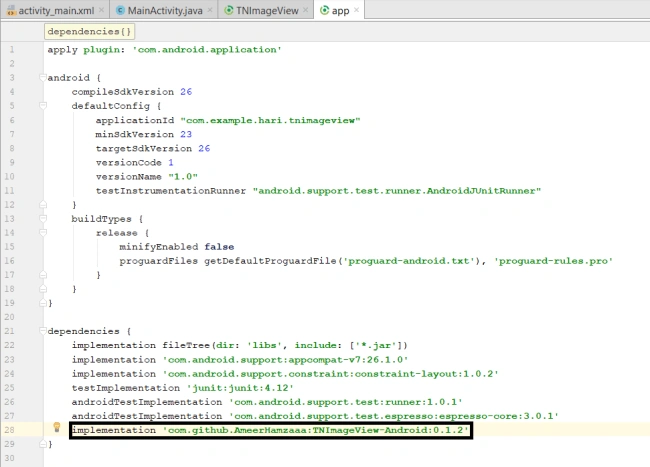
The code copy is here.
- implementation 'com.github.AmeerHamzaaa:TNImageView-Android:0.1.2'
Step 5
Next, go to app >> res >> layout >> activity_main.xml. Select activity page.
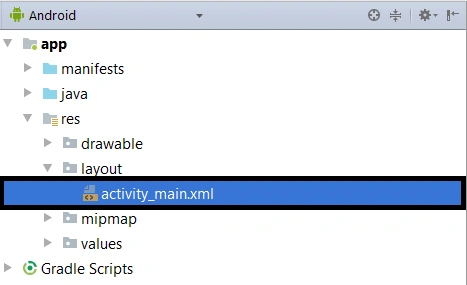
Just type the code as following.
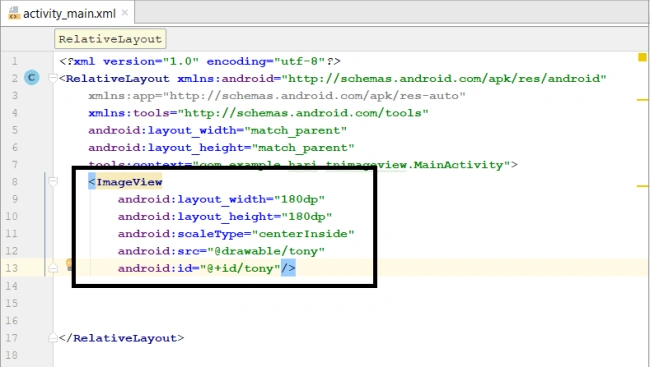
The code copy is here.
- <?xml version="1.0" encoding="utf-8"?>
- <RelativeLayout xmlns:android="http://schemas.android.com/apk/res/android"
- xmlns:app="http://schemas.android.com/apk/res-auto"
- xmlns:tools="http://schemas.android.com/tools"
- android:layout_width="match_parent"
- android:layout_height="match_parent"
- tools:context="com.example.hari.tnimageview.MainActivity">
- <ImageView
- android:id="@+id/tony"
- android:layout_width="180dp"
- android:layout_height="180dp"
- android:layout_alignParentEnd="true"
- android:layout_centerVertical="true"
- android:layout_marginEnd="92dp"
- android:scaleType="centerInside"
- android:src="@drawable/tony" />
- </RelativeLayout>
Step 6
Next, go to app >> java>>Mainactivity.java. Select Mainactivity page.
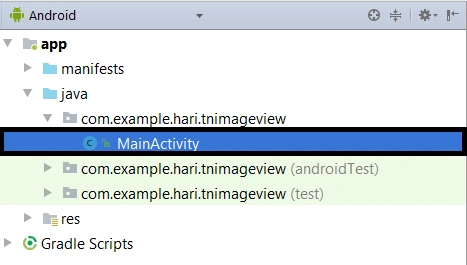
Just type the code as follows.
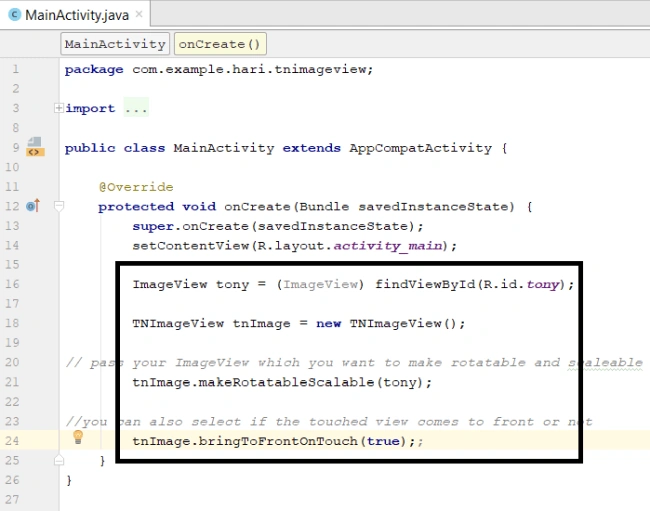
The code copy is here.
- package com.example.hari.tnimageview;
- import android.support.v7.app.AppCompatActivity;
- import android.os.Bundle;
- import android.widget.ImageView;
- import us.technerd.tnimageview.TNImageView;
- public class MainActivity extends AppCompatActivity {
- @Override
- protected void onCreate(Bundle savedInstanceState) {
- super.onCreate(savedInstanceState);
- setContentView(R.layout.activity_main);
- ImageView tony = (ImageView) findViewById(R.id.tony);
- TNImageView tnImage = new TNImageView();
- tnImage.makeRotatableScalable(tony);
- tnImage.bringToFrontOnTouch(true);;
- }
- }
Step 7
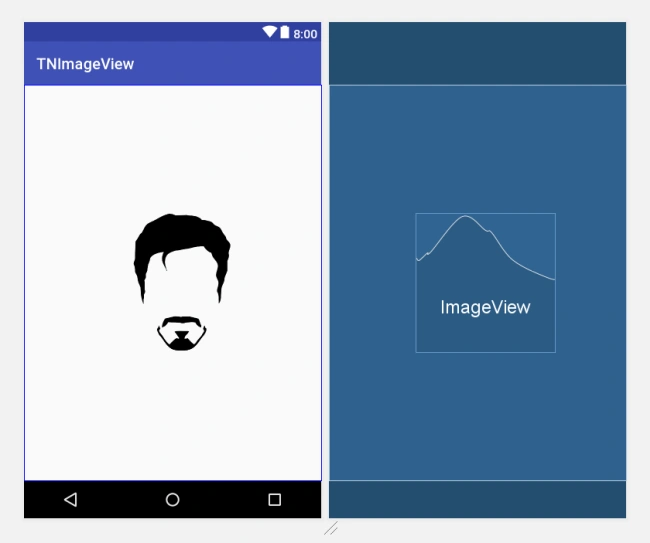
Verify the preview.
After the code is applied, the preview will appear like this.
Step 8
Next, go to Android Studio and deploy the application. Select an Emulator or your Android mobile with USB debugging enabled. Give it a few seconds to make installations and set permissions.
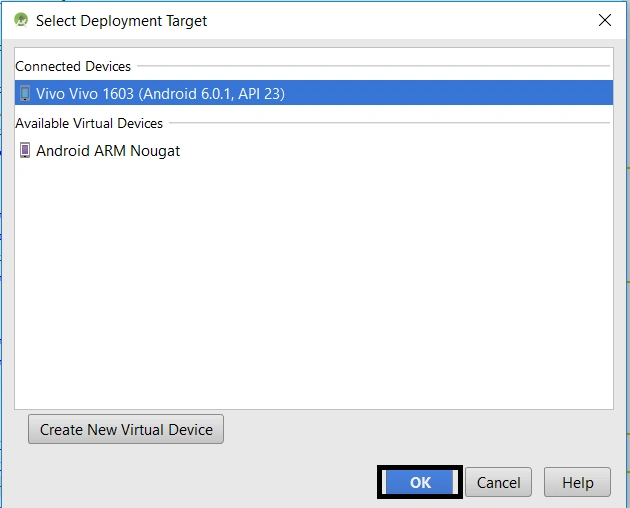
Run the application in your desired emulator (Shift + F10).
Explanation of source code
The source code used in the activitymain.xml file will insert the image into the app and give the movement control to this image.
Summary
We created a new app named TN Image View and placed the image in the drawable folder. After that, we have inserted the Gradle dependencies into the build Gradle to get TN image view and verified the deployed output.
Join the conversation! Your thoughts help the community grow.