
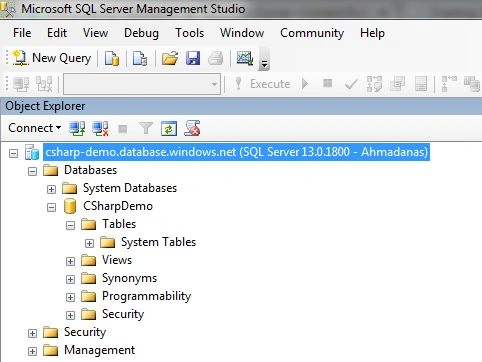
In this article, I am going to demonstrate how to connect your SQL Server with Microsoft Azure Cloud Service. I will also share links and possible ways you can get an Azure subscription.
Prerequisite
- You will require a Microsoft cloud - Azure's subscription. This is the most important question and it's been answered in the below note.
- You will require an SSMS - SQL Server Management Studio to have a GUI to manage your Server.
- A Microsoft account for having Azure subscription.
Azure Subscription
Microsoft Azure is a leading cloud service provided and managed by Microsoft itself. There are few ways to get an Azure subscription, as mentioned below.
Microsoft Azure is a leading cloud service provided and managed by Microsoft itself. There are few ways to get an Azure subscription, as mentioned below.
- First and of course, you can access this service by registering through Azure portal here and paying for the service by the relevant options for the service that you consume.
- Further, you can also register for a trial here. This is worth INR 13,300 and is valid for 30 days over different services.
- If you are a student and you can prove it to enroll in the program, check DreamSpark subscription here.
- If you are a research scholar, you can also get one subscription by answering a few questions about your research work. Just check here.
- Last but not least, if you are a business startup, Microsoft has a program for you, called BizSpark and you can get a subscription for 3 years. Check here
Demonstration
Once you have your Azure subscription, follow the next steps. I will complete this topic in 8 simple steps and I have added images to better guide you while working on this setup.
Step 1
Go to Azure portal portal.azure.com and login using the same Microsoft account that has Azure subscription.
Step 2
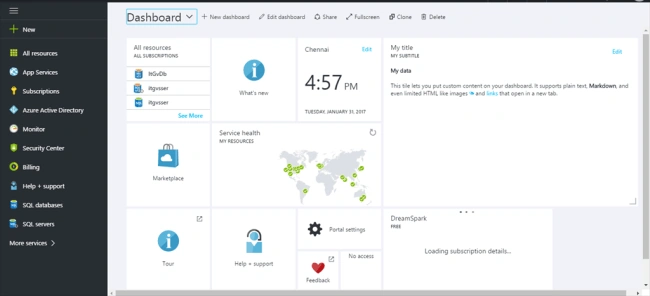
Once you login, you will have an interface like the following.
Step 3
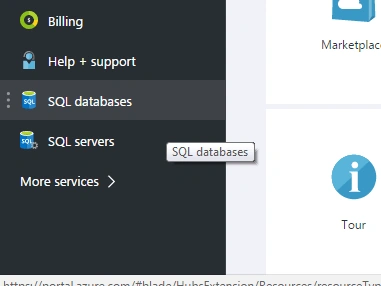
From the left panel as you can see, you can select the service that you want to use. For this discussion, I will simply use a SQL Server Database, which means I will be required to have SQL Server. So, either way, you create Server first or create database first, and then create server along the way.
For this article, click on SQL databases.
Step 4
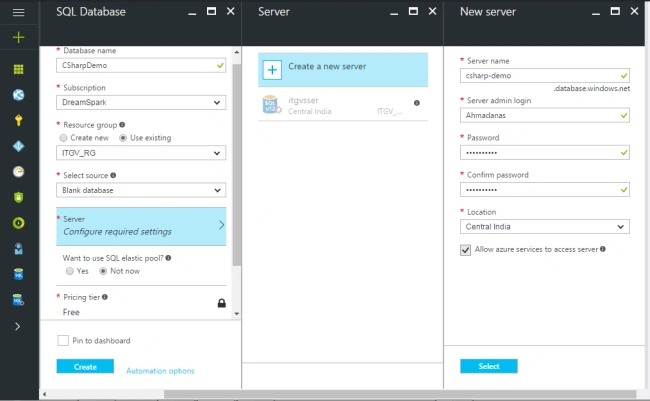
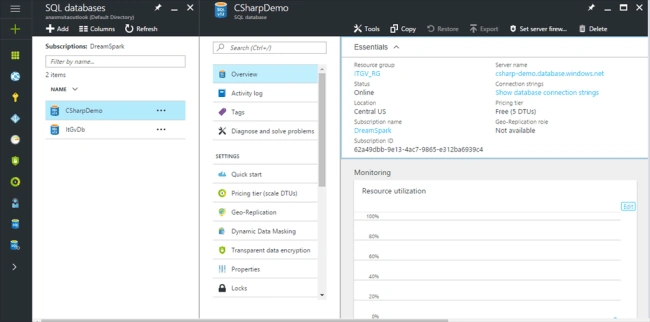
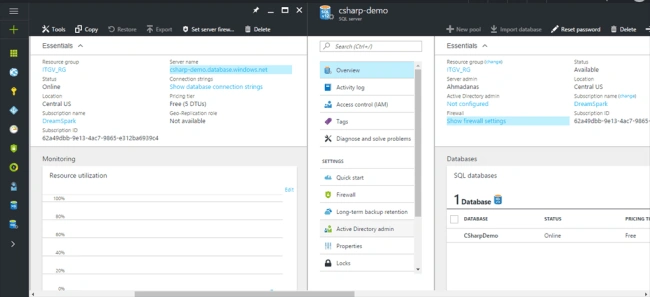
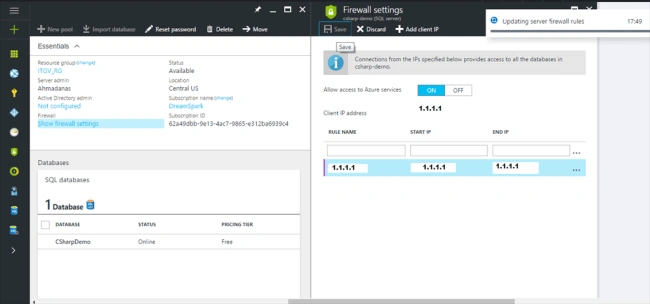
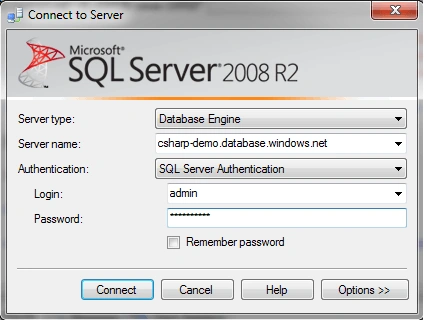
After clicking, you will see a new panel opening. It is called blade.
Once you have your Azure subscription, follow the next steps. I will complete this topic in 8 simple steps and I have added images to better guide you while working on this setup.
Step 1
Go to Azure portal portal.azure.com and login using the same Microsoft account that has Azure subscription.
Step 2
Once you login, you will have an interface like the following.
Step 3
From the left panel as you can see, you can select the service that you want to use. For this discussion, I will simply use a SQL Server Database, which means I will be required to have SQL Server. So, either way, you create Server first or create database first, and then create server along the way.
For this article, click on SQL databases.
Step 4
After clicking, you will see a new panel opening. It is called blade.
Join the conversation! Your thoughts help the community grow.