

Overview
The SPFx release of version 1.8 eases the implementation of Microsoft Teams tabs using SharePoint Framework. This gives the possibility of various scenarios in developing Microsoft Teams tabs using SharePoint Framework.
Create SPFx WebPart
Open the command prompt. Create a directory for SPFx solution.
- md spfx-teams-tab
Navigate to the above-created directory.
- cd spfx-teams-tab
Run the Yeoman SharePoint Generator to create the solution.
- yo @microsoft/sharepoint
Yeoman generator will present you with the wizard by asking questions about the solution to be created.
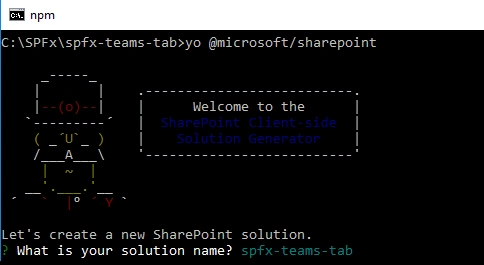
Solution Name: Hit Enter to have a default name (spfx-teams-tab in this case) or type in any other name for your solution.
Selected choice: Hit enter
Target for component: Here we can select the target environment where we are planning to deploy the client web part, i.e., SharePoint Online or SharePoint OnPremise (SharePoint 2016 or 2019 onwards).
Selected choice: SharePoint Online only (latest)
Place of files: We may choose to use the same folder or create a subfolder for our solution.
Selected choice: Use the current folder
Deployment option: Selecting Y will allow the app to be deployed instantly to all sites and will be accessible everywhere.
Selected choice: Y
Permissions to access web APIs: Choose if the components in the solution require permissions to access web APIs that are unique and not shared with other components in the tenant.
Selected choice: N (solution contains unique permissions)
Type of client-side component to create: We can choose to create a client-side web part or an extension.
Selected choice: WebPart
Web Part Name: Hit Enter to select the default name or type in any other name.
Selected choice: TeamsTab
Web part description: Hit Enter to select the default description or type in any other value.
Selected choice: First Teams Tab
Framework to use: Select any JavaScript framework to develop the component. Available choices are (No JavaScript Framework, React, and Knockout)
Selected choice: No JavaScript Framework
Yeoman generator will perform a scaffolding process to generate the solution. The scaffolding process will take a significant amount of time.
Once the scaffolding process is completed, lock-down the version of project dependencies by running the below command.
- npm shrinkwrap
In the command prompt, type the below command to open the solution in the code editor of your choice.
- code .
Teams in SPFx Solution
The SPFx solution contains additional Teams folder in the solution structure with default configurations. This helps to get started with Teams development.
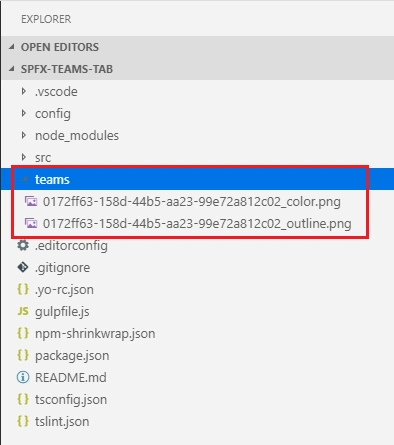
- [webpartid]_color.png: Default small picture for tab
- [webpartid]_outline.png: Default large picture for tab
Add support for Microsoft Teams
Open web part manifest.json file.
To the “supportedHosts” property, add “TeamsTab”.
- {
- "$schema": "https://developer.microsoft.com/json-schemas/spfx/client-side-web-part-manifest.schema.json",
- "id": "0172ff63-158d-44b5-aa23-99e72a812c02",
- "alias": "TeamsTabWebPart",
- "componentType": "WebPart",
- // The "*" signifies that the version should be taken from the package.json
- "version": "*",
- "manifestVersion": 2,
- // If true, the component can only be installed on sites where Custom Script is allowed.
- // Components that allow authors to embed arbitrary script code should set this to true.
- // https://support.office.com/en-us/article/Turn-scripting-capabilities-on-or-off-1f2c515f-5d7e-448a-9fd7-835da935584f
- "requiresCustomScript": false,
- "supportedHosts": ["SharePointWebPart", "TeamsTab"],
- "preconfiguredEntries": [{
- "groupId": "5c03119e-3074-46fd-976b-c60198311f70", // Other
- "group": { "default": "Other" },
- "title": { "default": "TeamsTab" },
- "description": { "default": "First teams tab" },
- "officeFabricIconFontName": "Page",
- "properties": {
- "description": "TeamsTab"
- }
- }]
- }
Code for Microsoft Teams Context
Open the web part file (src\webparts\teamsTab\TeamsTabWebPart.ts).
Add the below import.
- import * as microsoftTeams from '@microsoft/teams-js';
- private _teamsContext: microsoftTeams.Context;
- protected onInit(): Promise<any> {
- let retVal: Promise<any> = Promise.resolve();
- if (this.context.microsoftTeams) {
- retVal = new Promise((resolve, reject) => {
- this.context.microsoftTeams.getContext(context => {
- this._teamsContext = context;
- resolve();
- });
- });
- }
- return retVal;
- }
Update the render() method.
- public render(): void {
- let title: string = '';
- let siteTabTitle: string = '';
- if (this._teamsContext) {
- // We have teams context for the web part
- title = "Welcome to Teams!";
- siteTabTitle = "Team: " + this._teamsContext.teamName;
- }
- else
- {
- // We are rendered in normal SharePoint context
- title = "Welcome to SharePoint!";
- siteTabTitle = "SharePoint site: " + this.context.pageContext.web.title;
- }
- this.domElement.innerHTML = `
- <div class="${ styles.teamsTab }">
- <div class="${ styles.container }">
- <div class="${ styles.row }">
- <div class="${ styles.column }">
- <span class="${ styles.title }">${title}</span>
- <p class="${ styles.description }">${siteTabTitle}</p>
- <p class="${ styles.description }">Description property value - ${escape(this.properties.description)}</p>
- <a href="https://aka.ms/spfx" class="${ styles.button }">
- <span class="${ styles.label }">Learn more</span>
- </a>
- </div>
- </div>
- </div>
- </div>`;
- }
Package and Deploy web part to SharePoint
On the command prompt, run the below command to bundle the solution.
- gulp bundle --ship
Run the below command to package the solution.
- gulp package-solution --ship
This will create spfx-teams-tab.sppkg package under the SharePoint/solution folder.
Open SharePoint App catalog site.
Upload spfx-teams-tab.sppkg to the app catalog.
Check “Make this solution available to all sites in the organization” option.
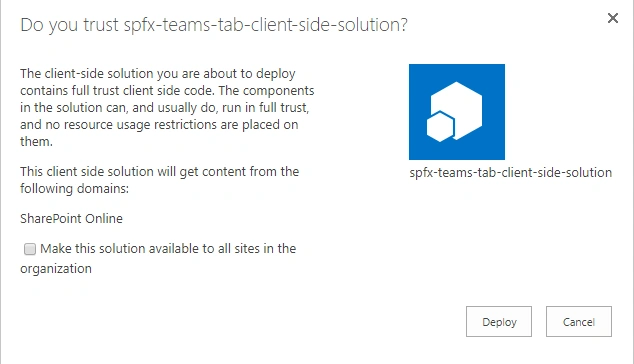
Click Deploy.
Test the WebPart in SharePoint
- Open SharePoint site
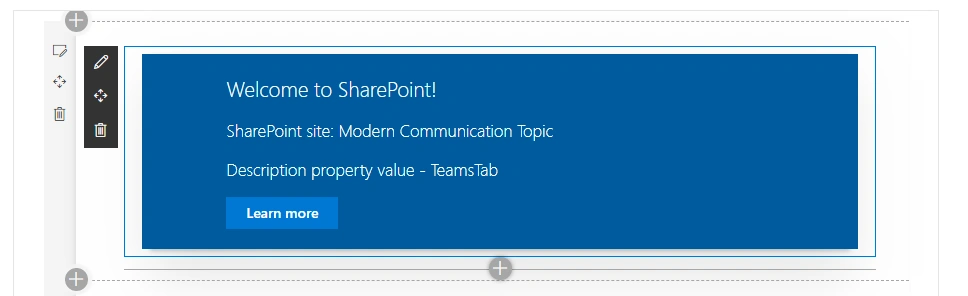
- Add the web part to the page.
- The web part shows the SharePoint site context information.
Make web part available in Microsoft Teams
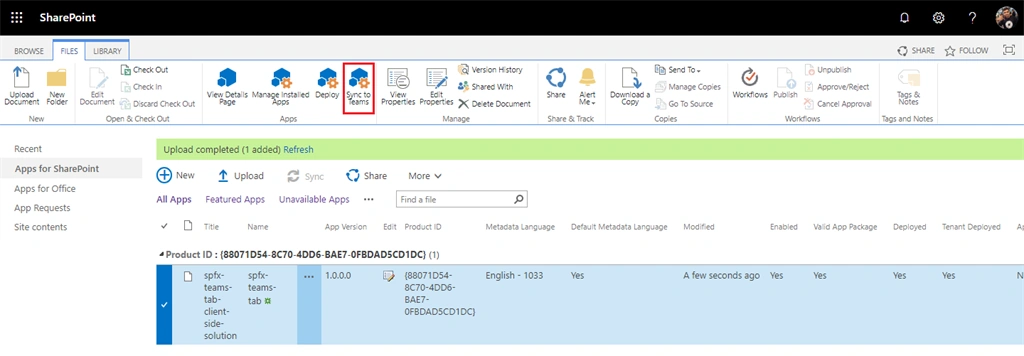
To make the web part available in Microsoft Teams, we will have to synchronize the solution with teams.
- Select the solution in the app catalog.
- From the ribbon, click Files.
- Select Sync to Teams.
Test web part in Microsoft Teams
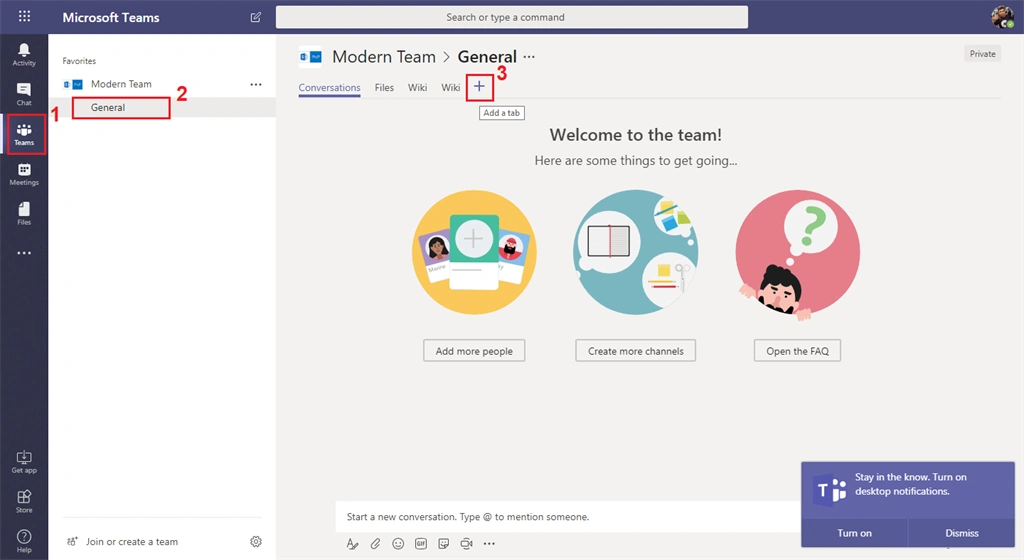
- Open Microsoft Teams.
- Under existing team, select channel (by default, General channel is available under team).
- Click + to add a new tab.
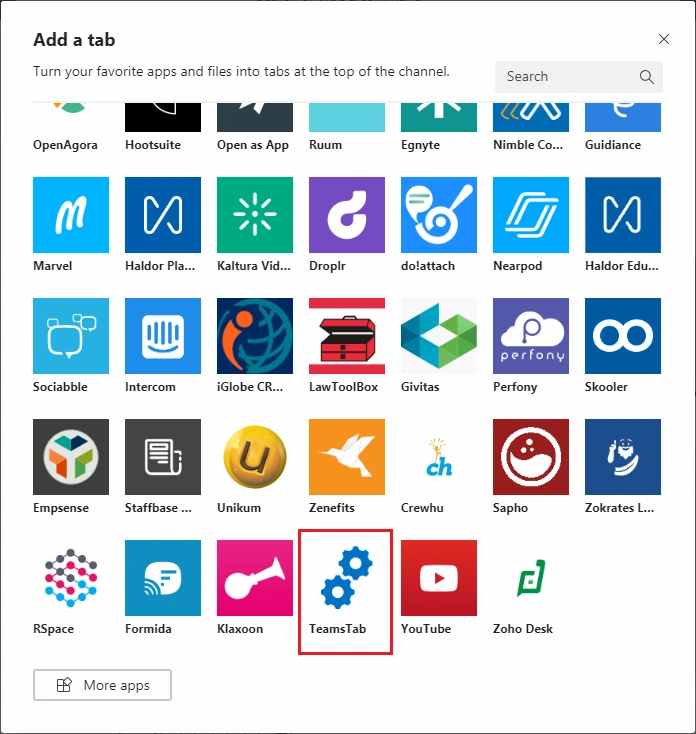
- Select your custom tab from the list.
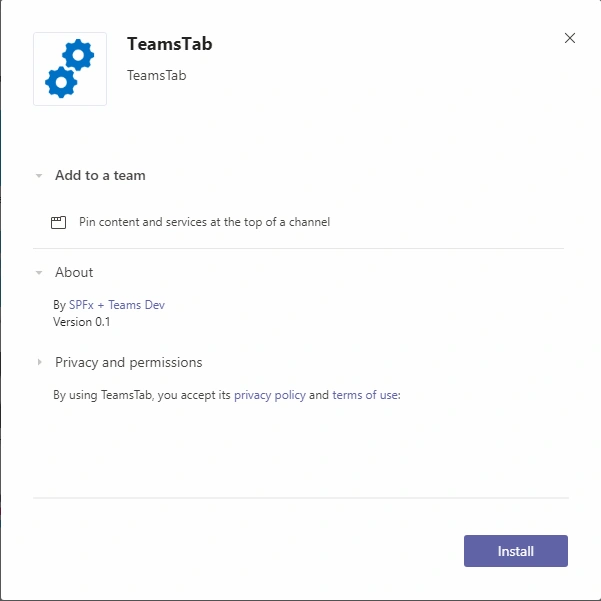
- Click Install.
- Click Save.
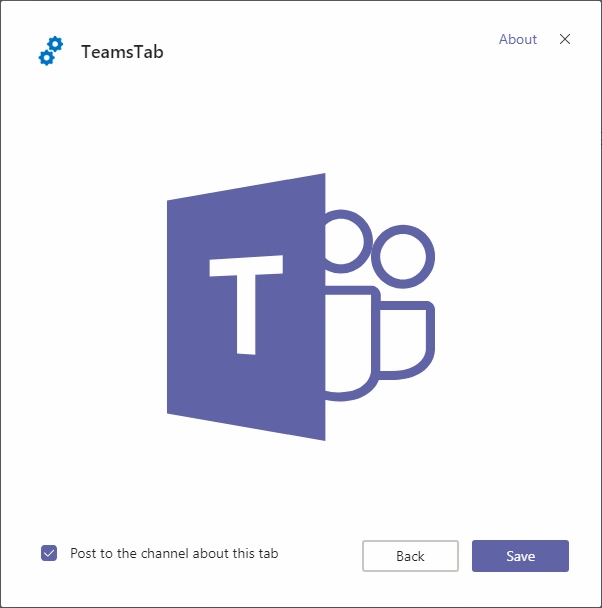
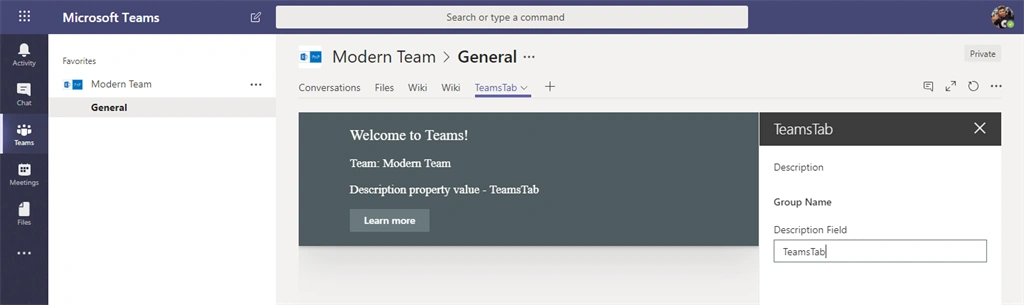
- Our web part will appear as a custom tab in Microsoft Teams.
Summary
SharePoint Framework version 1.8 eases the development of Microsoft Teams tabs using SharePoint Framework. The same web part solution can work on both SharePoint and Microsoft Teams based on the context under which it is running.
Ankit SinghPosted Jan 13, 2020, 3:34 AM
Now Its working fine, i tried in some other tenant. I think there was some restrictions on particular tenant.
Ankit SinghPosted Jan 13, 2020, 1:15 AM
Hi Nanddeep, Thanks for your reply. I verified “TeamsTab” is present in manifest.json. I tried your solution as well(using npm install). Deployed the solution but sync to teams option is not visible in app catalog.
Ankit SinghPosted Jan 12, 2020, 2:56 AM
Hi Nanddeep, I have created a SPFX webpart using React, followed all the steps mentioned(above). After deploying the webpart Sync to Teams option is not appearing in the app catalog. I am not sure why its happening, Please provide your guidance...
Ankit SinghPosted Jan 12, 2020, 2:54 AM
Hi Nanddeep,
Vasanth TTPosted Sep 23, 2019, 12:37 AM
Good practice to use isolated webpart by making Permissions to access web APIs: Yes.
Satyajit PaulPosted Mar 31, 2019, 2:43 PM
Very nice article!!