

Introduction
By default, SharePoint 2013 workflow runs under the permissions of the user who initiated the workflow. But the initiator does not always have the right permissions to complete all the actions within the workflow. For example, a workflow tries to create or delete an item when the initiator doesn’t have proper permission, it will fail and gives an Access Denied error. By using App Step, it solves this problem by giving the workflow its own permission set. However, there are some steps that need to be completed to get this working.
So, the first question that comes to mind is, what is App Step? App Step is a provided action for SharePoint 2013 workflow which provides elevated privilege to all the workflow actions that are added inside this App Step. Elevated privilege will work fine even if the workflow initiator doesn’t have the proper permissions. However, by default App Step is disabled for any site-collection. We need to complete some steps to make it available for the site’s workflow.
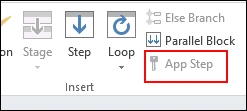
By default, App Step is disabled
The steps to enable the App Step with elevated privilege are given below with proper images. One thing to consider is that to complete these steps, we have to have the Site collection Administrator permission in the site.
Step 1 - Activating Feature
- Go to Site Settings.
- Click on “Manage site features” under Site Actions.
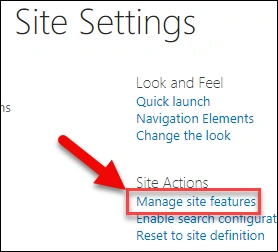
- Here, we have to activate the feature called, “Workflows can use app permissions”.

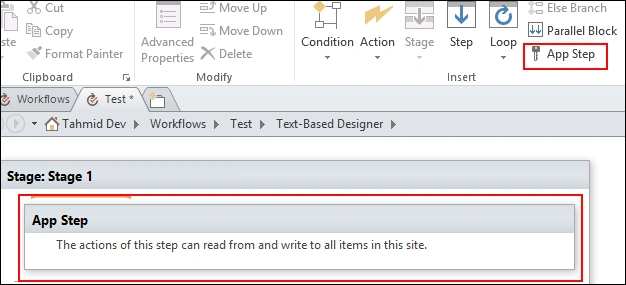
- After activating this feature, the App Step action will be available for the SharePoint 2013 Workflow in SharePoint Designer. But this will not come with the elevated privilege which we wanted. For that, we have to complete the next step.
Step 2 - Provide App Permission
-
Now in the site settings, click on “Site app permissions” under Users and Permissions.
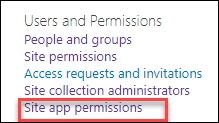
- In the site permission page, we will found all the apps which are being installed in this site, with their identifier. We need to copy the workflow client Id which is a part of the app identifier. The Client id is in between the last “|” and the “@” sign, as shown in the figure below.

- Now navigate to the “Grant permissions to an app” page with this URL “~sitecollection/_layouts/15/appinv.aspx”. The following window will open.
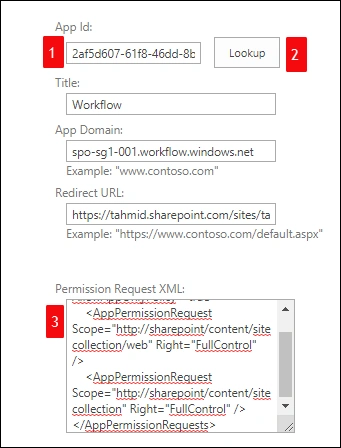
- Provide the “ClientId” in the App Id field (position 1) which we have already copied. Now, click the “Lookup” button (Position 2).
- Other fields such as Title, App Domain, and Redirect URL will be automatically filled with the “Workflow” app’s information.
- Now, we have to provide the App’s permission request XML in position 3.

Join the conversation! Your thoughts help the community grow.