

Material Design is a language of design that was introduced by Google in 2014 for creating more complex, responsive web applications and mobile applications. To use material design in React web applications we need to installa Material UI library in our project. The Material UI open source library provides a set of components that we can use in React applications. We can customize the theme and components of Material UI library.
Official website
https://material-ui.com
Prerequisites
Steps for Material UI installation:
Steps 1
To install Material UI library, we need to create a React application.
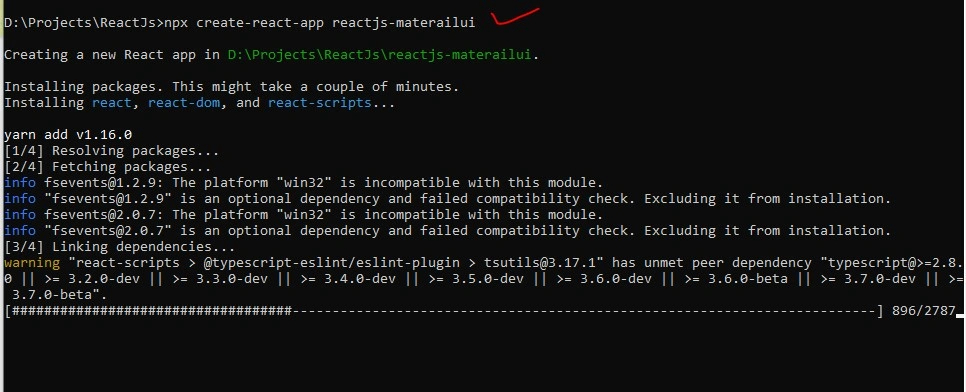
Execute the following npm command to create a web application.
npx create-react-app reactjs-materailui
Steps 2
Now, change the project directory and run development server.
Use the below command,
cd reactjs-materailui
npm start
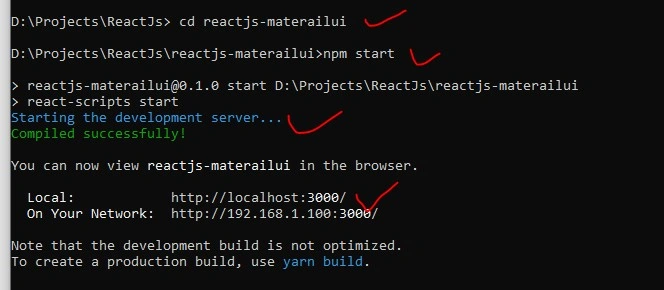
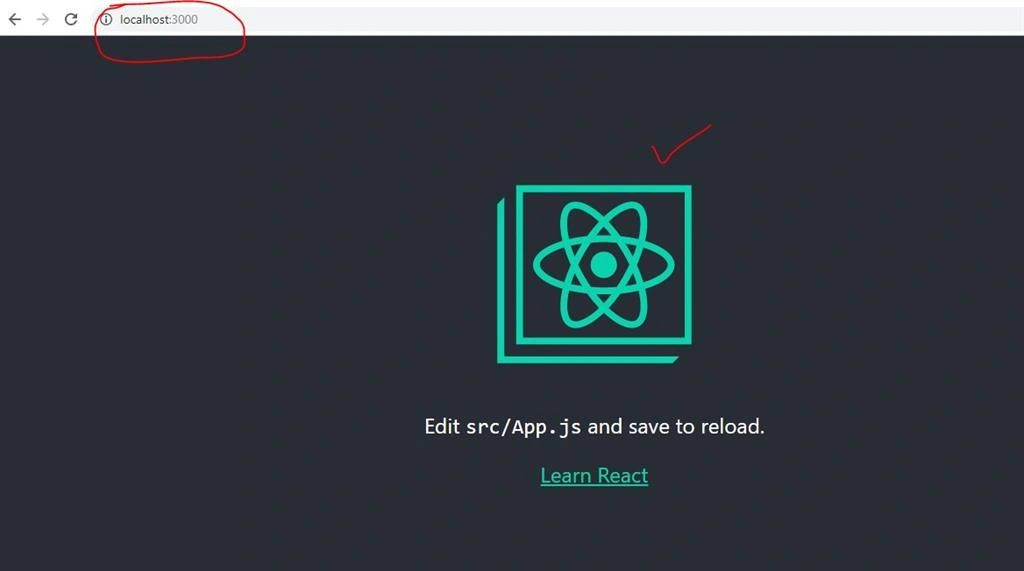
After successful execution of the above command, it will automatically open the browser and run your newly created application on the browser.
Default URL :- http://localhost:3000/
Startup page of React application,
Steps 3
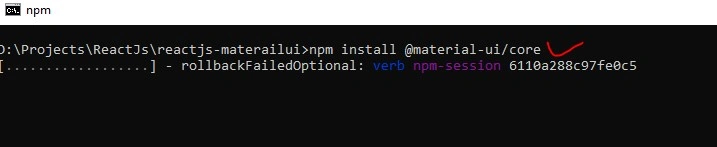
Next, we need to install Material UI library by using the below command,
npm install @material-ui/core
Steps 4
We need to import/install Roboto Font in our application. (Material UI library was designed with Roboto font.)
using CDN: - add below CDN link into index.html
<link rel="stylesheet" href="https://fonts.googleapis.com/css?family=Roboto:300,400,500,700&display=swap" />
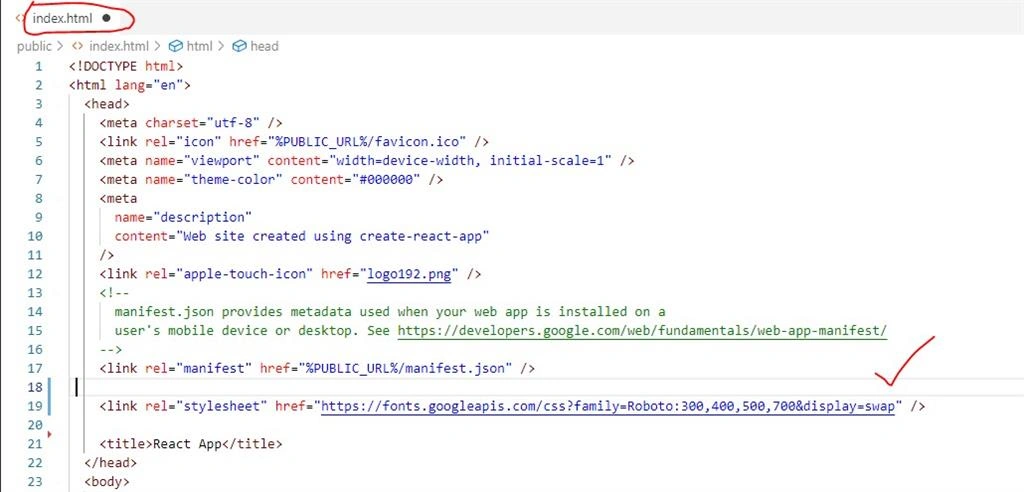
Using install library
Execute the below command,
npm install typeface-roboto –save
Import following line of code into index.js file (Need to import into entry point)
import 'typeface-roboto';
Steps 5
Import Material icons to use the font icon component. Execute the below command to install icons.
npm install @material-ui/icons
Steps 6
Now, it;s time to open your project in code editor. Execute the below command to open created project in Visual Studio code.
code .
Steps 7
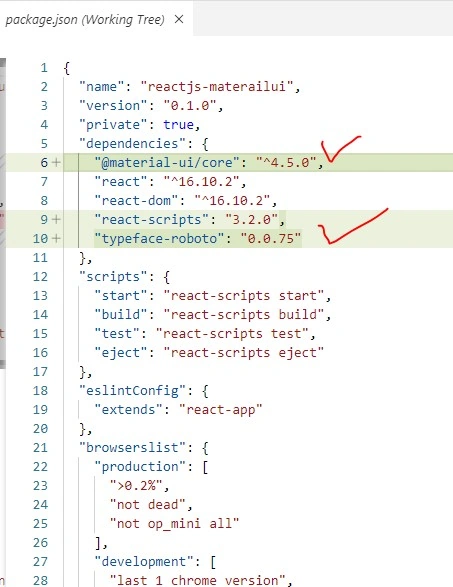
Check material UI library and Roboto font entry into package.json file
Let’s create a login form using Material UI,
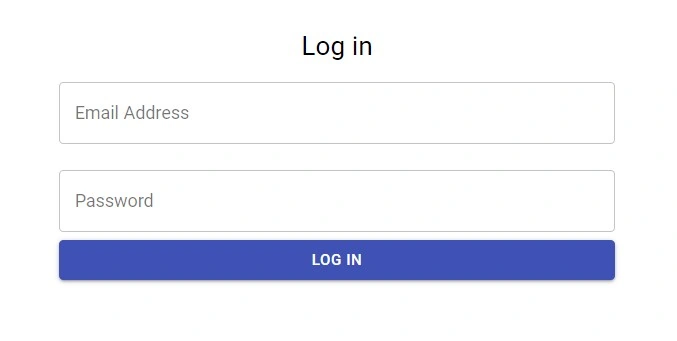
In this example, I am going to create a basic login form UI using Material UI library so that you will get an idea about how to add component in React applications and how to use that component in project code.
Demo screen
Remove existing code from App.js file and add a basic code like below,
- import React from 'react';
- class App extends React.Component {
- render() {
- return (
- );
- }
- }
- export default App;
To add text box for email address and password field, import TextField component from Material UI library. To add button for login form we should import Button component, similarly Grid component for grid layout, Typography for heading. Import the below line of code into App.js file
- import TextField from '@material-ui/core/TextField';
- import Button from '@material-ui/core/Button';
- import Grid from '@material-ui/core/Grid';
- import Typography from '@material-ui/core/Typography';
To create a textbox for email address we need to add TextField component in App component of App.js. Add TextField tag like below code in App component.
Code
- class App extends React.Component {
- render () {
- return (
- <TextField
- variant="outlined"
- margin="normal"
- label="Email Address"
- />
- );
- }
- }
- export default App;
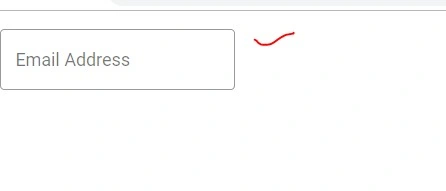
Similarly, add <Button /> tag and <Grid /> tag for creating button and grid layout.
Complete Code
- import React from 'react';
- import Button from '@material-ui/core/Button';
- import TextField from '@material-ui/core/TextField';
- import Grid from '@material-ui/core/Grid';
- import Typography from '@material-ui/core/Typography';
- import 'typeface-roboto';
- class App extends React.Component {
- handleLogin = () => {
- alert("Login form example using MATERIAL UI");
- }
- render() {
- return (
- <Grid
- container
- spacing={0}
- direction="column"
- alignItems="center"
- justify="center"
- style={{ minHeight: '100vh' }}
- >
- <Typography component="h1" variant="h5">
- Log in
- </Typography>
- <form onSubmit={this.handleLogin}>
- <TextField
- variant="outlined"
- margin="normal"
- fullWidth
- label="Email Address"
- />
- <TextField
- variant="outlined"
- margin="normal"
- fullWidth
- label="Password"
- type="password"
- />
- <Button
- type="submit"
- fullWidth
- variant="contained"
- color="primary"
- >
- Log In
- </Button>
- </form>
- </Grid>
- );
- }
- }
- export default App;
Output
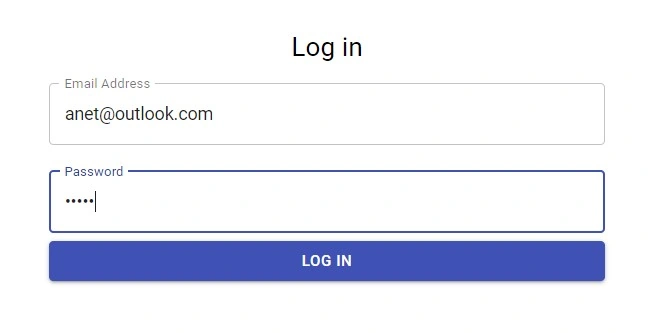
You can see I have created a basic login form design using Material UI library. Design is looking nice and responsive with proper spacing, coloring, and heading.
Summary
In this article, I discussed Material UI library and how to install Material UI library in React web applications. At the end of this article, we saw how to add Material UI components in React web applications and an example of basic login form design.
Join the conversation! Your thoughts help the community grow.