

Introduction
This article demonstrates how to retrieve platform app info in Android and UWP using Xamarin.Forms. Xamarin is a platform that allows us to create a multi-platform mobile application for platforms, like Android, Windows, iOS through the single integrated development environment (IDE). And with Xamarin.Forms, the interface design for all three platforms can be accomplished within its XAML-based standard, native user-interface control.

Android Output
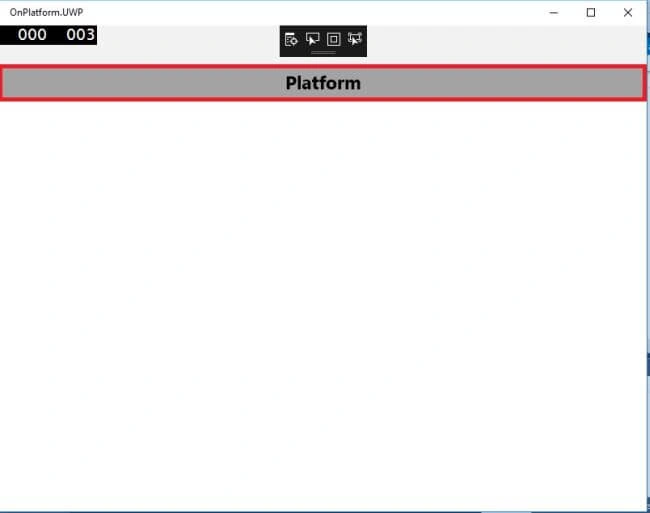
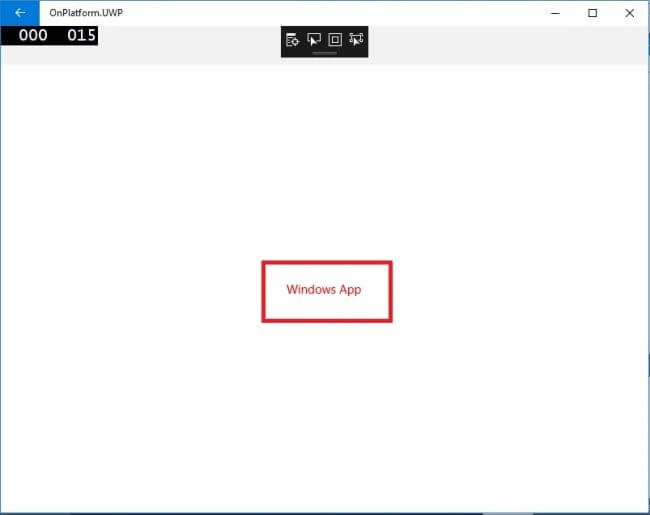
UWP Output
Step 1
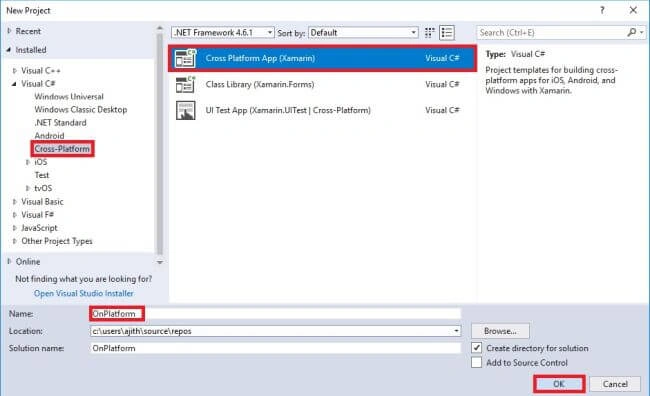
Open Visual Studio and go to New project >> Installed >> Visual C# >> Cross-Platform.
Select Cross-Platform app, then give your project a name and location and click "OK" button.
Step 2
Open Solution Explorer >> Project Name (Portable) >> App.xaml.cs >> Double click will open the design view of this page.
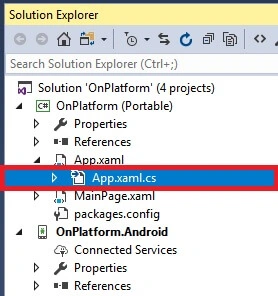
The code is given below just copy it.
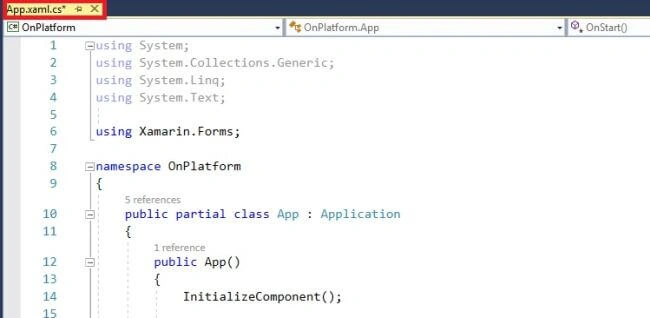
C# Code
- using System;
- using System.Collections.Generic;
- using System.Linq;
- using System.Text;
- using Xamarin.Forms;
- namespace OnPlatform
- {
- public partial class App : Application
- {
- public App()
- {
- InitializeComponent();
- MainPage = new NavigationPage(new MainPage());
- }
- protected override void OnStart()
- {
- // Handle when your app starts
- }
- protected override void OnSleep()
- {
- // Handle when your app sleeps
- }
- protected override void OnResume()
- {
- // Handle when your app resumes
- }
- }
- }
Step 3
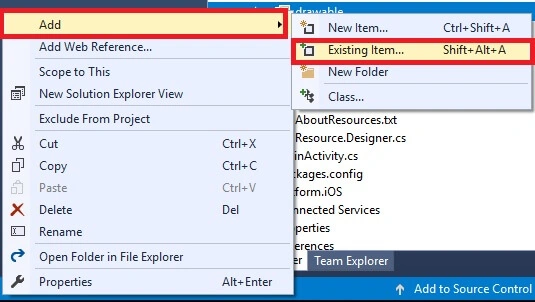
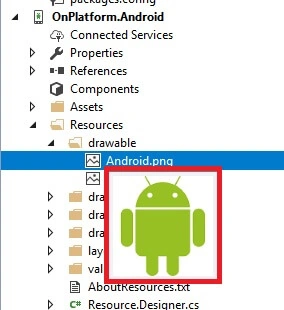
Next, add an image to Solution Explorer >> Project Name.Android >> Resources >> Right-Click >> Drawable >> Add >> Existing Item. When the click an existing item button, it opens a dialogue box.
Choose image location and add images.
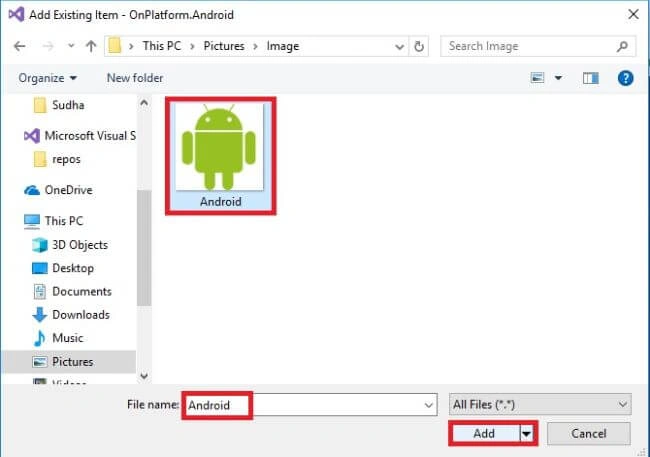
The image is added successfully. Then move the cursor to that image just verify the image.
Step 4
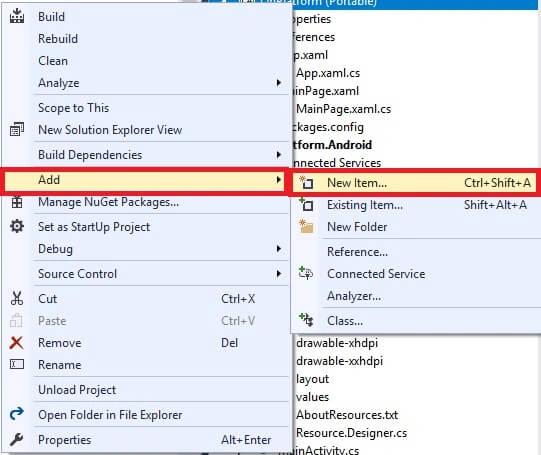
Now, Open Solution Explorer >> Project Bame (Portable) >> Right-Click >> Add >> New Item or ctrl+Shift+A.
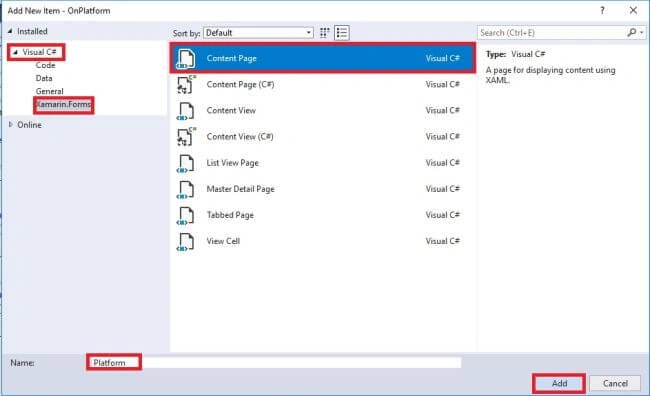
A new dialogue box will open. Now, add the XAML page and give it a name. Click the "Add" button. The XAML page name is "Platform"
Step 5
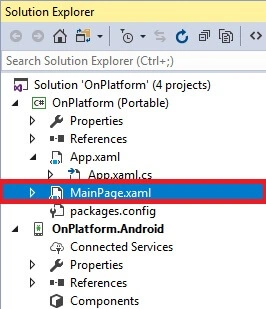
Open Solution Explorer >> Project Name >> MainPage.xaml. Double Click for Opening the design view of this page.
The Code is given below just copy it.
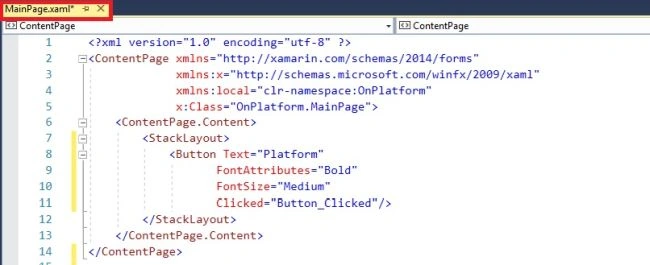
Xaml Code
We are create a button and clicked event inside the stacklayout. The button name is "Platform".
- <?xml version="1.0" encoding="utf-8" ?>
- <ContentPage xmlns="http://xamarin.com/schemas/2014/forms"
- xmlns:x="http://schemas.microsoft.com/winfx/2009/xaml"
- xmlns:local="clr-namespace:OnPlatform"
- x:Class="OnPlatform.MainPage">
- <ContentPage.Content>
- <StackLayout>
- <Button Text="Platform"
- FontAttributes="Bold"
- FontSize="Medium"
- Clicked="Button_Clicked"/>
- </StackLayout>
- </ContentPage.Content>
- </ContentPage>
Step 6
Open Solution Explorer >> Project Name >> MainPage.xaml.cs. Double Click for Opening the design view of this page.
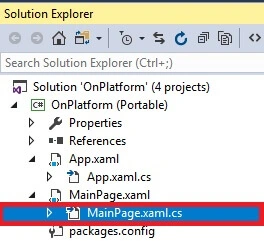
The Code is given below just copy it.
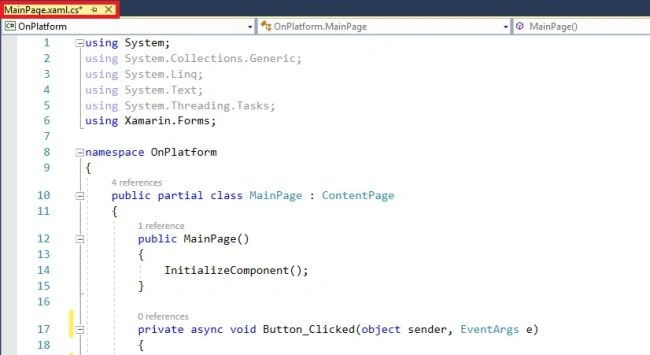
C# Code
The code is button navigation.
- using System;
- using System.Collections.Generic;
- using System.Linq;
- using System.Text;
- using System.Threading.Tasks;
- using Xamarin.Forms;
- namespace OnPlatform
- {
- public partial class MainPage : ContentPage
- {
- public MainPage()
- {
- InitializeComponent();
- }
- private async void Button_Clicked(object sender, EventArgs e)
- {
- await Navigation.PushAsync(new Platform());
- }
- }
- }
Step 7
Open Solution Explorer >> Project Name >>Platform.xaml. Double Click for Opening the design view of this page.
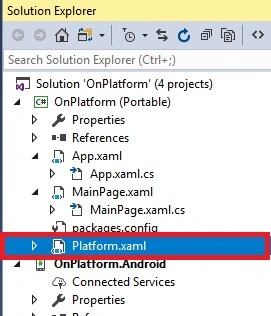
The Code is given below just copy it.
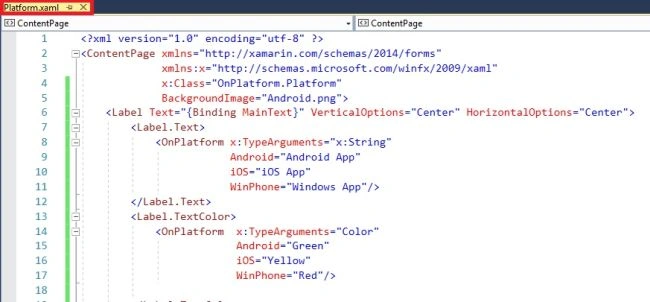
Xaml Code
- <?xml version="1.0" encoding="utf-8" ?>
- <ContentPage xmlns="http://xamarin.com/schemas/2014/forms"
- xmlns:x="http://schemas.microsoft.com/winfx/2009/xaml"
- x:Class="OnPlatform.Platform"
- BackgroundImage="Android.png">
- <Label Text="{Binding MainText}" VerticalOptions="Center" HorizontalOptions="Center">
- <Label.Text>
- <OnPlatform x:TypeArguments="x:String"
- Android="Android App"
- iOS="iOS App"
- WinPhone="Windows App"/>
- </Label.Text>
- <Label.TextColor>
- <OnPlatform x:TypeArguments="Color"
- Android="Green"
- iOS="Yellow"
- WinPhone="Red"/>
- </Label.TextColor>
- </Label>
- </ContentPage>
Step 8
Next, select the Built & Deploy option followed by selecting from the list of Android Emulator or Simulator. You can choose any API(Application Program Interface) Level Emulator or simulator to run it.
Output
After a few seconds, you will see your app working.
Android Output
You can choose Android platform.

Click button "Platform" to navigation platform page and the result is displayed. Android platform's label is green.
UWP Output
Similarly, you can choose UWP.

Click button "Platform" to navigate to platform page.
The result is displayed. UWP's label color is red.
Finally, we have successfully created Xamarin.Forms application.
Conclusion
I hope you have learned Platform App Info In Android and UWP using Xamarin.Forms with Visual Studio and C#
Guest UserPosted Jul 27, 2018, 4:07 AM
Very nice article and neat explanation keep sharing...
Munish APosted Jun 7, 2018, 9:37 PM
Keep sharing bro......