In the previous article, I have given a brief overview of what Swagger is, you can find that article here.
In this article, we will go through how we can implement Swagger with web API.
Testing Web API’s is a challenge. It has a dependency on various third-party tools, requires installing different packages, and it can get all messed up. Swagger can make it easy and quick.
Let’s go ahead and create a Web API Project.

Create a project

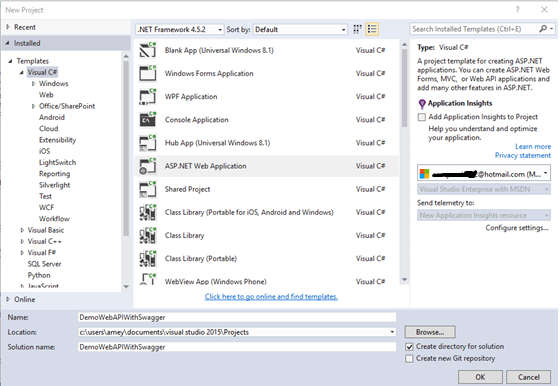
Create an “ASP.NET Web Application.” I have created it with the name- DemoWebAPIWithSwagger.
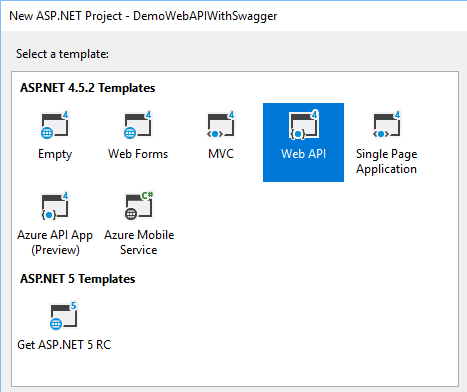
Now, select WEB API and click on OK,

Now, our web API Project has been created so let's quickly write a controller,
Go to controllers (right click) > Add > Controllers.

Select “Empty Web API Controller”; I have named my controller as loginController.
Writing a controller is not in the scope of this article, so to make it quick I will quickly write a static controller, which accepts a JSON value, and returns either successful or unsuccessful.
This is a code snippet for the controller, please import Newtonsoft.Json.Linq.
Once the controller had been created, now it's time to add Swagger into our project, for that we need to add a NuGet Package – Swashbuckle.
![Swagger]()
Once you have installed Swashbuckle to your project you can find a SwaggerConfig file in App_Start.
![SwaggerConfig file]()
By default Swagger does not show XML Comments, there is an option to display them with Swagger UI, but for that, we need to make sure, that when the project is built all the XML comments get saved into the XML file. For that, first, go to project properties. In the Build Section check > XML documentation file, you will then get a path. Mine is bin\DemoWebAPIWithSwagger.XML
Save it with Ctrl + S.
Now, go to the SwaggerConfig file shown above, and here search for c.IncludeXmlComments(GetXmlCommentsPath()) and uncomment it. Now
you can generate the method using Intellisense or you can write a method on the end of the config file.
Note. Change the type of method to string.
We are all done now Let’s run our project.
![Run Application]()
Add /Swagger in url = > http://localhost:5543/swagger
You can find our Swagger UI Here,
![Swagger UI]()
Testing it.
![Testing]()
You can find the code attached.