Image Gallery Web Part in SharePoint Online
This blog post provides a comprehensive guide on using the Image Gallery Web part in SharePoint Online. With the Image gallery web part, you can showcase multiple images in a collection with a title at the top for better organization and visual appeal using various layouts such as Brick, Grid, and Carousel.
Adding Image Gallery Web part in SharePoint Online Page
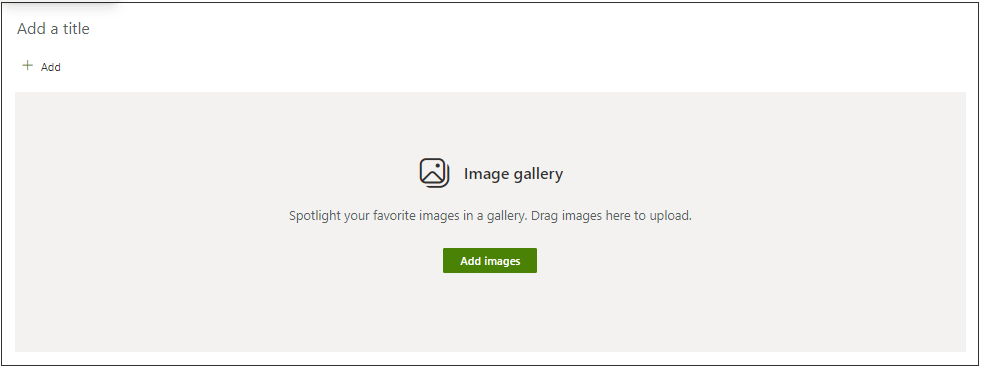
Step 1. To insert the Image Gallery web part into your Site Page, switch to edit mode by selecting "Edit" on the top right, click on the circled "+" icon, and select the Image Gallery web part from the list of available options.

Step 2. Image Gallery Web Part will be inserted under with default layout along with editing options such as Move, Edit, Duplicate, and Delete web part. To open the property pane, click on the Edit web part option.

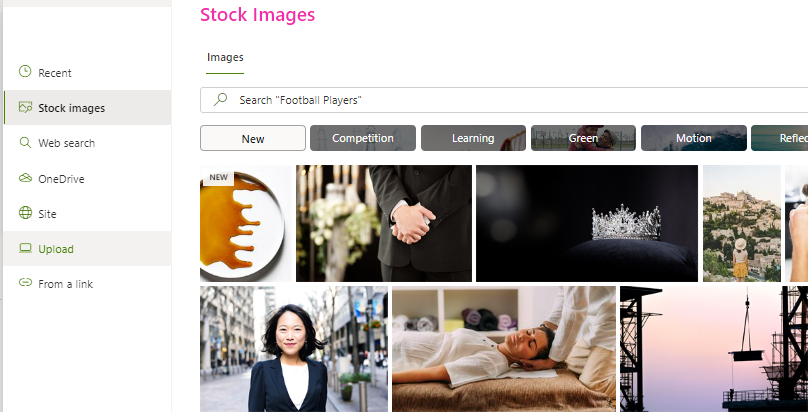
Step 3. Click on Add Images to insert images. This will open the following default options. Select the appropriate option, insert the images, and add the title at the top if required.

Step 4. On click of Edit web part, the property pane on the right side of the screen will be displayed containing the following options.
- Image Options- Select the appropriate option from Select Images and Dynamically display images from a document library (Images can be selected from either Documents or Site Assets).
![Image Gallery Web Part in SharePoint Online]()
- Include subfolders- To insert subfolders, if any.
- A maximum number of images to display 255 images can be inserted.
Step 5. Layouts
The image Gallery web part includes three layouts: Grid, Brick, and Carousel.
Grid Layout
In this layout, the caption and title can only be viewed when the image is open in full size. This layout also has the option to change the Aspect Ratio of the Images.
![Image Gallery Web Part in SharePoint Online]()
Brick Layout
The SharePoint Image gallery web part allows users to rearrange images in a Grid layout and view titles and captions only when images are viewed in full size.
![Image Gallery Web Part in SharePoint Online]()
Carousel Layout
The Carousel layout in the SharePoint Image gallery web part displays captions and titles below the image; it does not allow for re-ordering of images but enables users to navigate through images using arrows or automatic rotation at set intervals.
![Image Gallery Web Part in SharePoint Online]()
Step 6. Editing the Image
Click on the image inserted in the Image Gallery. The property pane with options to edit images will be displayed on the right side of the screen. These options can be used to change the image's title, Add a caption to the selected image, or Add Alternative Text to the image.
![Image Gallery Web Part in SharePoint Online]()
This is how we can use the Image Gallery Web part in SharePoint Online.