

This is the continuation of the series of articles on “Development on PowerApps for Office 365”. There are many small fixations or steps to make your PowerApps completely functional. Today, we are going to see how to use/switch screens on Microsoft PowerApps in Office 365.
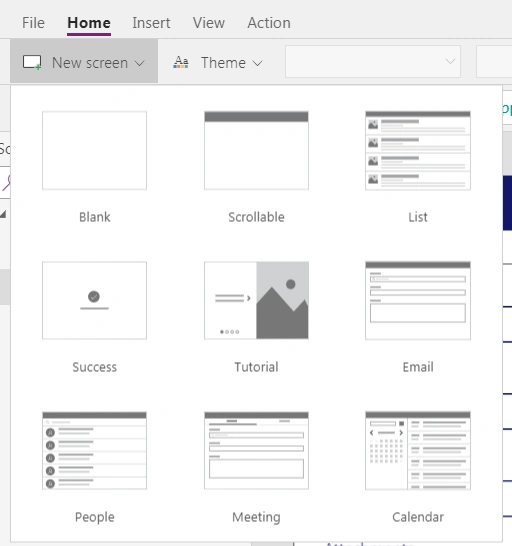
Here, we have different types of screens.
- Blank
This can be used to build any of your customizations.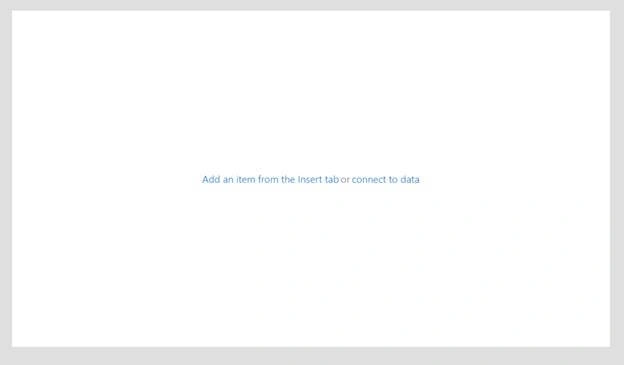
- Scrollable
You can scroll and add sections to your form, making the height of the app form longer with input parameters.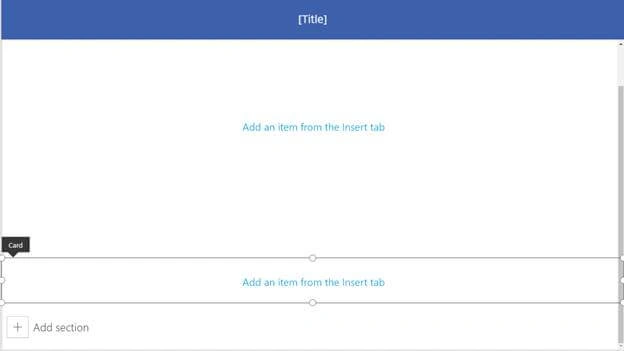
- List
Here, you can list the data from a data source and display them on the PowerApps.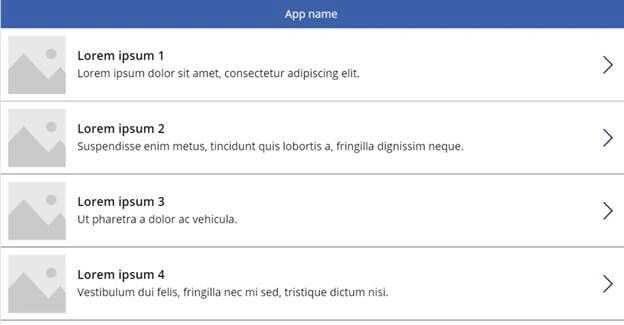
- Success
This screen is used when you pass a function; for example, when you have successfully submitted a file.
- Tutorial
This screen is used as a tutorial for the app or can be used for quizzes and surveys.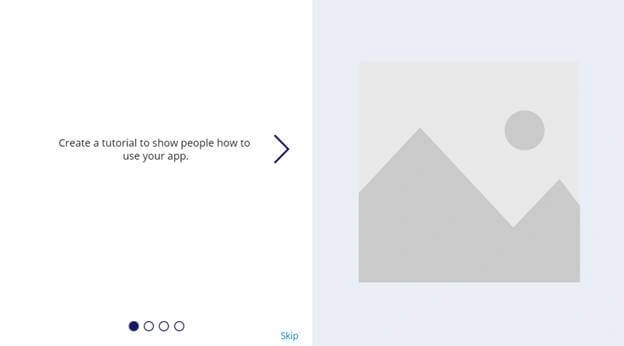
- Email
This screen can be used to send emails or configure them at the user’s end.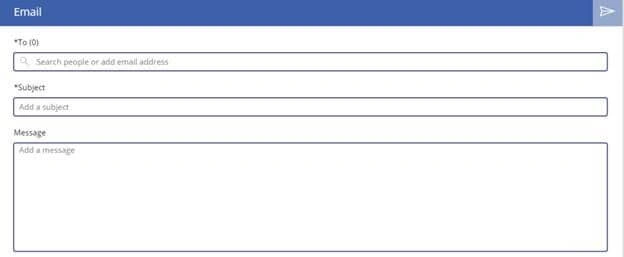
- People
This screen acts as a people directory of your organization.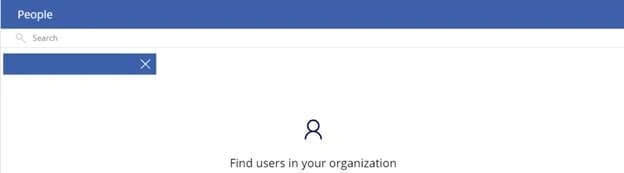
- Meeting
This screen helps you to schedule/invite people for meetings.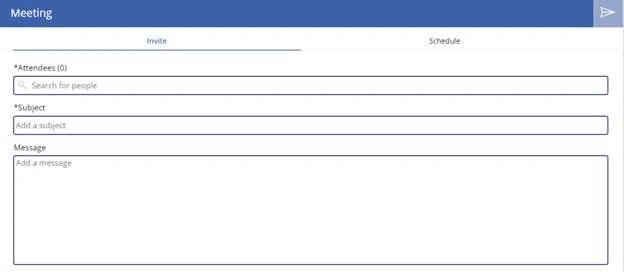
- Calendar
This screen acts as a calendar on your app, portraying all events on the screen.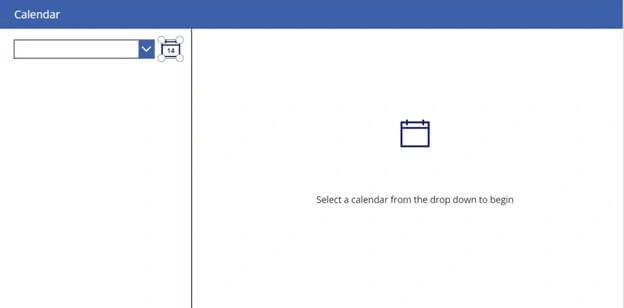
Example
As we saw in my last article, in our app, now we want to submit the form. The data saves on SharePoint but it stays open there. So, you can either direct the users to a link or to another screen or you can even perform another operation.
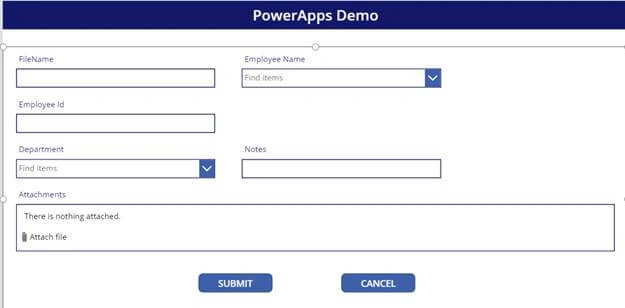
For my demo, on Submit, I will direct you to a next "Thank You" screen. The screen below is built on a blank screen where I have added text, some colors, and a "Close" button to redirect the screen to the SharePoint site.

On the form associated with your PowerApps, under the Advanced section, copy the code written below on the OnSuccess tab.
Navigate(Screen2, ScreenTransition.None)
Note
Screen2 is the name of the screen you want to navigate to.
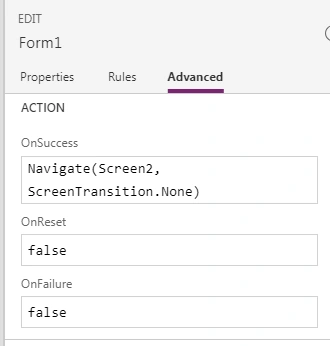
As a screen transition, you can use various parameters.
- Cover
- Uncover
- Fade
- None
Now, whenever the "Submit" button is clicked/tapped, it will direct you to the "Thank You" page automatically and the end-user can click on "Close" to come out of the PowerApps. Similarly, these screens can be used for various purposes.
In this article, we saw how to use/switch screens on Microsoft PowerApps in Office 365. We will see more updates/fixes on PowerApps with Office 365 compatibility in my future articles.
Until then, keep reading & keep learning!
Join the conversation! Your thoughts help the community grow.