

Introduction
In this article, we will learn how to use sweetalert2 in Angular 10 applications. Sweetalert2 is used to display alert messages.
Prerequisites
- Basic Knowledge of Angular 2 or higher
- Visual Studio Code
- Node and NPM installed
- Bootstrap
Create an Angular project by using the following command.
- ng new AngApp
- npm install bootstrap --save
- @import '~bootstrap/dist/css/bootstrap.min.css';
Install sweetalert2
Now install sweetalert2 by using the following command.
- npm install sweetalert2
- <script src="https://cdn.jsdelivr.net/npm/sweetalert2@9"></script>
- ng new Alertmsg
- <div class="row">
- <div class="col-sm-12 btn btn-primary">
- Angular Sweetalert Demo
- </div>
- </div>
- <div style="padding: 5px;margin: 5px;">
- <button class="btn btn-info" style="margin-right: 10px;margin-left: 10px;"(click)="simpleAlert()">Simple Alert</button>
- <button class="btn btn-success" style="margin-right: 10px;margin-left: 10px;" (click)="alertWithSuccess()">Alert with Success</button>
- <button class="btn btn-primary" style="margin-right: 10px;margin-left: 10px;" (click)="confirmBox()">Confirm Box</button>
- <button class="btn btn-danger" style="margin-right: 10px;margin-left: 10px;" (click)="erroalert()">Error Alert</button>
- <button class="btn btn-warning" style="margin-right: 10px;margin-left: 10px;" (click)="topend()">Top End</button>
- </div>
Now open Alertmsg.component.tsfile and add the following code,
- import { Component, OnInit } from '@angular/core';
- import Swal from 'sweetalert2/dist/sweetalert2.js';
- @Component({
- selector: 'app-alertmsg',
- templateUrl: './alertmsg.component.html',
- styleUrls: ['./alertmsg.component.css']
- })
- export class AlertmsgComponent implements OnInit {
- ngOnInit(){
- }
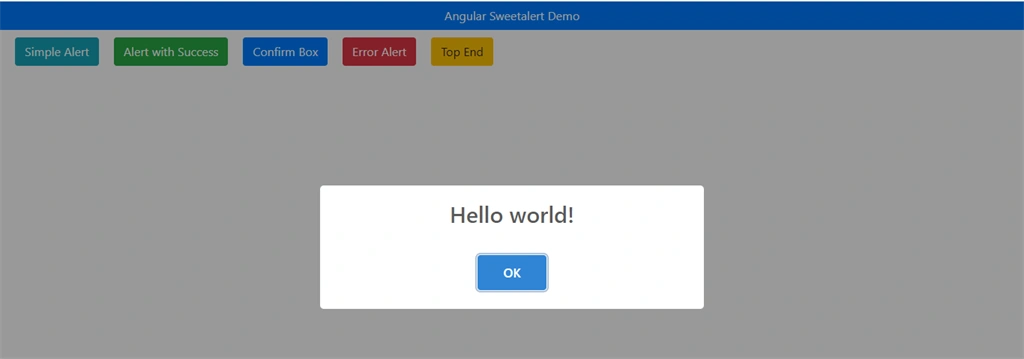
- simpleAlert(){
- Swal.fire('Hello Angular');
- }
- alertWithSuccess(){
- Swal.fire('Thank you...', 'You submitted succesfully!', 'success')
- }
- erroalert()
- {
- Swal.fire({
- icon: 'error',
- title: 'Oops...',
- text: 'Something went wrong!',
- footer: '<a href>Why do I have this issue?</a>'
- })
- }
- topend()
- {
- Swal.fire({
- position: 'top-end',
- icon: 'success',
- title: 'Your work has been saved',
- showConfirmButton: false,
- timer: 1500
- })
- }
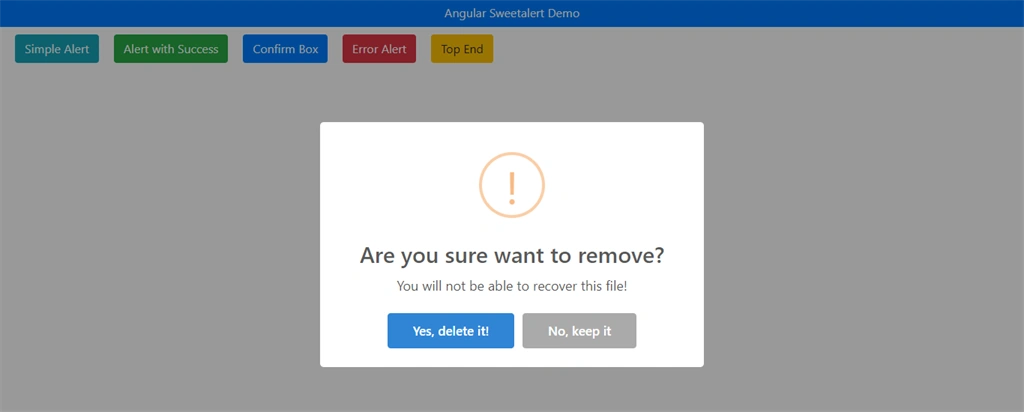
- confirmBox(){
- Swal.fire({
- title: 'Are you sure want to remove?',
- text: 'You will not be able to recover this file!',
- icon: 'warning',
- showCancelButton: true,
- confirmButtonText: 'Yes, delete it!',
- cancelButtonText: 'No, keep it'
- }).then((result) => {
- if (result.value) {
- Swal.fire(
- 'Deleted!',
- 'Your imaginary file has been deleted.',
- 'success'
- )
- } else if (result.dismiss === Swal.DismissReason.cancel) {
- Swal.fire(
- 'Cancelled',
- 'Your imaginary file is safe :)',
- 'error'
- )
- }
- })
- }
- }
Open app.moudle.ts file and add the following code:
- import { BrowserModule } from '@angular/platform-browser';
- import { NgModule } from '@angular/core';
- import { AppRoutingModule } from './app-routing.module';
- import { AppComponent } from './app.component';
- import { AlertmsgComponent } from './alertmsg/alertmsg.component';
- @NgModule({
- declarations: [
- AppComponent,
- AlertmsgComponent
- ],
- imports: [
- BrowserModule,
- AppRoutingModule
- ],
- providers: [],
- bootstrap: [AppComponent]
- })
- export class AppModule { }
Now open app.component.html file and add the following code,
- <app-alertmsg></app-alertmsg>

Now click on the given button and check alert message.
Simple Alert message
Confirm message
Summary
In this article, we learned how to add sweetalert2 in Angular 10 applications.
Moises SerranoPosted May 21, 2021, 5:08 PM
Thank you!!