

Introduction
In this article, we will learn how we can use the Owl Carousel in Angular 8. Carousel is a slideshow for cycling a series of images or videos.
Prerequisites
- Knowledge of Angular 2 or higher
- Visual Studio Code
- Node and NPM installed
Step 1
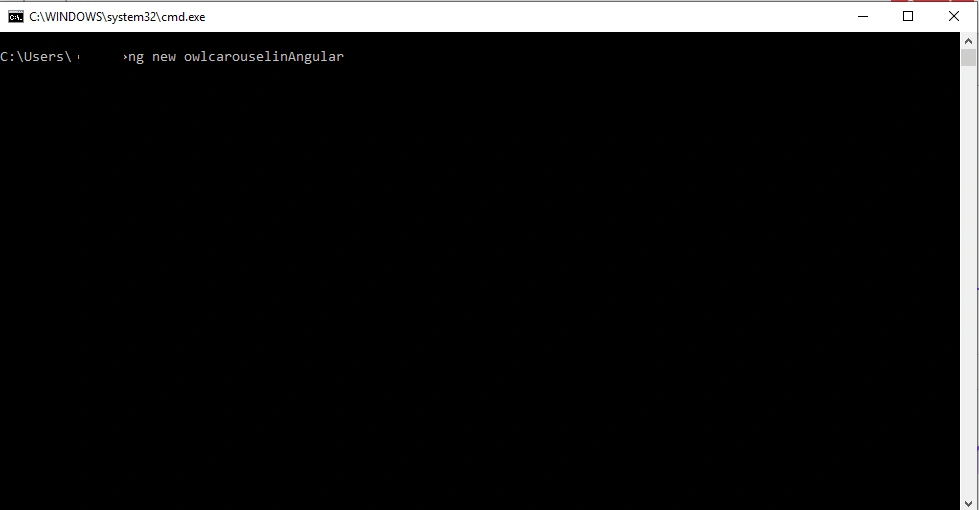
Create an Angular project by using the following command.
ng new owlcarouselinAngular
Step 2
Install Dependencies - Install the required packages by using the following commands.
- npm install ngx-owl-carousel --save
- npm install owl.carousel --save
- npm install --save jquery
Step 3
Now, open the angular.json file and add reference to these libraries.
- "styles": [
- "src/styles.css",
- "./node_modules/owl.carousel/dist/assets/owl.carousel.min.css",
- "./node_modules/owl.carousel/dist/assets/owl.theme.default.min.css"
- ],
- "scripts": ["./node_modules/jquery/dist/jquery.min.js",
- "./node_modules/owl.carousel/dist/owl.carousel.min.js"]
Step 4
Install boostrap by using the following command.
npm install bootstrap --save
Now, open the styles.css file and add Bootstrap file reference. To add a reference in styles.css file, add this line.
@import '~bootstrap/dist/css/bootstrap.min.css';
Step 5
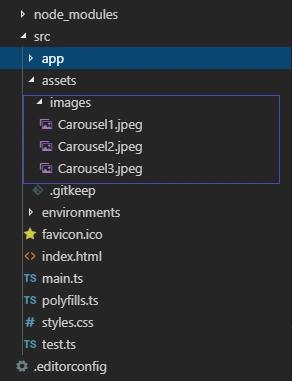
Now, expand the src folder and right-click on the Assets folder. Add a new folder under it and rename that to 'Images' and add some demo images to this folder.
Step 6
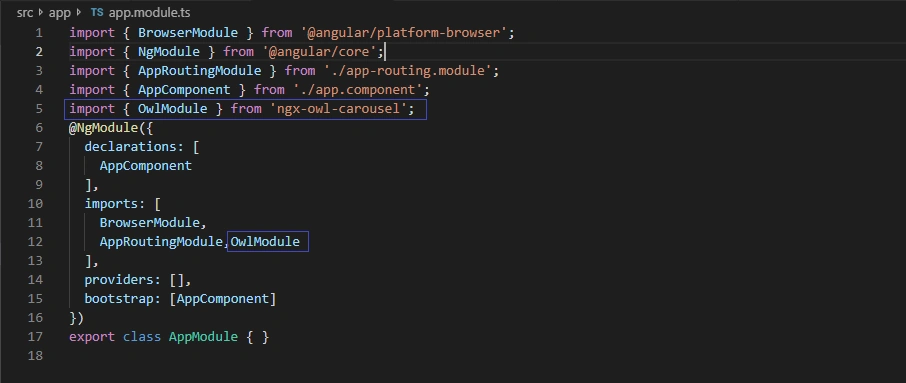
Configure owlModule in app.module.ts file. Let's import the required module in this file.
- import { BrowserModule } from '@angular/platform-browser';
- import { NgModule } from '@angular/core';
- import { AppRoutingModule } from './app-routing.module';
- import { AppComponent } from './app.component';
- import { OwlModule } from 'ngx-owl-carousel';
- @NgModule({
- declarations: [
- AppComponent
- ],
- imports: [
- BrowserModule,
- AppRoutingModule,OwlModule
- ],
- providers: [],
- bootstrap: [AppComponent]
- })
- export class AppModule { }
Step 7
Add the following code in the app.component.ts file.
- import { Component } from '@angular/core';
- @Component({
- selector: 'app-root',
- templateUrl: './app.component.html',
- styleUrls: ['./app.component.css']
- })
- export class AppComponent {
- title = 'owlcarouselinAngular';
- Images = ['../assets/images/Carousel1.jpeg', '../assets/images/Carousel2.jpeg', '../assets/images/Carousel3.jpeg'];
- SlideOptions = { items: 1, dots: true, nav: true };
- CarouselOptions = { items: 3, dots: true, nav: true };
- }
Step 8
Open app.component.html file and add the following lines.
- <div class='container-fluid'>
- <div class="row" style="padding: 20px;">
- <div class="col-sm-12 btn btn-success">
- Use Owl Carousel In Angular 8
- </div>
- </div>
- <owl-carousel [options]="SlideOptions" [items]="images" [carouselClasses]="['owl-theme', 'sliding']" >
- <div class="item" *ngFor="let img of Images">
- <div style="align-content: center">
- <img style="height: 260px;width:100%"src={{img}}/>
- </div>
- </div>
- </owl-carousel>
- </div>
- <router-outlet></router-outlet>
Step 9
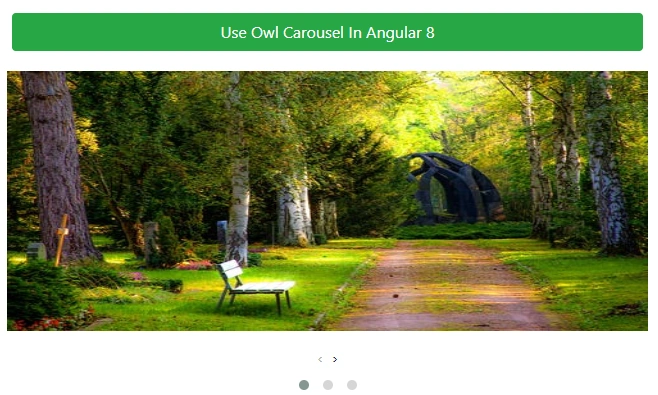
Now, run the project and check the result.
Summary
In this article, we learned how to implement the Owl Carousel in an Angular 8 project, using a simple step-by-step approach.
nikhil jainPosted May 20, 2020, 1:00 AM
How to enable auto acroll after some time difference