

Introduction
In this article, we are going to set up a React Native application development environment using Visual Studio Code editor and Android Studio.
React Native is a JavaScript framework to build mobile applications, which are supportable for both, Android & iOS platforms. The applications need to be coded once and the React Native apps are available for both Android and iOS platforms, which helps in saving the development time.
React Native is built on top of ReactJS which has given some huge competition to the longtime favorite AngularJS and other frameworks. Because React Native is built on top of ReactJS, there are some similarities between ReactJS and React Native.
Advantages
- Mobile applications can be built using web technology so it's easy for a web developer to work on this and create a mobile app.
- Cross-platform mobile application
- Time and cost are saved
- Platform-specific UI design
- Reusable code
Development Environment Prerequisites
- Android
- Node
- NPM
- React Native CLI
- JDK 8 or newer & Python2
Step 1
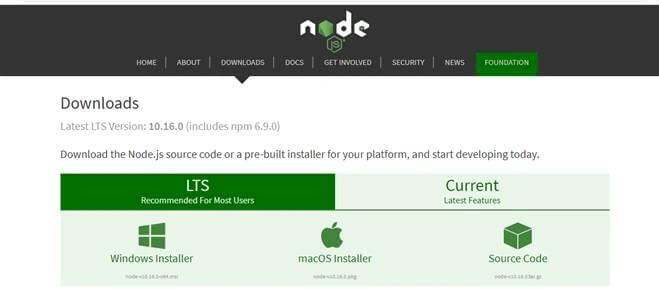
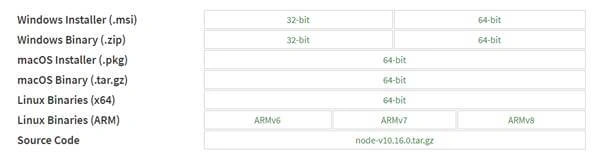
Open the Node Download page in the browser and select Windows installer with 32-bit/64-bit as per requirement. It will download the current version of Node or the user can download the recommended version.
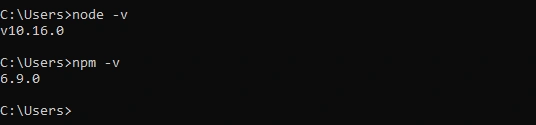
To check the installed version of node, type node –v in command prompt and type npm -v to check npm version.
Step 2 - Installing Dependencies
We require Java SDK and Python2 to work on the mobile application.
To install the above dependencies, we can use Chocolatey or we can separately download these.
Step 1
Download Chocolatey package manager.
Step 2
Open an Administrator command prompt and execute the following command,
choco install python2 jdk8
For downloading these one-by-one, visit the below URLs.
Step 3
To download Android Studio, open https://developer.android.com/studio/ URL in the browser and click on "Download Android Studio".
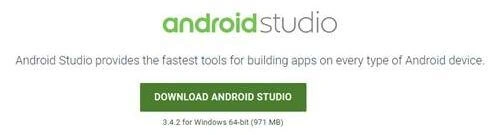
After downloading the installation file, click on it to install (double click) and move next to further installation.
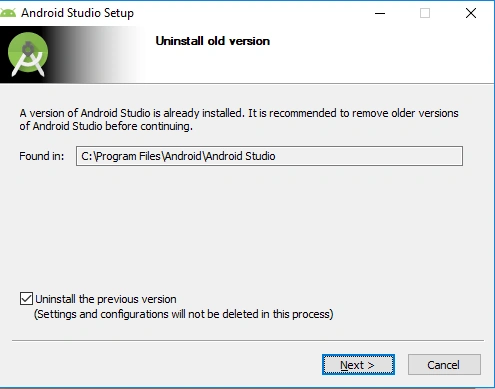
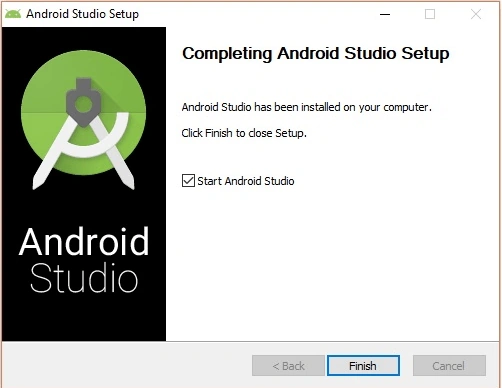
ANDROID_HOME Configuration: - While working with React Native, we need to configure the environment variable and path of the platform tools in order to build apps.
Steps for setting up Android Home Configuration
Step 1
Open Control Panel => System => Advance system settings => Environment Variables => New.
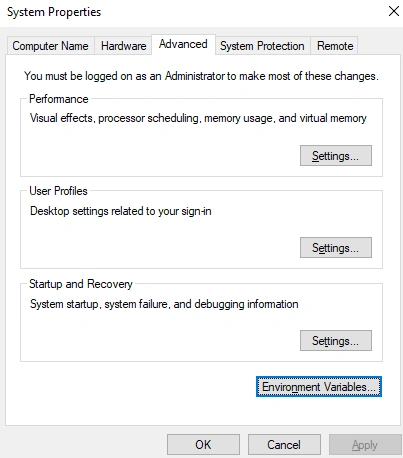
Step 2
Click on New... to create a new ANDROID_HOME user variable which will point to the path of your SDK.
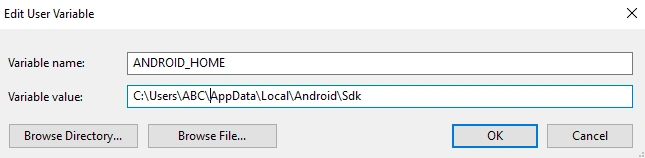
Step 3
Click on OK.
Steps for setup platform-tools to Path
Step 1
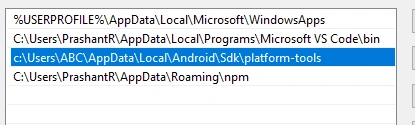
Open Control Panel => System => Advance system settings => Environment Variables => Select Path Variable => Edit => Select New => Add the path to platform-tools to the list.
Configuring AVD Manager: - (Android Virtual Device) Setup
AVD is a configuration or we can say it's a platform that defines the properties/characteristics of Android Phone or Android TV that you want to simulate in the Android Emulator.
Step 1
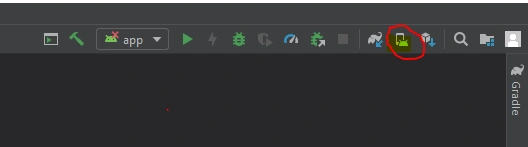
Open Android Studio => AVD Manager Icon (Right side of the Android Studio menu bar).
Step 2
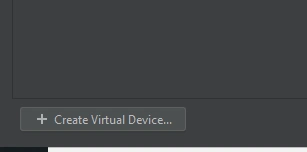
It will open a window to create a virtual device. Click on "Create Virtual Device" button.
Step 3
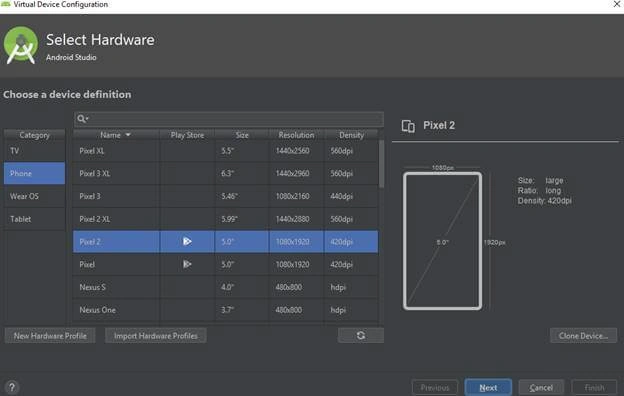
It will open another window to select hardware and to set the other required properties. Click on "Create Virtual Device" button
In my case: - I am selected Phone => Pixel 2 as AVD
Step 4
Click on the new hardware profile.
Step 5
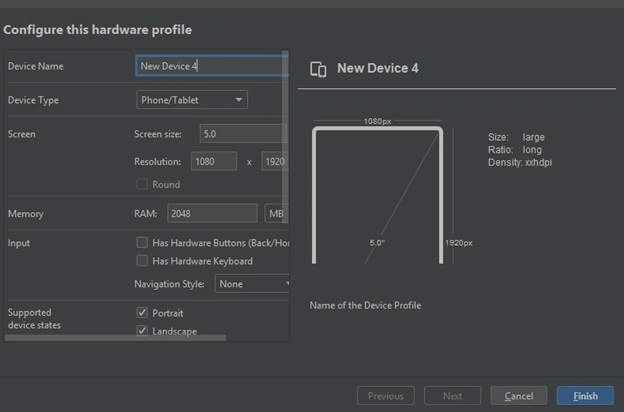
It will open another window to configure the hardware profile.
Give Device Name and set other properties if you require, like RAM capacity, Resolution, etc. and click on "Finish".
Step 6
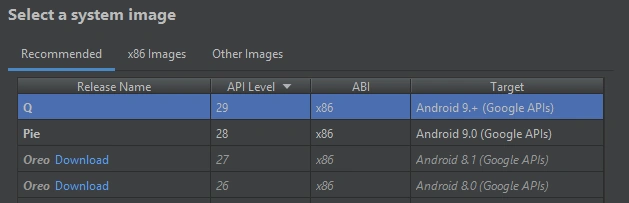
Click on the "Next" button after successful setup of hardware profile which will open a System Image window.
Step 7
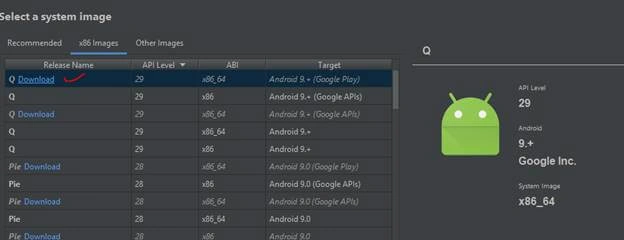
Select the x86 Images tab and then select Q in Release Name (Android 9+) and click on the download link.
Step 8
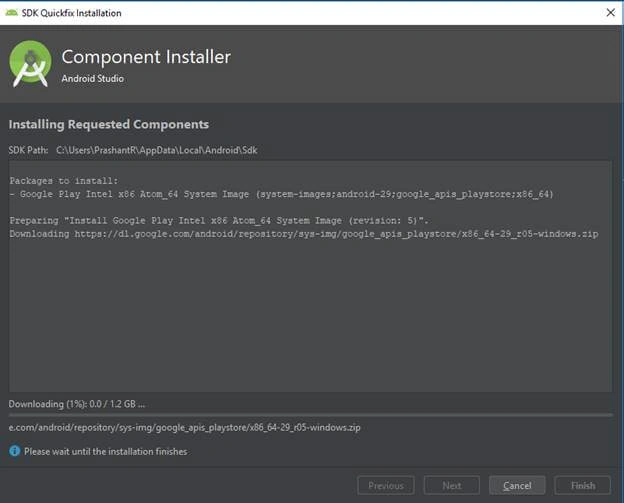
It will open another window to download selected Android component. After download, click on the "Finish" button.
Step 9
Finally, click on the Finish button of the AVD configuration.

Step 10
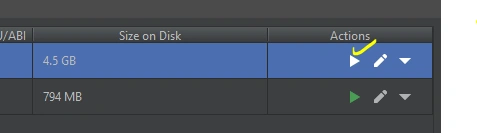
After configuring virtual device successfully, click on the "Play" button which is present under the action column to start Android Emulator.

Step 11
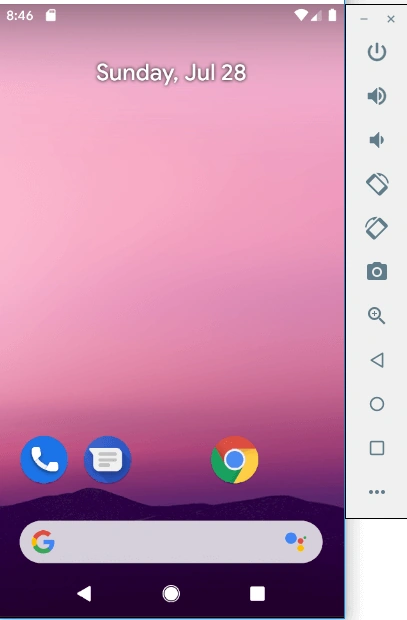
It will open an Android Emulator as per the below image.
Step 4 - Create a new Application
- Install React Native CLI
Run the following command to install the NPM package react-native-cli along with its dependencies inside the globally shared node_modules folder.
npm install -g react-native-cli

- Initiate the project.
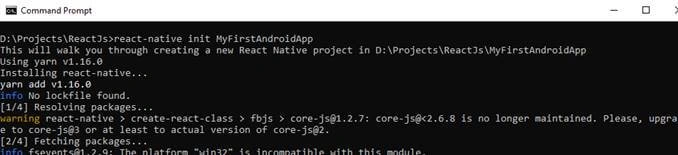
react-native init MyFirstAndroidApp
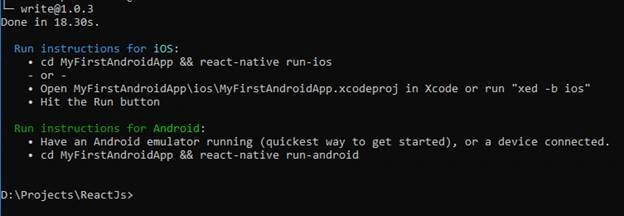
Run the above command to create an application. It will download the actual React Native Framework code and install locally into project folder (It will create a folder with the name of MyFirstAndroidApp /as per mention name).
- Running the project on Emulator
cd MyFirstAndroidApp
react-native run-android

Run the above command to run an application. First, it will open a NodeJS command prompt to run a metro server or React Native packager/Server.
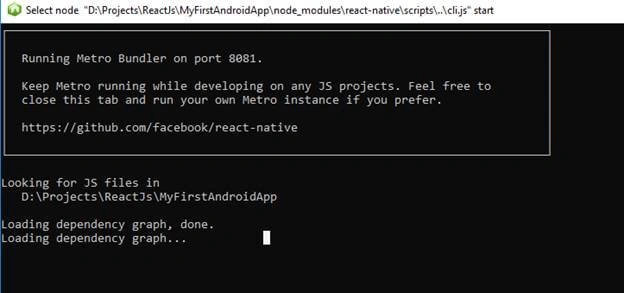
You can find below the type of execution in command prompt (in project terminal command prompt).
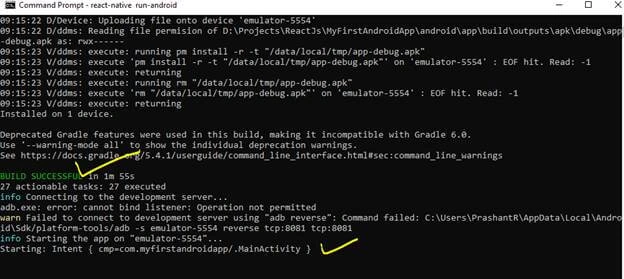
Once it successfully builds, your app execution begins in another prompt you can see its status (NodeJS command prompt).
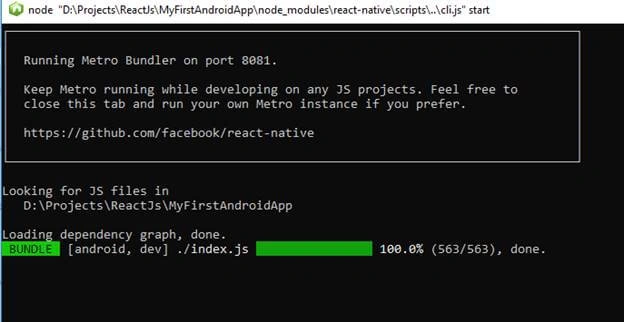
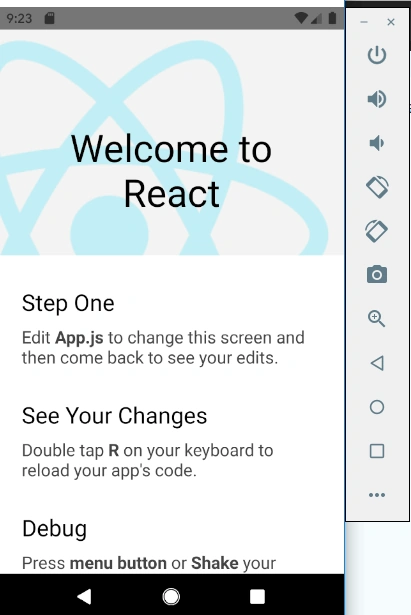
If everything is set up correctly, you should see your application running in your Android emulator like below.
Conclusion
In this article, I have explained the set up of the development environment of React Native for Android apps step by step. Hopefully, it will help you to understand.
Pushkar PhulePosted Aug 4, 2019, 8:14 AM
Thanks for detail steps...
Pravesh TagalpallewarPosted Jul 29, 2019, 10:39 AM
It was very helpful to setup.
Tejas KirangePosted Jul 29, 2019, 10:23 AM
Good article. Very helpful for beginners.