XrmToolBox is a widely used Tool in Dynamics 365 CRM and it has many Tools, which help us in our day-to-day activities in Dynamics.
In the article, will see how to install Tools in XrmToolBox.
Follow the below steps for Installing FetchXML Builder Tool.
Step 1
Launch XrmToolBox.
Step 2
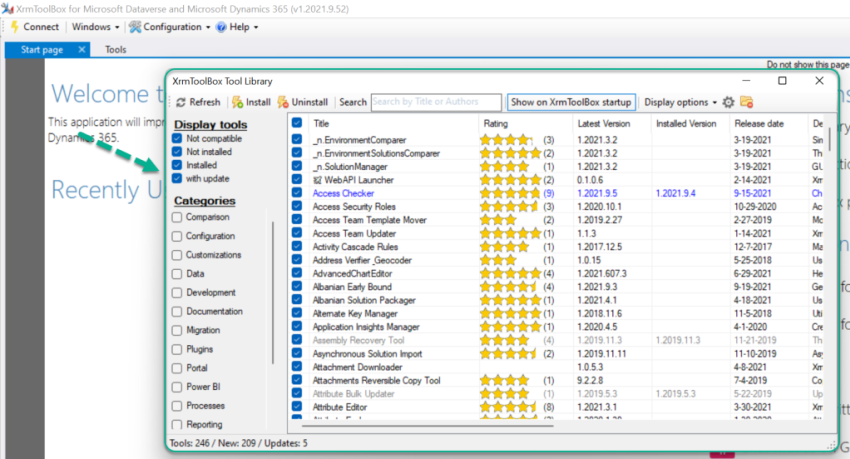
You can see the list of all available Tools in the XrmToolBox Tool Library.

Step 3
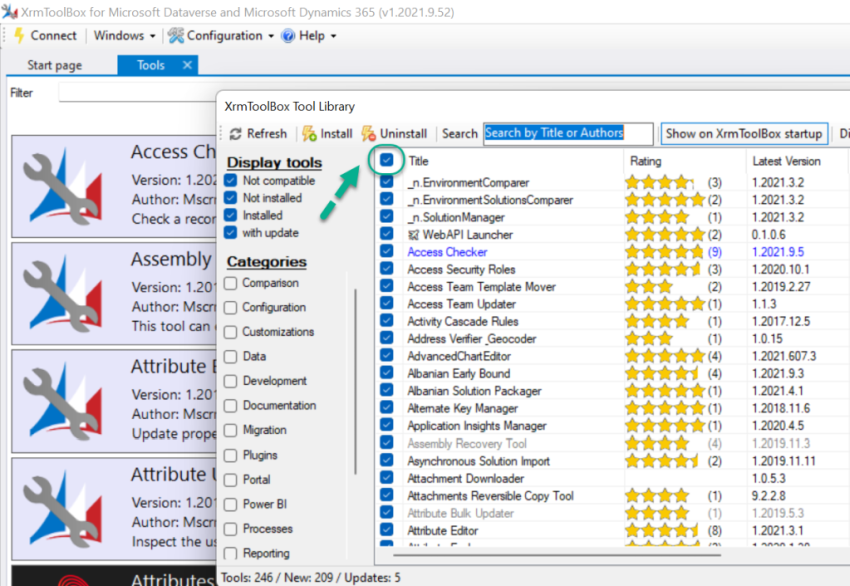
Click on Check button in the header to Uncheck all the Tools and will select only the required Tool(s) to Install.

All the Tools are UnChecked now.
![How to Install Tools in the Dynamics 365 CRM XrmToolBox]()
Step 4
Enter “FetchXML Builder” text in the Search Textbox to get the required Tool in the XrmToolBox.
![How to Install Tools in the Dynamics 365 CRM XrmToolBox]()
Step 5
Select the FetchXML Builder Tool and Click on that row to see the Description of the Tool.
![How to Install Tools in the Dynamics 365 CRM XrmToolBox]()
Step 6
Click on Install.
![How to Install Tools in the Dynamics 365 CRM XrmToolBox]()
Note: If you want to Install multiple Tools at a time, select all the required Tools and Click on Install.
Step 7
Once the installation is successful, you can see the below message and also, the Tool will be greyed out.
![How to Install Tools in the Dynamics 365 CRM XrmToolBox]()
Step 8
Close XrmToolBox Tool Library window.
![How to Install Tools in the Dynamics 365 CRM XrmToolBox]()
Step 9
Go to Tools and provide “FetchXML Builder” in the Filter Text box to see the installed Tool.
![How to Install Tools in the Dynamics 365 CRM XrmToolBox]()
Step 10
Click on the Tool to launch it.
Hope you have successfully installed “FetchXML Builder” tool in XrmToolBox.
Please do like and share your valuable feedback on this article.