

Introduction
In this article, you will learn how to create a custom hook in React 18.2.0 and call it using input components, and it will validate the data. Once data is validated, it will call the respective handler and update the states. In this article, we use UseReducer for state management.
Why do we require a custom hook?
- Custom hooks provide a simple alternative to Higher Order Component and Render props.
- Custom hook provides less repetitive code.
- Custom hook also provides fewer keystrokes.
Topics Covered
This article demonstrates how to build the following,
- Create a custom hook using React 18.2.0.
- Create a sample project to consume the custom hook.
- Testing
Pre-requisites
- Download and install React 18.2.0.
Tools
- React 18.2.0
Task 1. Create a sample react-js application
In this task, you will see how to create a sample react-js application using visual studio code.
Step 1
Open visual studio code and run the command in the terminal.

Step 2
Once the project is created successfully.
Go inside the folder.

And run the project

Step 3
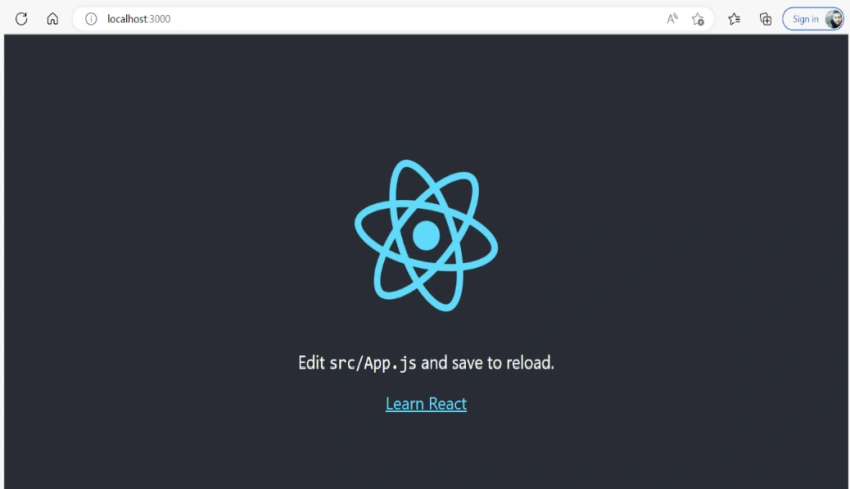
To check default project is running successfully. Consider the below screen.
Once the project runs successfully below screen will appear.
Task 2. Create a new folder like "CustomHook" and add a component in it 'use-input.js'
In this task, you will see how to create a component inside a folder.
Step 1
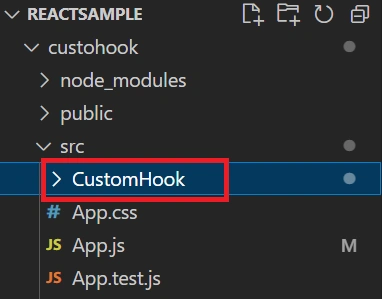
Create a new folder inside src => with the name "CustomHook" and a component.
Don't confuse between my project and folder name. That's why my project name is custohook ('m' Missing), and folder name is 'CustomHook'
Step 2
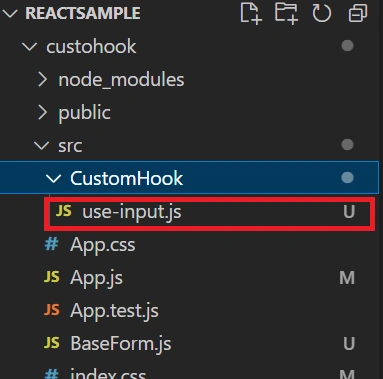
Add a component in this folder with the name use-input.js. As per standard, when we create any custom hook, always start's the name using the 'use' keyword.
Step 3
Put the below code in this file. In the below code, we accept the validation condition as an input parameter, and the output will be an object in which the component will pass/call two handlers.
    valueChangedHandler,
    inputBlurHandler
Those will call and execute at parent components, events will be 'onChange' and 'onBlur'.
With few properties
    value: enteredValue,
    isValid: valueIsValid,
    hasError,
These properties will be used to validate the parent component controls 'values, and the Last property will be used to reset the default value.
reset
import { useReducer } from "react";
const initialInputState = {
value: '',
isTouched: false
}
const inputStateReducer = (state, action) => {
if (action.type === 'INPUT') {
return {
value: action.value,
isTouched: state.isTouched
};
}
if (action.type === 'BLUR') {
return {
value: state.value,
isTouched: true
};
}
if (action.type === 'RESET') {
return {
value: initialInputState.value,
isTouched: initialInputState.isTouched
}
}
return initialInputState;
}
export const useInput = (validateValue) => {
const [inputState, dispatchAction] = useReducer(inputStateReducer, initialInputState);
const valueIsValid = validateValue(inputState.value);
const hasError = !validateValue && inputState.isTouched;
const valueChangedHandler = (event) => {
dispatchAction({
type: 'INPUT',
value: event.target.value
});
};
const inputBlurHandler = () => {
dispatchAction({
type: 'BLUR'
});
};
const reset = () => {
dispatchAction({
type: 'RESET'
});
};
return {
value: inputState.value,
isValid: valueIsValid,
hasError,
valueChangedHandler,
inputBlurHandler,
reset,
};
}
Note: Custom control has one input property, and after validation, either success/failure, it will share the response.
Step 4

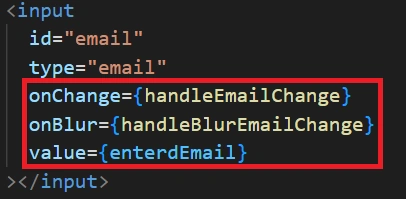
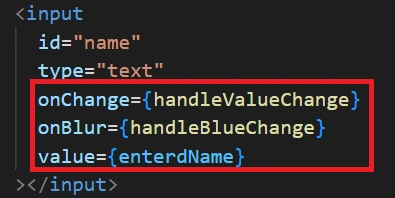
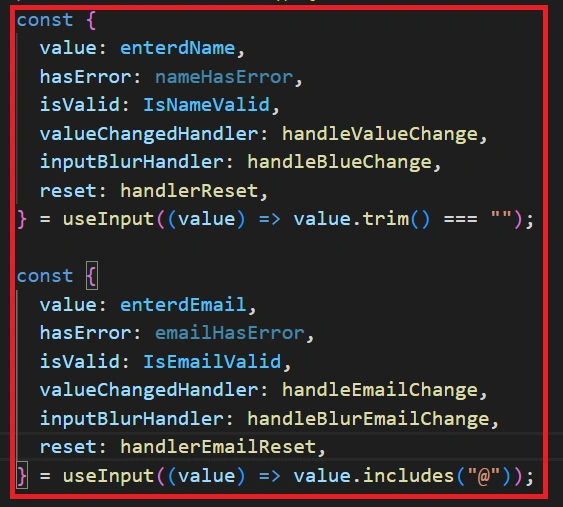
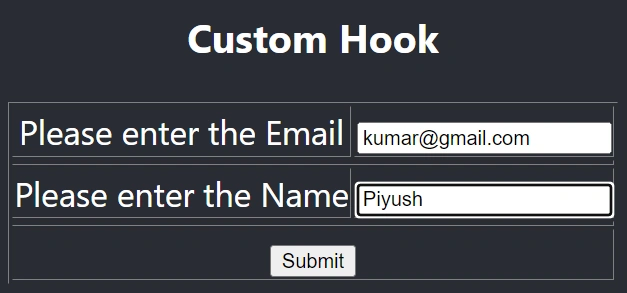
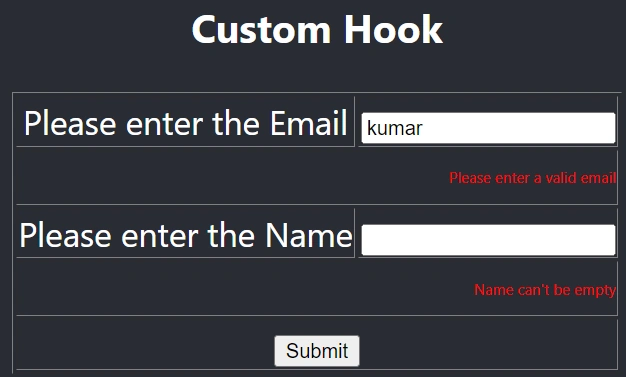
Mahesh VermaPosted Mar 28, 2023, 4:38 AM
Nice...keep it up.