

In this article I would like to introduce you to the most durable, highly available and infinite scalable storage service from Amazon Web Service; i.e. S3.
AWS S3 is an object storage that is used to store any amount of data from anywhere.
S3 data is made up of,
- Key (name)
- Value (data)
- Metadata
- Version ID
- Access Control List
S3 bucket is a container for files/objects where you can store unlimited objects.
An S3 bucket is region specific and has a universal namespace which is unique globally.
S3 bucket URL is in format of- https://s3-<region-name>.amazonaws.com/<bucket-name>
By default a bucket and its objects are all private which means it’s not accessible to any user through the internet. To make it available to the internet you need to make the object publicly accessible.
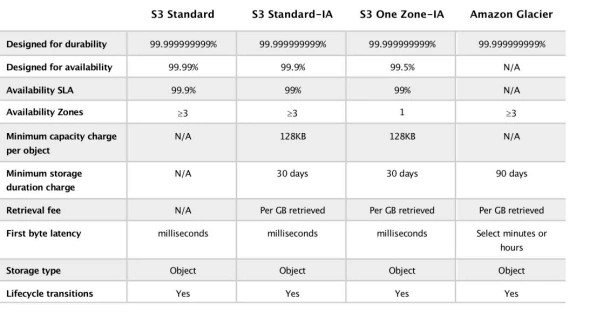
Amazon S3 offers a different range of storage classes,
- S3 Standard – General purpose, Frequently Accessed, Immediately Available
- S3 Standard-IA – Infrequently Accessed, Immediately Available
- S3 One Zone-IA – Infrequently Accessed, Stored redundantly within Single Availability Zone
- S3 Intelligent-Tiering – For data with unknown or changing access pattern
- Amazon S3 Glacier – For archiving data with 3-5 hours of retrieval time
- Amazon S3 Glacier deep Archive – For long term archiving
For object size greater than 100 MB it is recommended to use the multipart upload.
Now let’s jump on to create the S3 bucket using AWS Portal.
Step 1
Login to AWS console here.
Step 2
From storage service, click on S3
Step 3
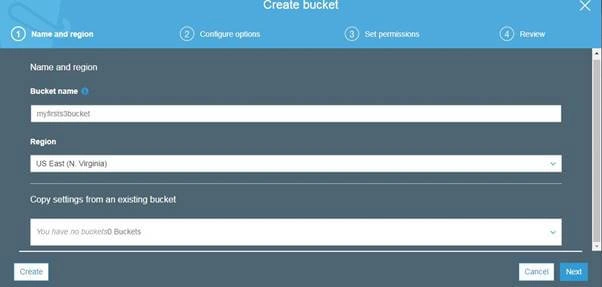
Enter the Bucket name. Remember, bucket name should be unique across globe.
Select the region from the list where you would like to create your bucket.
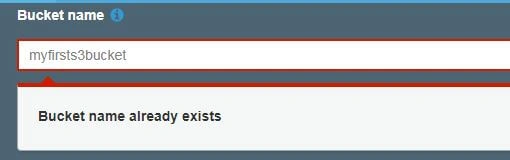
If the name is already taken by some other user then you will get the error message ‘Bucket name already exists’,
Step 4
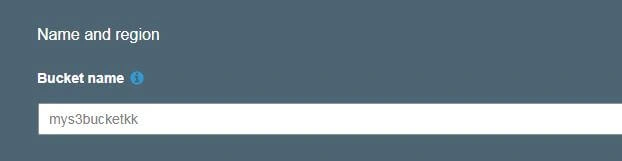
Now I need to choose another name and bucket name ‘mys3bucketkk’ is available.
Step 5
Click Next button.
Step 6
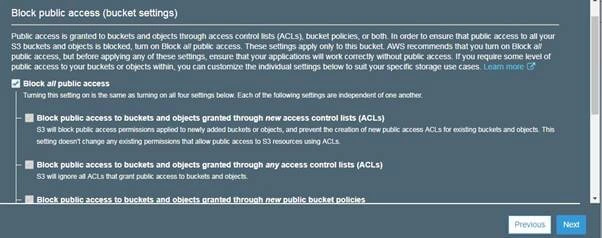
Choose the default setting where access to bucket is blocked publicly. Click Next.
Step 7
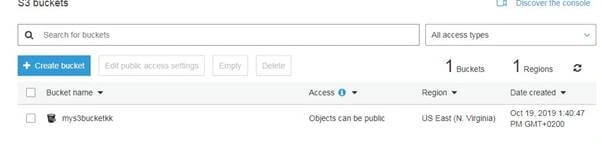
A Bucket has been created and appears in the S3 bucket list.
Step 8
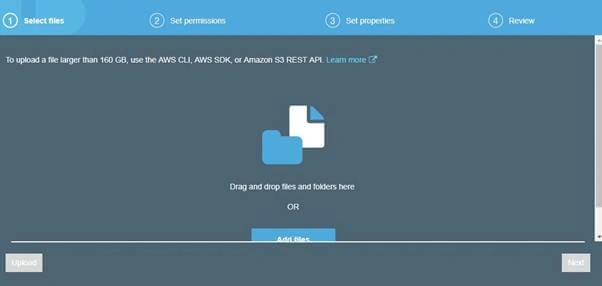
Now you can upload the object to the bucket. Click on Add file and upload the files.
Step 9
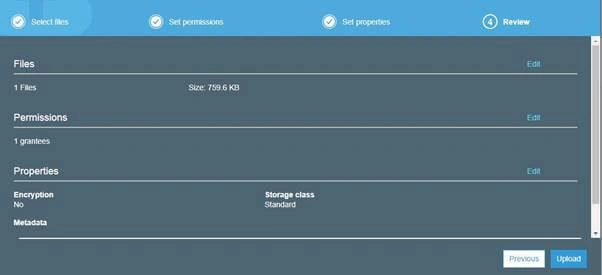
Just choose all the default setting and click on Upload.
Step 10
Once the upload completed, object will be visible in the bucket as shown below,
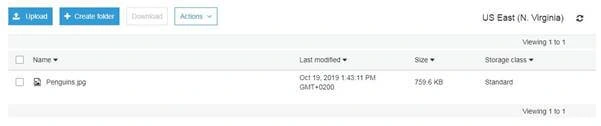
Step 11
An Object URL will be created automatically to access the file from the internet. Click on Object URL.
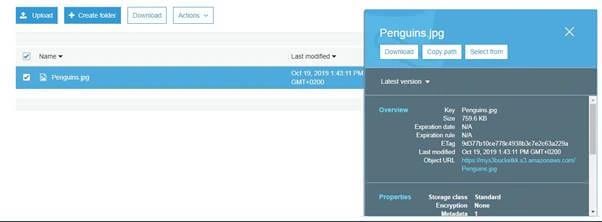
Step 12
By default, the access to objects of S3 bucket are blocked so you will get the below error,
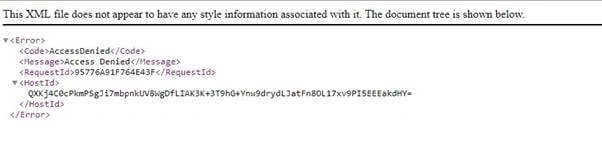
Step 13
To make it accessible from the internet you need to make the S2 bucket public.
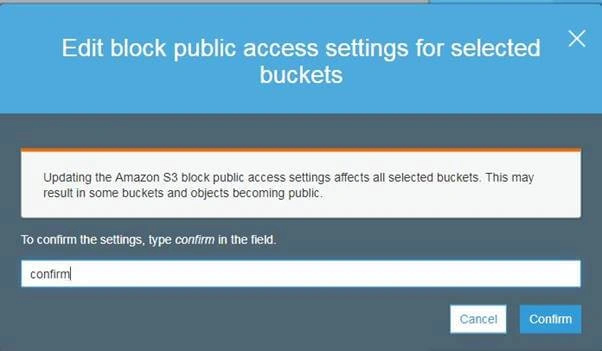
Type confirm in text field and click on Confirm.
Step 14
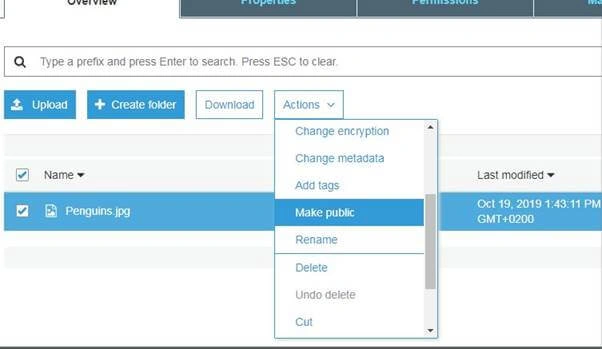
After enabling the public access settings for S3 bucket you also need to make the object public.
Select the object ‘Penguins.jpg’ and click on Actions dropdown. Click Make public.
Step 15
Now you have adjusted all the necessary setting to access the object publicly.
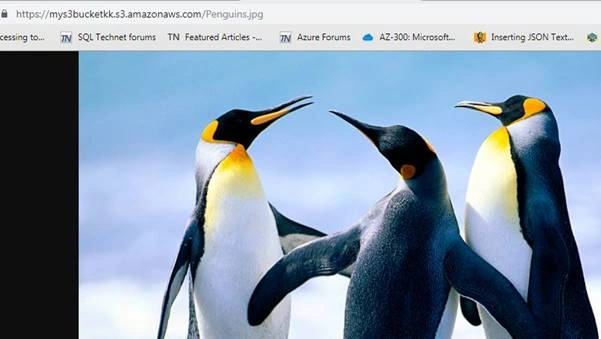
Again click on Object URL and this time you will be able to see the content.
So, this is how you can create the S3 bucket and store the object in a bucket.
Join the conversation! Your thoughts help the community grow.