

Introduction
In this article, I am going to explain how to connect to SQL Server from the SQL Server Management Studio after installing SQL Server 2019 and executing a query, and talk about what’s new in SQL Server 2019, which is the latest version.
Read my previous article, “How To Install SQL Server 2019”, before reading this article. It talks about how to download and install SQL Server 2019 Developer Edition.
Prerequisites
- SQL Server 2019
What's new in SQL Server 2019?
Features
- Data virtualization and SQL Server 2019 Big Data Clusters
- Intelligent Database
- Intelligent Query Processing
- In-Memory Database
- In-Memory Database
- Monitoring
- Developer experience
- Graph
- Unicode support
- Language extensions
- Spatial
- Error messages
- Mission-critical security
- High availability
- Availability Groups
- Recovery
- Resumable operations
- Platform choice
- Linux
- Containers
- Setup options
- SQL Server Machine Learning Services
- SQL Server Analysis Services
- SQL Server Integration Services
- SQL Server Master Data Services
- SQL Server Reporting Services
To get more details about what’s new in SQL Server 2019 Click here.
Connect To The SQL Server Using SQL Server Management Studio 2019 (SSMS)
To connect SQL Server 2019 using the Microsoft SQL Server Management Studio 2019, you use these steps,
Step 1
First, install SQL Server 2019 in your system.
Step 2
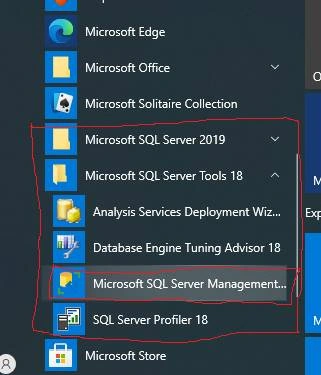
Go to all programs in your systems, we can see two folders one is Microsoft SQL Server 2019 and another one is Microsoft SQL Server Tool 2018. Under Microsoft SQL Server Tools 18 you can see the Microsoft SQL Server Management Studio 18.
Step 3
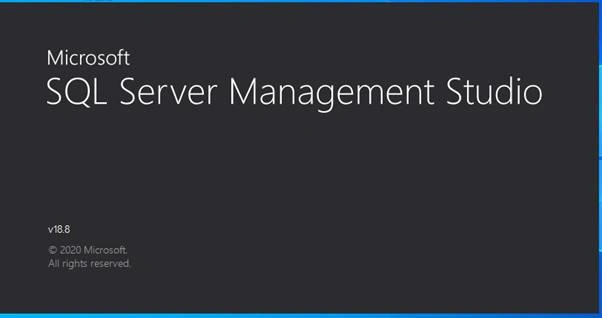
Double-click on SQL Server Management Studio 18 and it will open. It looks like the below screenshot. Opening it the first time it will take a few minutes.
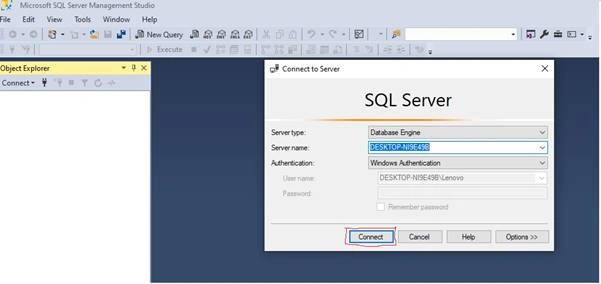
After opening SQL Server Management Studio 2018, we can see it looks like the below screenshot.
Step 4
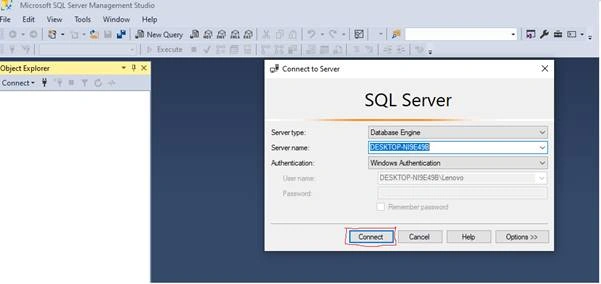
Now connect to the server and use the SQL Server Management Studio 2019. Click the Connect button to connect the SQL Server.
Step 5
If the connection is established successfully, then you will see the Object Explorer panel,
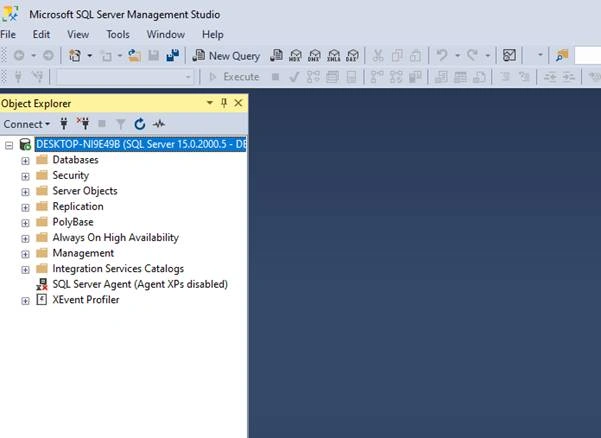
Execute a query
Now click on New Query, to open your new query window.
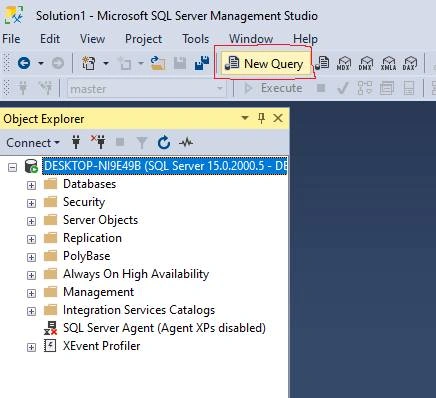
New query window.
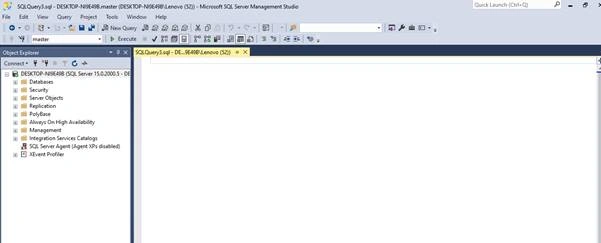
Now, first we will create a Database and a table.
Creating Database and One Table
Step 1 - Create a Database
Open your SQL Server and use the following script to create the “Chittadb” Database.
- create database Chittadb
Now, select the script query then press F5 or click on Execute button to execute the above script.
You should see a message, “Command(s) completed successfully.” Means your new database is created.
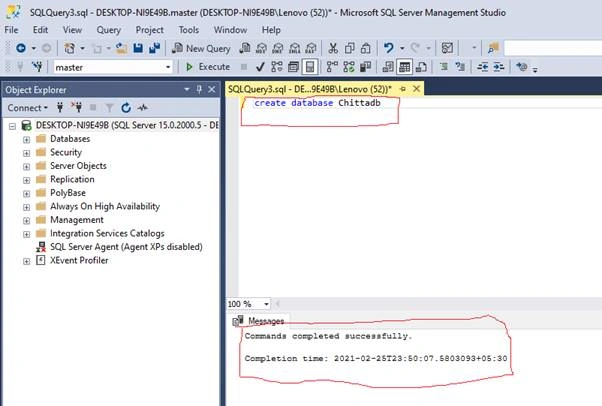
We can check now if the database is created or not.
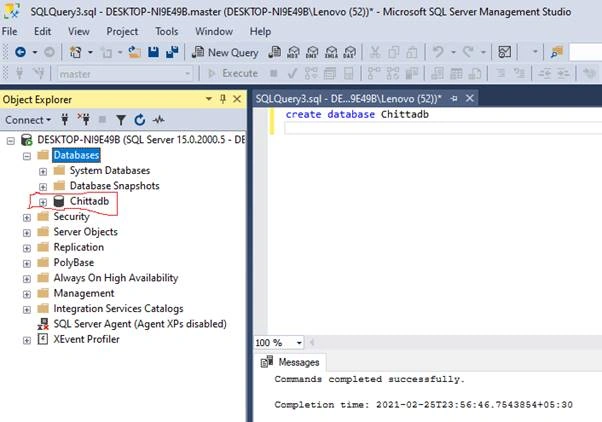
Our database is created.
Step 2 - Create a table
Open your SQL Server and use the following script to create table “tbl_Employees”.
- Create table tbl_Employees
- (
- Id int primary key not null identity(1,1),
- FirstName varchar(50),
- LastName varchar(20),
- Location varchar(20),
- Gender varchar(50),
- Salary int
- )
Execute the above query to create “tbl_Employees “.
You should see a message, “Command(s) completed successfully” with completion time.
Now, data is inserted into the table.
- Insert into tbl_Employees values ('Chittaranjan', 'Swain','Odisha', 'Male', 80000)
- Insert into tbl_Employees values ('Chandin', 'Swain', 'Pune','Female', 76000)
- Insert into tbl_Employees values ('Mitu', 'Pradhan','Delhi', 'Male', 55000)
- Insert into tbl_Employees values ('Jeni', 'Swain','Chennai', 'Female', 76000)
- Insert into tbl_Employees values ('Adyashree', 'Swain','UK', 'Female', 49000)
- Insert into tbl_Employees values ('Ram', 'Kumar','US', 'Male', 39000)
- Insert into tbl_Employees values ('Jitendra', 'Gouad','Hydrabad', 'Male', 35000)
- Insert into tbl_Employees values ('Dibas', 'Hembram','Bangalore', 'Male', 55000)
Execute the above query, you should see a message, “Command(s) completed successfully.”
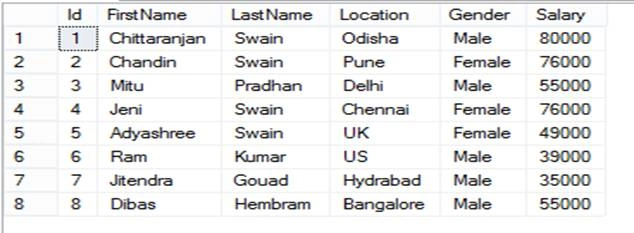
Now retrieve all data from “tbl_Employees” table.
- select * from tbl_Employees
Output
Conclusion
In this article we explained how to connect SQL Server and execute a query from the SQL Server Management Studio 2019 (SSMS) and how to create a database and a table.
Join the conversation! Your thoughts help the community grow.