

In this article, we will learn how to use the Deployment Manager to deploy a VM Instance as well as monitor it in the Google Cloud Platform. If you are new to this series about Google Cloud Platform, I recommend you to go through the below articles of this series,
- Setting Up LAMP Certified by Bitnami In Google Cloud Platform
- Create Virtual Machine Instance in Compute Engine in The Google Cloud Platform
- Create a storage bucket in Google Cloud Platform
- Getting Started with Cloud SQL in Google Cloud Platform
- Working Up With Google Kubernetes Engine In Google Cloud Platform
Let’s begin.
Step 1
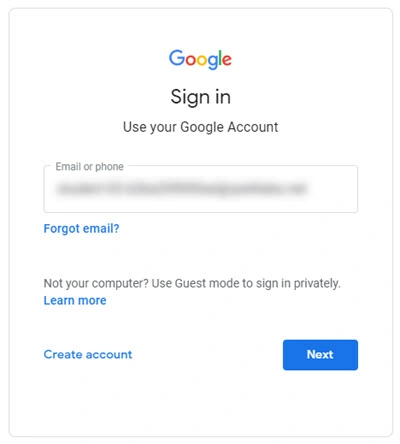
Log in to the Google Cloud Platform by visiting https://console.cloud.google.com/ (Google provides $300 as a free trial, but for that, you need to link your credit card).
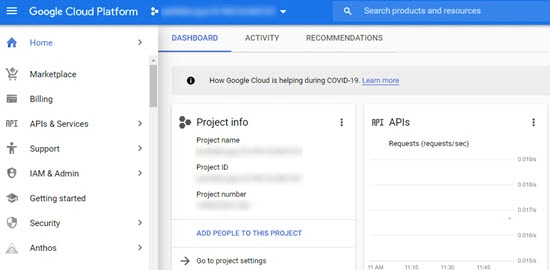
Once logged in, you will be redirected to the dashboard of the Google Cloud Platform.
Step 2
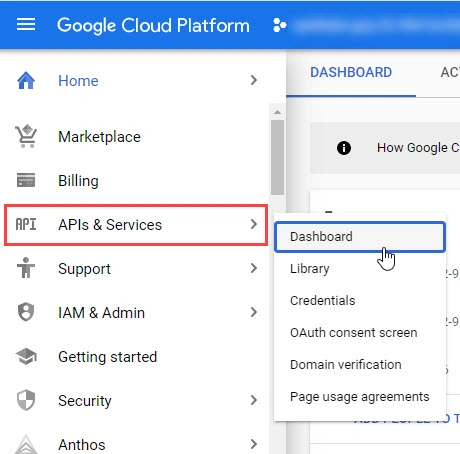
Go to APIs & Services, and Cccick on dashboard
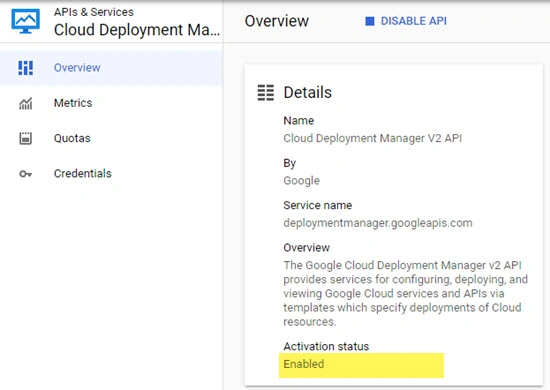
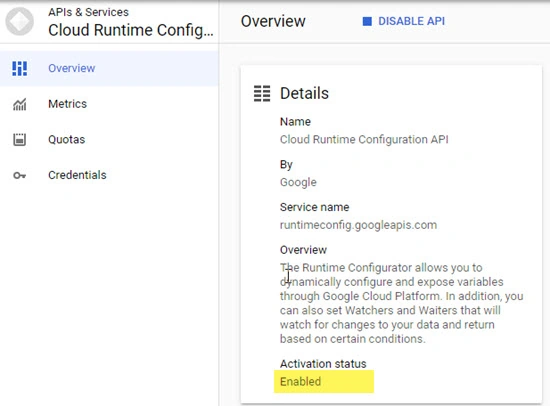
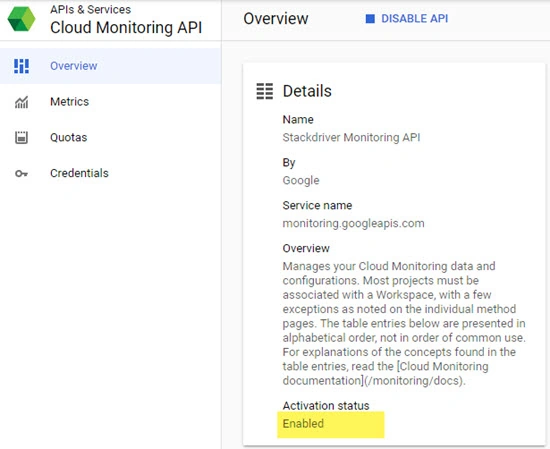
Make sure you Cloud Deployment Manager V2 API, Cloud Runtime Configuration, and Stack Driver Monitoring API are running (If you want to monitor, troubleshoot & improve application performance on your Google Cloud).
Step 3
Click on the Google Cloud Shell icon and create a .yaml file (named It as mydeploy.yaml). You can use nano editor in order to do this. (Please refer here in order to understand the basic configuration required to create .yaml deployment configuration)

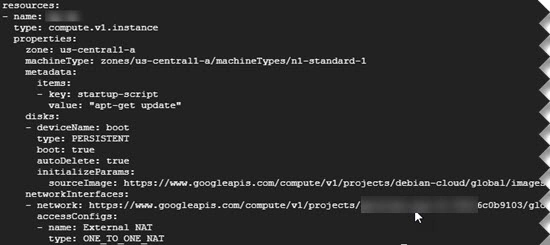
.yaml file contains the configuration for the VM Instance like VM Name, Type, Zone, Machine Type, etc. as shown in the below image.
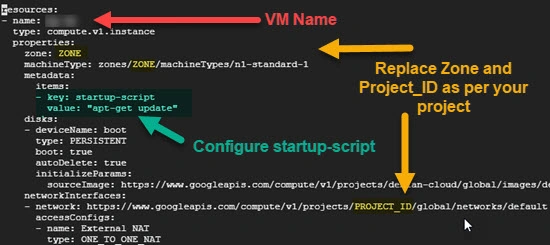
Once everything is configured, mydeploy.yaml will look like as shown below:
Step 4
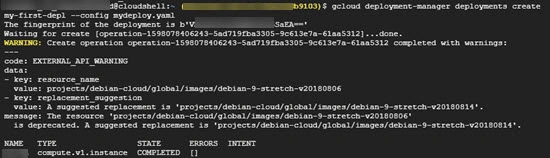
Run the below command in the Google cloud shell as mentioned below,
gcloud deployment-manager deployments create my-first-depl –config mydeploy.yaml
Step 5
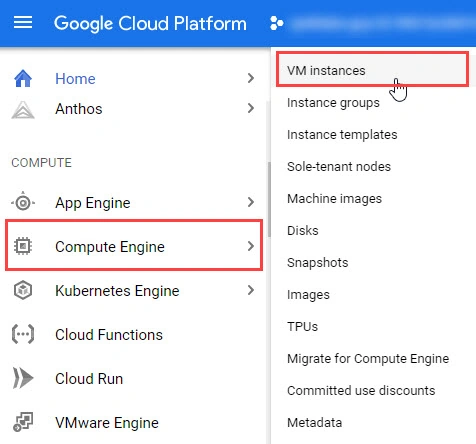
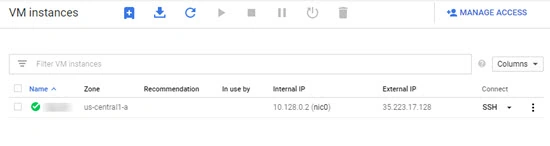
Click on the VM Instance Name, Check the Startup-Script section.
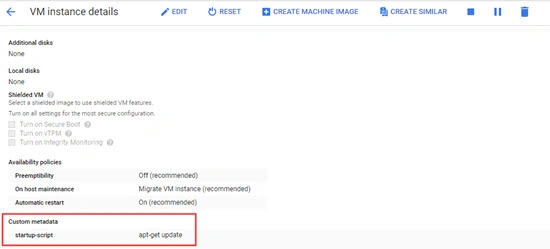
Let’s edit the startup-scripts in the deployment.yaml config file as shown in the below image,
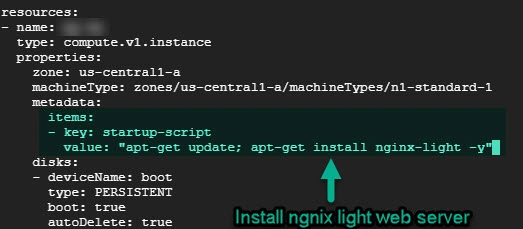
Run the below command in order to update the deployment/VM instance.
gcloud deployment-manager deployments update my-first-depl –config mydeply.yaml

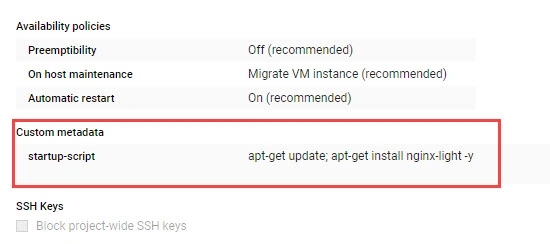
Once updated, Visit the VM Instance again, you will see that startup-script under the custom-metadata section is also updated.
Monitoring of Google Cloud Services
Step 1
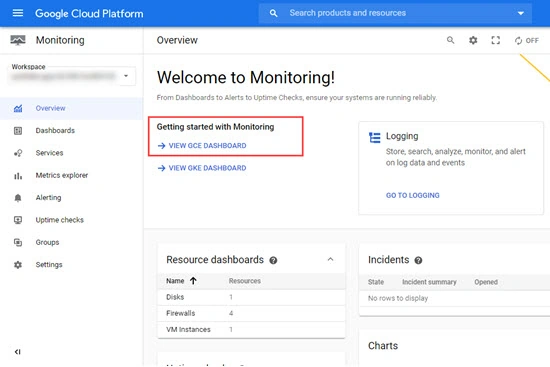
Click on the Overview submenu of the Monitoring menu.
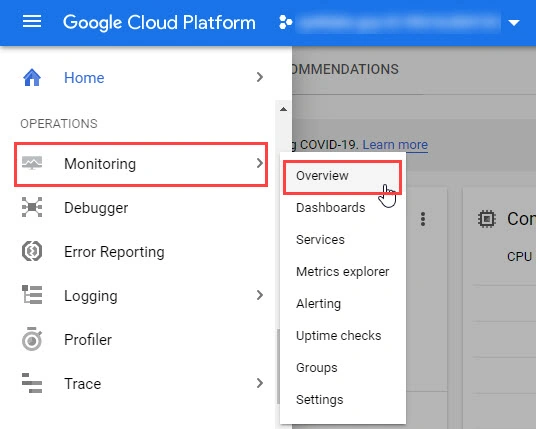
Then click on View GCE Dashboard as shown in the below image,
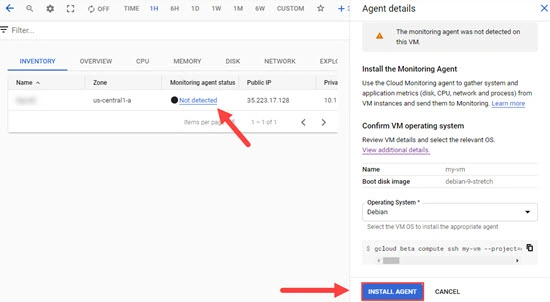
Check Monitoring Agent Status, in case it's not detected, Install Agent by clicking on the Install Agent button.
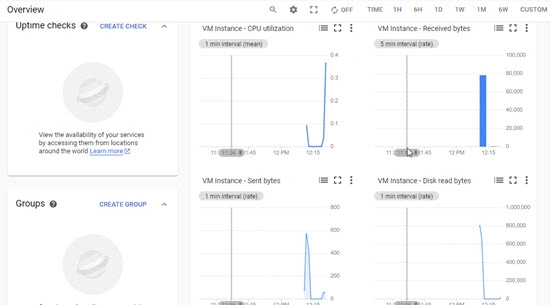
You can track CPU Utilization, received & send bytes, etc.
I hope this article will help you in getting the basic understanding of Deployment Manager and Monitoring tools in Google Cloud Platform.
Thanks.
Join the conversation! Your thoughts help the community grow.