

This Web deployment by Visual Studio is based on ASP.NET and ASP.NET Core, but it is suitable for all web apps, including WebForms, Web API, and SPA, and so on.
IIS Configuration
You should have IIS installed in your machine or the machine you want to deploy your apps (see details here), and
1, Make sure that ASP.NET 4.8 is installed,
- Open Control Panel > Programs > Programs and Features > Turn Windows features on or off.
- Expand Internet Information Services, World Wide Web Services, and Application Development Features.
- Confirm that ASP.NET 4.8 is selected.
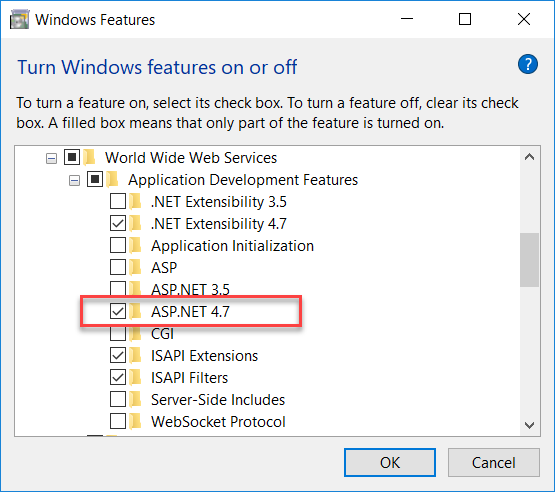
The graph shows ASP.NET 4.7, the point is using the current version.
2, Install the .NET Core Hosting Bundle from here
The first one guarantees ASP.NET (.NET Framework) can run on IIS, the second one guarantees ASP.NET Core can run on IIS. Otherwise, you might get the following error message for any of them:
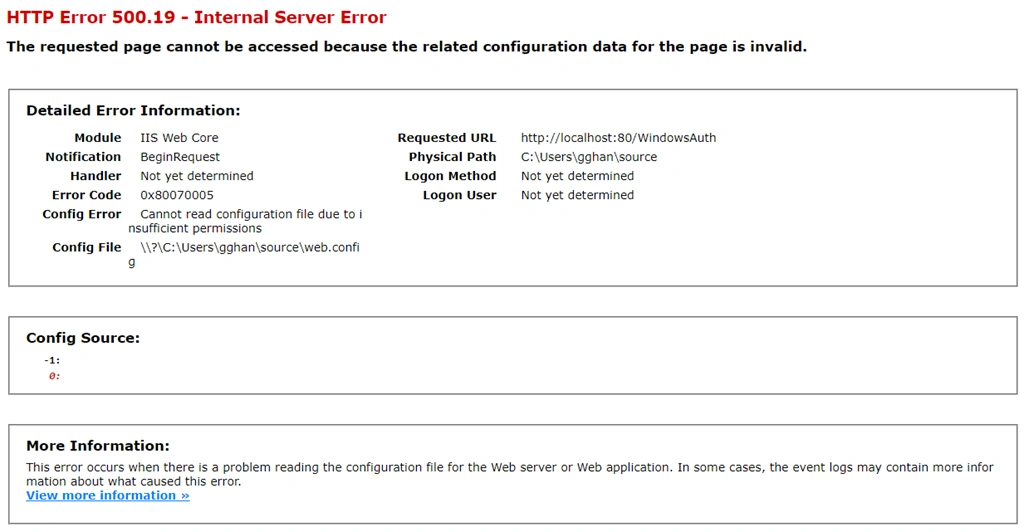
Method one: Deployment to Folder --- for production
We use the current version of Visual Studio 2019 16.9.4,
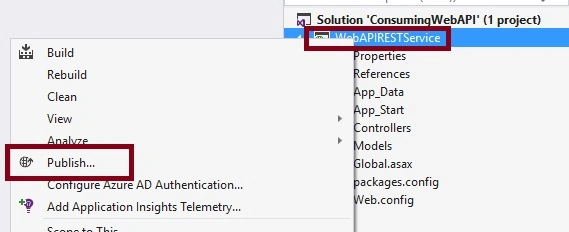
- Right click the project you want to deploy, and choose publish
- Choose Folder => Next
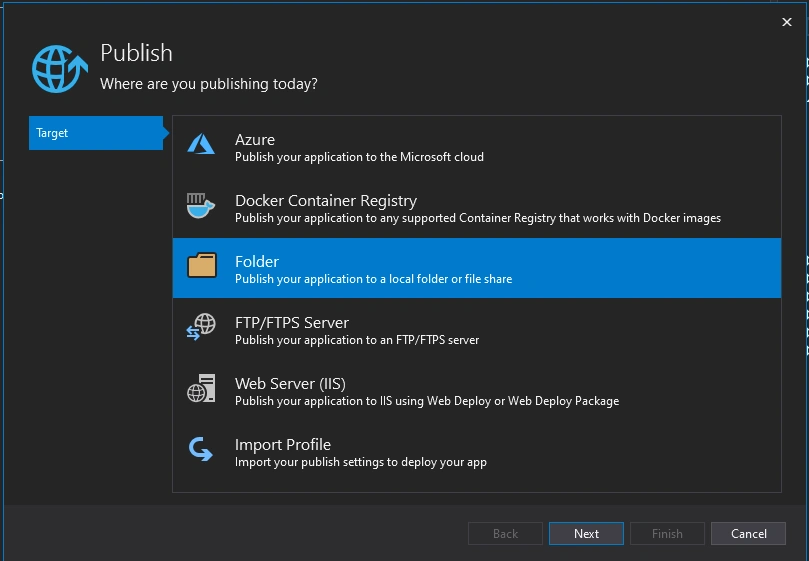
- The folder will include the deployed files, Click Finish
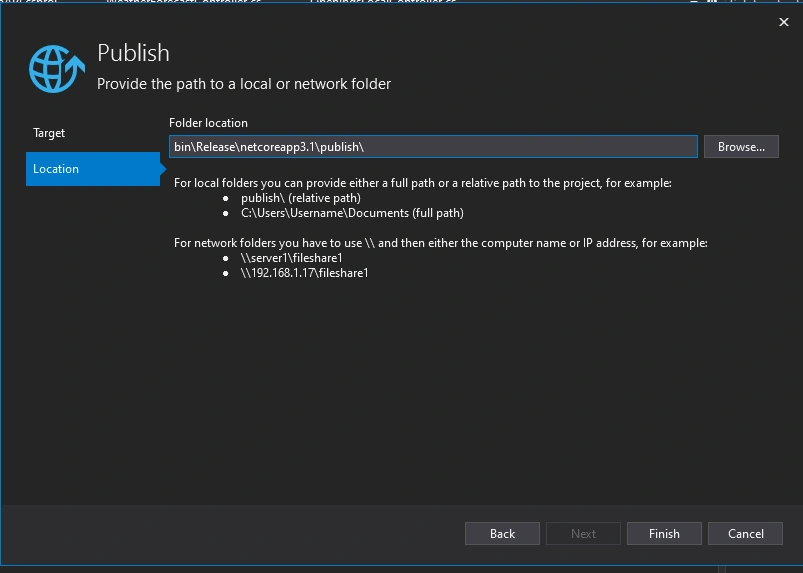
Then move the publish folder to any location you need to deploy to, and setup IIS against to it. This method is most likely used for production deployment.
Method two: Deployment to Web Server --- for development
For this method, you need to launch Visual Studio under administrator mode to perform this deployment. In the second step above:
- Choose Web Server (IIS) => Next
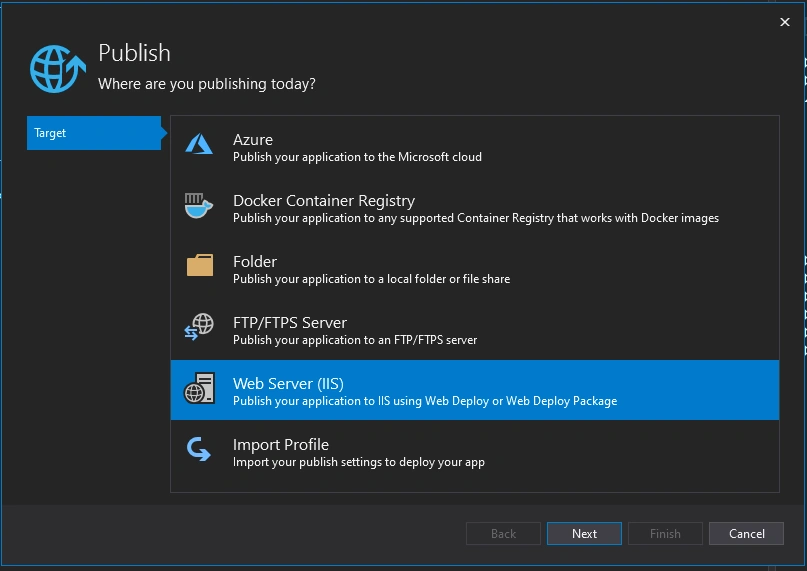
- Choose Web Deploy, Click Next
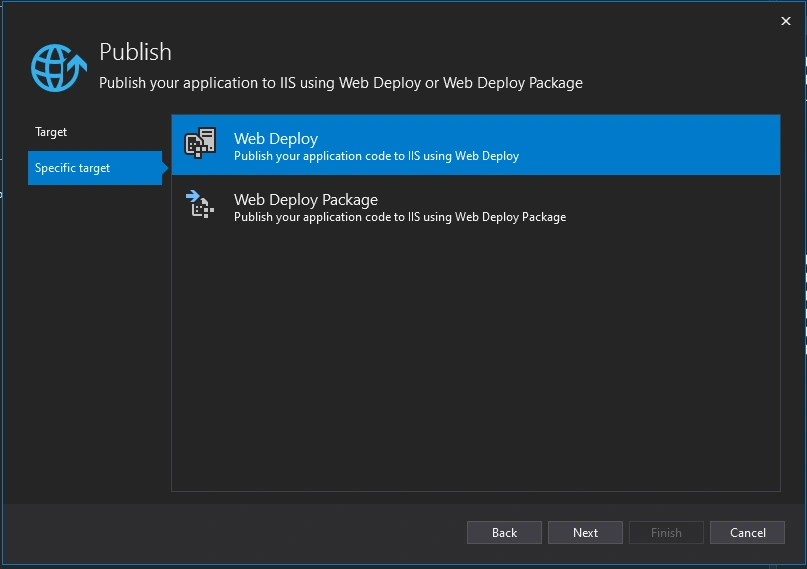
- In the next Publish page:
- For Server, enter localhost.
- For Site name, enter Default Web Site/ContosoUniversity.
- For Destination URL, enter http://localhost/ContosoUniversity
The Destination URL setting isn't required. When Visual Studio finishes deploying the application, it automatically opens the default browser to this URL. If you don't want the browser to open automatically after deployment, leave this box blank.
- Select Validate Connection to verify that the settings are correct and you can connect to IIS on the local computer.
- Click Next => Save
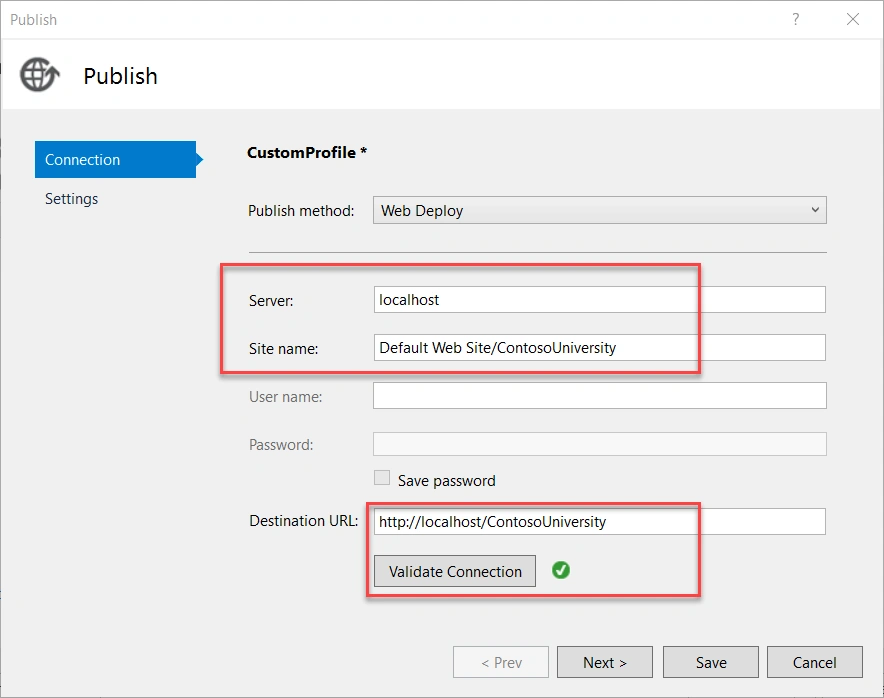
Finally, we got the deployment scheme like this,
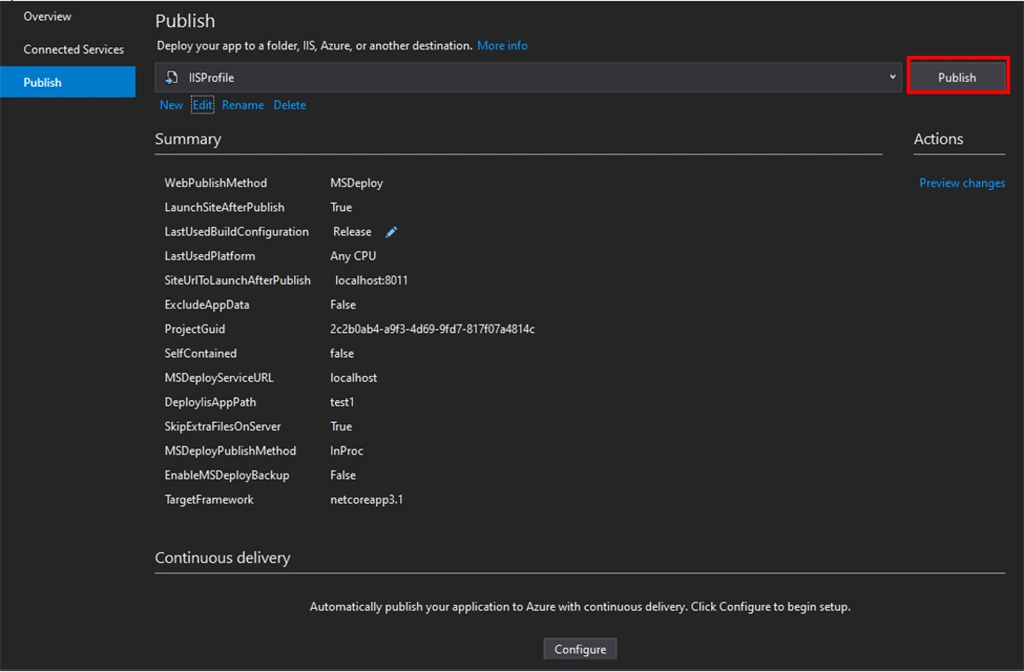
here, we assume, there is a Web Site has been setup well at Default Web Site/ContosoUniversity, in fact, we can do this by one step, at most two:
Step 1
- Add one folder ContosoUniversity in the Default Web Site physical location C:\inetpub\wwwroot:
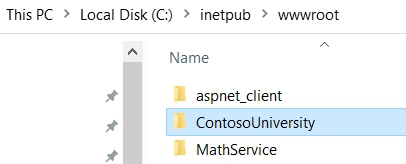
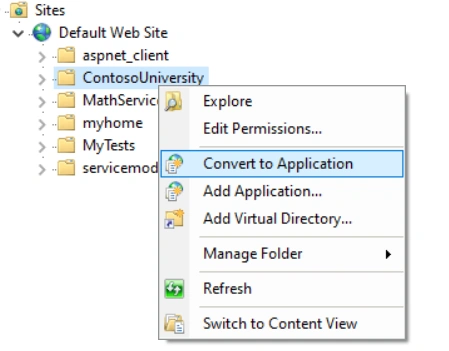
Step 2
- In IIS Server console, right click ContosoUniversity folder under Default Web Site, choose Convert to Application => Click
- In the next opened dialog box, Add Application, every info needed is there, just Click OK
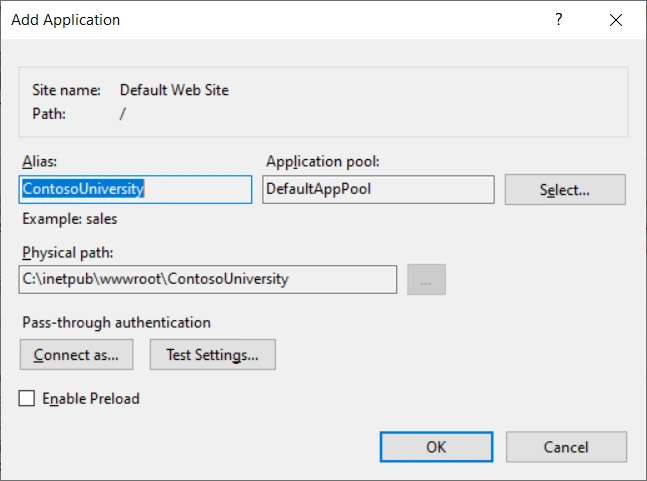
then the ContosoUniversity become Web Site,
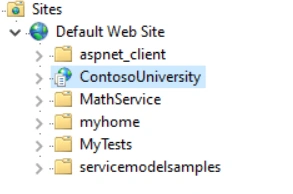
- In the save publish scheme window, Click Publish
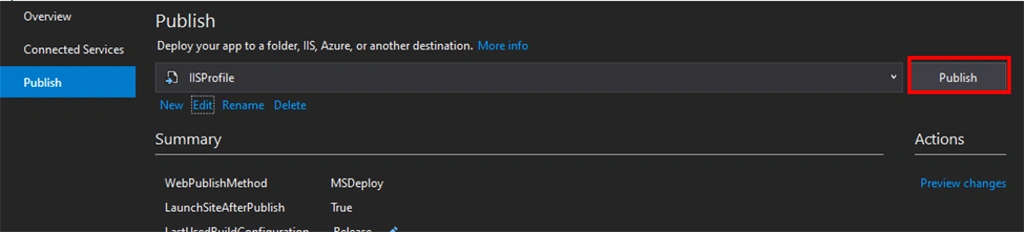
The project will be built, and deployed to IIS Server, and if you choose the URL, the app will run in browser automatically, from the IIS server.
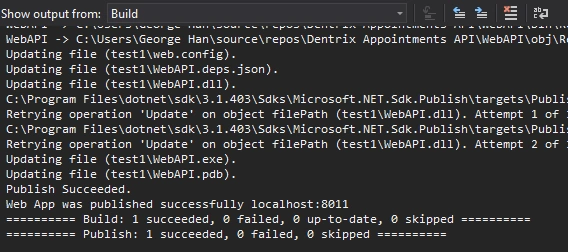
this is a sample build
Method two is best for use in development, it is easy to set up, no need to configure IIS, and the developer can redeploy any time by just Click the Publish button above using the same deployment scheme. The shortage is not flexible as the Folder method.
Summary
We can use the Folder method and Web Server Method to deploy ASP.NET web apps, including Web Forms, MVC, Web API, and SPA, ...
- Folder Method: for production, flexible
- Web Server Method: easy to set up, easy to use.
Join the conversation! Your thoughts help the community grow.