

Introduction
This article will help you learn the process of creation of an Azure Blob Storage using Visual Studio.
This article will cover the following.
- Creating Blob Storage using C#
- Create a Container
- Uploading a File
- Downloading a File
Before reading this article, please go through some important articles mentioned below.
- Quick Start With Azure Storage
- A Detailed Overview Of Azure Storage Account Creation
- Detailed Overview Of Blob Storage
Azure Storage
Azure Storage is one of the cloud computing PaaS (Platform as a Service) services provided by the Microsoft Azure team. It provides cloud storage that is highly available, secure, durable, scalable, and redundant. It is massively scalable and elastic. It can store and process hundreds of terabytes of data or you can store the small amounts of data required for a small business website.
What is Blob?
Blob is a service for storing large amounts of unstructured data that can be accessed from anywhere in the world via HTTP or HTTPS." Blob stands for " Binary Large Object ". It's designed to store large amounts of unstructured text or binary data like virtual hard disks, videos, images or even log files. The data can be exposed to the public or stored privately. It scales up or down as your needs change. We no longer manage it, we only pay for what we use.
Create Blob Storage using Visual Studio.
Prerequisites
- Microsoft Azure Account.
- Visual Studio 2015
Follow the below steps to create an Azure Storage Account.
Step 1
Log in here. Please go through the article mentioned below for creating a Storage account mentioned below.
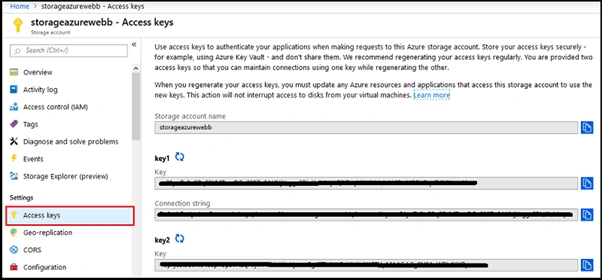
After creating the storage account, navigate to the Access key and then copy the key & connection string.
Step 2 - Create a container in Visual studio
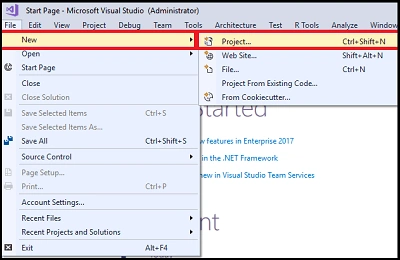
- Create a new empty MVC application. The step to create a new project is File -> New -> Project.
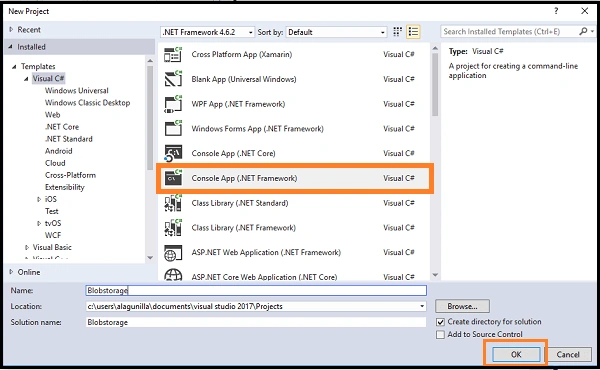
- Choose Console App under Visual C# and type Project Name & click the OK button.
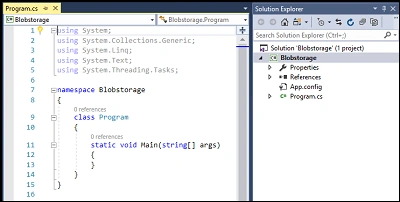
- Then, we will get this window.
Step 4 –Install NuGet Package
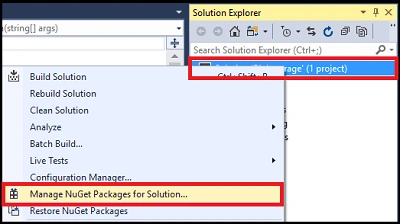
- Now, right-click on the Solution Explorer and go to Manage NuGet packages for solutions.
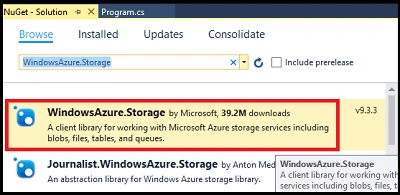
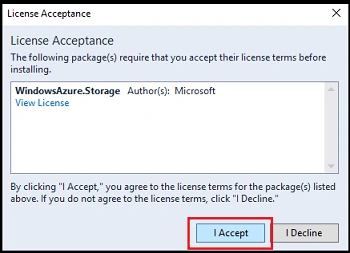
- Install WindowsAzure.Storage Package.
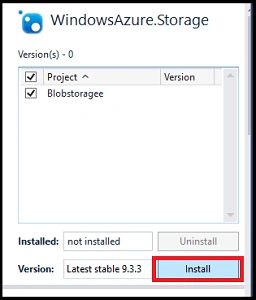
- Click on "Install".
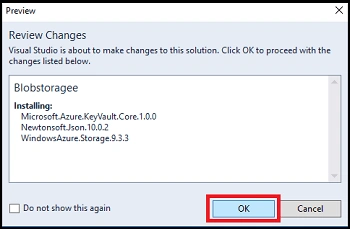
- You will get a preview window then click the OK button
- Choose "I Accept".
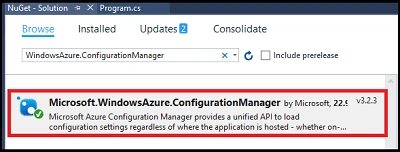
- In the same way, install Microsoft .WindowsAzure.ConfigurationManager Package.
Step 5 – App Configuration
- Inside of your Console app, you will see App.config. Now, add your key and connection string which was copied from the Azure portal.

- <appSettings>
- <add key="StorageConnection" value="YOUR-CONNECTION-STRING-COPIED-FROM-EARLIER"/>
- </appSettings>
Step 6 – Create Container
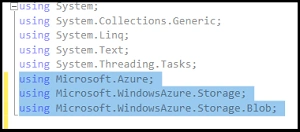
- Add “BlobManager” class for access Azure Blob. And use two namespaces to your main program.
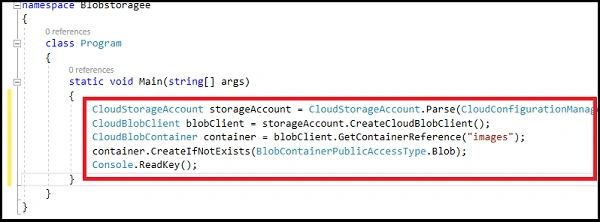
- Copy the following code into your Main method.
- string storageConnection = CloudConfigurationManager.GetSetting("BlobStorageConnectionString");
- // CloudStorageAccount storageAccount = CloudStorageAccount.Parse(CloudConfigurationManager.GetSetting("StorageConnection"));
- CloudStorageAccount storageAccount = new CloudStorageAccount(
- new Microsoft.WindowsAzure.Storage.Auth.StorageCredentials("Storagename","Key"), true);
- CloudBlobClient blobClient = storageAccount.CreateCloudBlobClient();
- CloudBlobContainer container = blobClient.GetContainerReference("image");
- container.CreateIfNotExists(BlobContainerPublicAccessType.Container);
- Console.ReadKey();
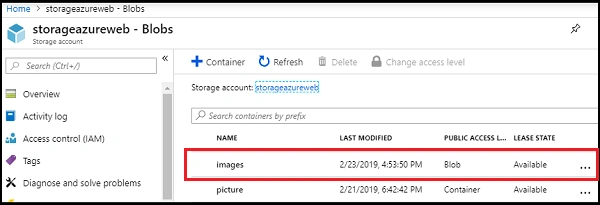
This code will get our connection string from the App.config, and create a container named images if it doesn’t exist in the portal. We can go back inside of the portal to see if executed correctly.
Step 7 – Uploading Blob
- Now that we have created the Azure Storage Blob Container, we’ll upload a file to it.
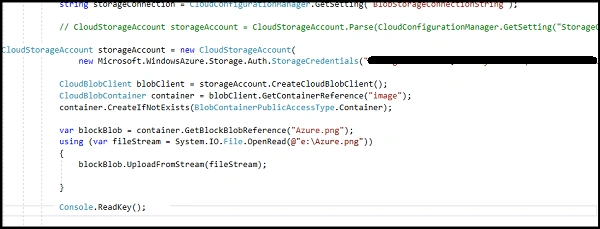
- Add the following lines of code to upload a file,
- var blockBlob = container.GetBlockBlobReference("Azure.png");
- using (var fileStream = System.IO.File.OpenRead(@"e:\Azure.png"))
- {
- blockBlob.UploadFromStream(fileStream);
- }
Output
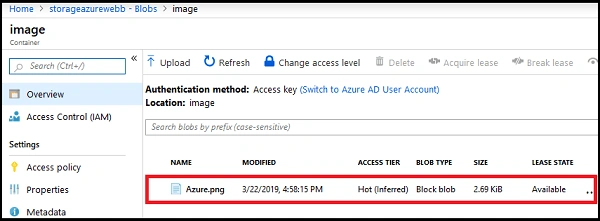
If we switch over to our Storage Account and navigate inside the container, we’ll see our new file has been added.
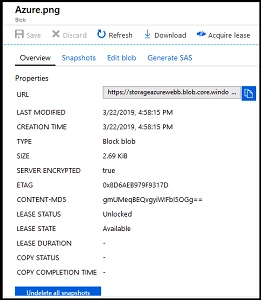
Open the file
Step 8 – Download Blob
- Now that we’ve uploaded a file to the Azure Storage Blob Container, we’ll download a file from it.
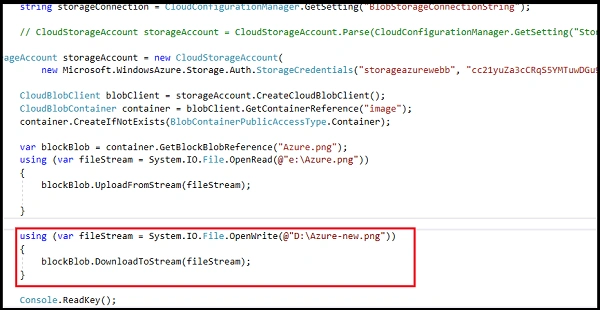
- using (var fileStream = System.IO.File.OpenWrite(@"D:\Azure-new.png"))
- {
- blockBlob.DownloadToStream(fileStream);
- }
Output
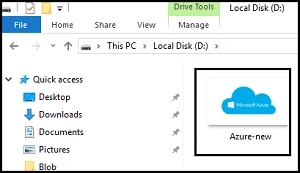
Now we are using the OpenWrite method and specifying a new name. So we are also taking advantage of the DownloadToStream method. If we run the application, our new file should be in the specified folder.
Summary
I hope you understood how to create an Azure Blob Storage using Visual Studio. Stay tuned for more Azure Storage.
JosephsPosted Sep 13, 2019, 8:23 AM
Your code The remote server returned an error: (400) Bad Request. error
JosephsPosted Sep 13, 2019, 8:10 AM
Where we get Storage Credentials ?
JosephsPosted Sep 13, 2019, 7:56 AM
Can you share Zip format ?
Huang TairanPosted May 25, 2019, 4:13 AM
Azure storage is IaaS but not PaaS, I think?