

Tooltip information is an important user interactive component. In
web development customization, highly interactive tooltips are used
that contain links or images along with textual information. A very
powerful yet simple jQuery plugin, Qtip, is available for displaying customize tooltips.
Today, I shall be demonstrating the process of integration of jQuery Qtip plugin with ASP.NET MVC5 platform.
Prerequisites
The following are some prerequisites before you proceed any further in this tutorial.
- Knowledge of ASP.NET MVC5.
- Knowledge of HTML.
- Knowledge of JavaScript.
- Knowledge of Bootstrap.
- Knowledge of Jquery.
- Knowledge of C# Programming.
The example code is
being developed in Microsoft Visual Studio 2017 Professional. I am using 2017 public holidays for Pakistan in a ".txt" file as announced by the Pakistan Government.
Let's begin now.
Step 1
Create a new MVC web project and name it "MvcQtip".
Step 2
Now, create a controller file and name it "Controllers\HomeController.cs"
and write a simple GetCalendarData(...) method which will first load
the holiday data from the text file and then, will convert the loaded data into
JSON format and finally, return the target JSON data.
- #region Getpublic holiday data method.
- /// <summary>
- /// GET: /Home/GetPublicHolidayData
- /// </summary>
- /// <returns>Return data</returns>
- public ActionResult GetCalendarData()
- {
- ...
- try
- {
- // Loading.
- List<PublicHolidayObj> data = this.LoadData();
- // Processing.
- result = this.Json(data, JsonRequestBehavior.AllowGet);
- ...
- }
- catch (Exception ex)
- {
- // Info
- Console.Write(ex);
- }
- // Return info.
- return result;
- }
- #endregion
Step 3
Now, create a view and name it "Views\Home\Index.cshtml". The view will contain a simple table.
- ...
- <table id="HolidayLstTable" class="table table-bordered table-striped">
- <thead>
- <tr>
- <th style="text-align: center;">Sr.</th>
- <th style="text-align: center;">Holiday</th>
- <th style="text-align: center;">Date</th>
- </tr>
- </thead>
- <tbody>
- </tbody>
- </table>
- ...
In the above code, I have simply created a table that will integrate the jQuery qTip plugin with the User Interface (UI).
Step 4
Finally, create the JavaScript file "Scripts\script-custom-qtip.js" which will apply the tooltip description using qTip jquery plugin.
- $(document).ready(function ()
- {
- $.ajax(
- {
- url: '/Home/GetCalendarData',
- type: "GET",
- dataType: "JSON",
- success: function (result)
- {
- ...
- "<td style='text-align: center;'>" + "<div title='" + data.Desc + "'>" + data.Title + "</div></td>" +
- ...
- $('#HolidayLstTable tbody tr td').on('mouseenter', 'div[title]', function (event)
- {
- $(this).qtip(
- {
- overwrite: false, // Don't overwrite tooltips already bound
- show:
- {
- event: event.type, // Use the same event type as above
- ready: true // Show immediately - important!
- }
- });
- });
- }
- });
- });
In the above code, I have made the AJAX call to load the data first into my table and then apply the qTip jQuery plugin.
Step 5
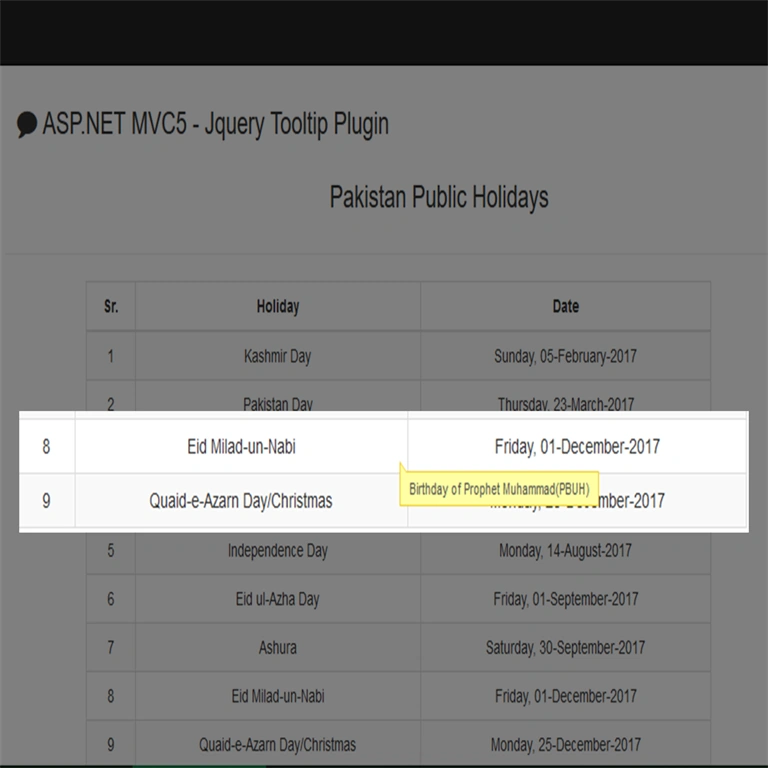
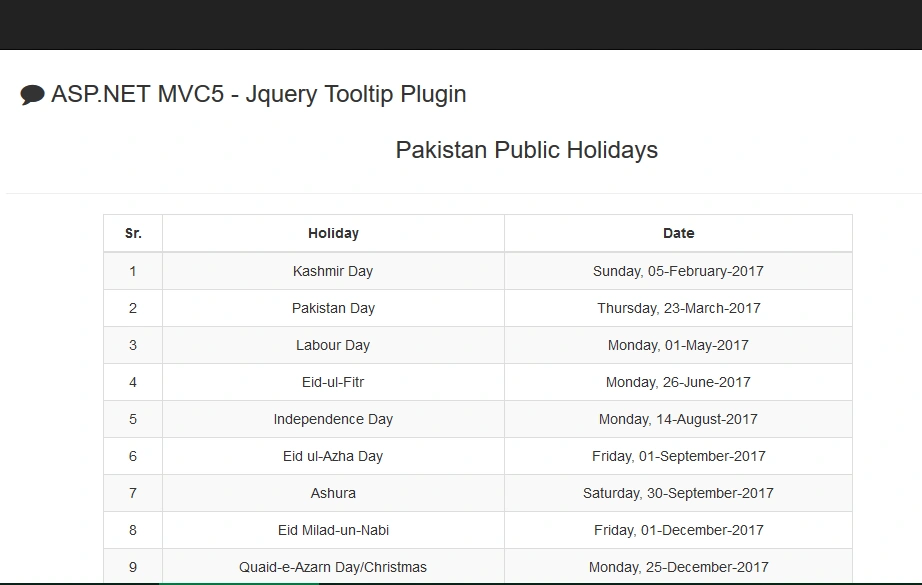
Now, execute the project and you
will be able to see the following in
action.

Conclusion
In this article, we learned how to integrate the jQery Qtip plugin with the ASP.NET MVC web platform. Also, we saw how to use AJAX call to load the tooltip data.
Mageshwaran RPosted Nov 16, 2019, 6:23 AM
Nice Article..
Sourav Kumar DasPosted Oct 3, 2019, 11:52 PM
Very useful Article.