

In this example, I want to execute my own custom task which will write some text into the event viewer as "My Custom Task is executed" & this custom task has to be executed after the TFS build succeeds To proceed we have to handle the below step.
- Create a class library to handle "Custom Task"
- Create "TFS Build Agent"
- Create "New Build definition"
- Run TFS build
Step 1. Custom task
Writes text into event viewer after TFS build succeeds. This is to be implemented in the Class Library.
- First, create a Class Library & name it "MySample".
- Add a class called MyTask and add a flowing reference to the library.
using Microsoft.Build.Framework; using Microsoft.Build.Utilities; using System.Diagnostics; - Now inherit the class "TASK" as shown below
public class MyTask : Task
{
    public override bool Execute()
    {
        EventLog log = new EventLog();
        log.Source = "Application";
        log.WriteEntry("Step 2 Executed");
        return true;
    }
}
Note. In the above code, we are overriding the execute method & implementing our own implementation.
Now compile it and as usual, it will generate MySample.dll
Step 2. Create a TFS Build Agent
Before working on a TFS build definition we need to have a TFS build agent. Let's follow the below steps to create a build agent.
- Connect to the TFS Server from Team Explorer.
- Right-click on the Build folder & select "Manage Build Agent".
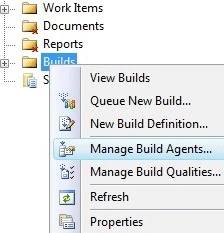
- Now click on the "New" button in the build agent window & provide the below necessary information.
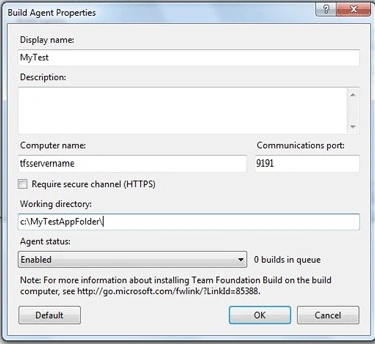
- Display name: Name of your choice.
- Computer name: TFS Server name.
- Communications port: TFS server port.
- Working directory: TFS build will create build files at this location. To provide the path of the TFS server's physical path
- Agent status: Enabled
Now click the "OK" button.
Step 3. Create TFS build definition
- Connect to the TFS Server from Team Explorer.
- Right-click on the Build folder & select "New Build Definition".
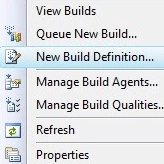
- A new window will open up as shown below.
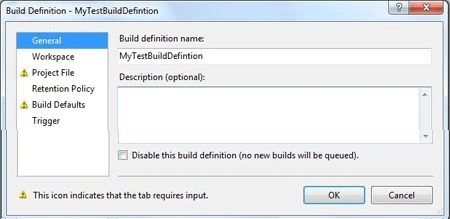
- General build definition name: Enter the build definition name.
- Select workspace.
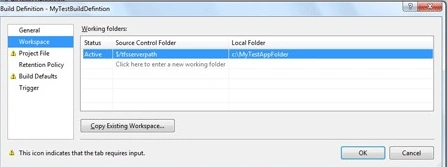
- Status: Active
- Source control folder: TFS server path project.
- Select "Project file", and click the Create button.
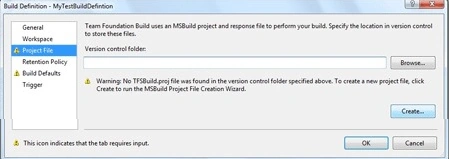
- MS Build Project file creation wizard will open up. In this select the item as shown below.
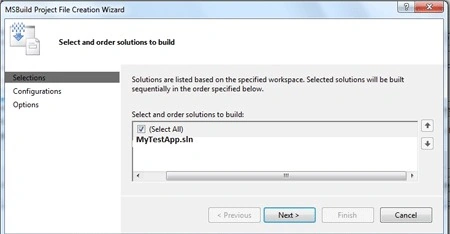
- Click next and leave other options as is & click the FINISH button.
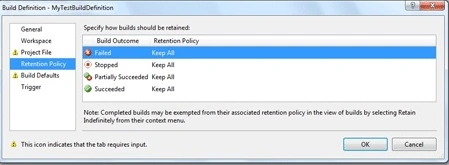
- Leave the retention policy section as it is.
- Now select Build Defaults.
- Build agent: Select the build agent name that we have created in Step 2 Create TFS Build Agent.
- Builds will be staged: should provide a shared path to which the TFS server has access.
- The trigger section allows configuring TFS to build to run at those intervals.
- Finally, click the ok button.
Step 4. Run TFS build
- Connect to the TFS Server from Team Explorer.
- Expand the Build folder & write the build definition name that you want to run. In our case right-click "MyTestBuildDefinition" & select Queue new build definition.
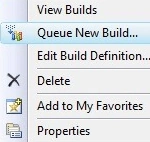
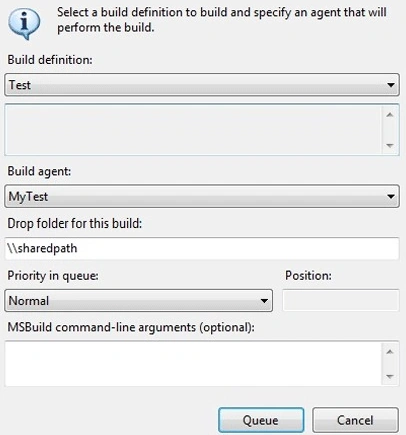
- Select as shown below
- Build Definition name
- Build Agent name
- Drop folder
- Priority
Now by this time, the build definition would be stated up & know the processing right click on the build definition name & select open.
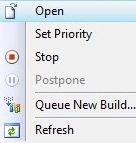
Finally, you should see seeing build succeeded if everything goes fine & now go to the path (entered while creating the build definition & build agent) to see the build files. Happy coding, Hope this helps!
Join the conversation! Your thoughts help the community grow.