

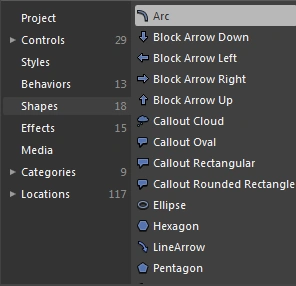
Step 2: Select Shapes -> Arc as shown below:
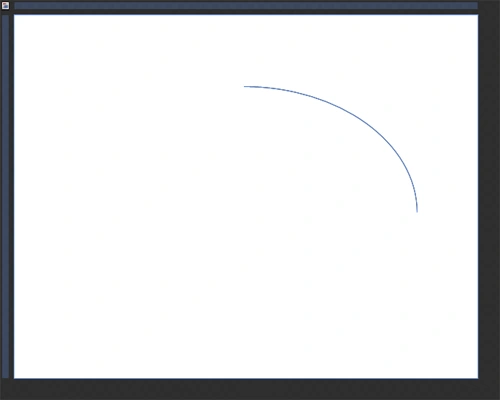
Step 3: Draw an Arc as shown below:
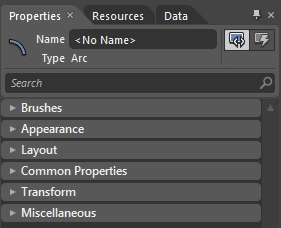
Step 3: Go to the Property Panel located in the right corner of the workspace as shown below:
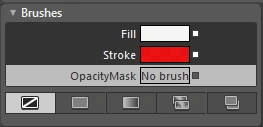
Step 4: Brushes: It contains 3-Properties as shown below:
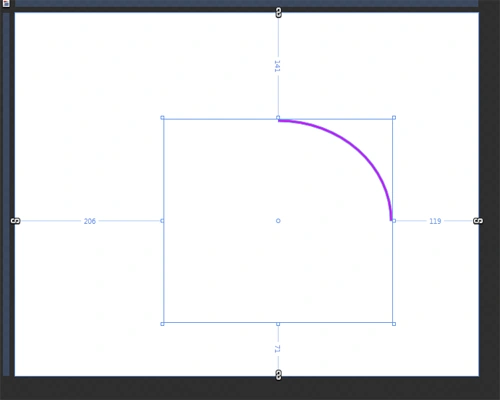
Step 5: Select Solid Color Brush -> Select Fill Color -> Select Pink Color and fill in a color for the Arc and the effects are as shown below:
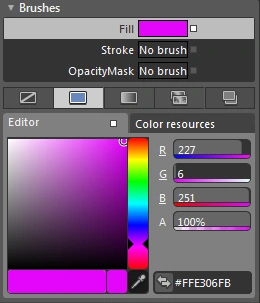
Note: To the right side of the Fill-Option see the small rectangular box filled with the color White. It is used to reset the changes:
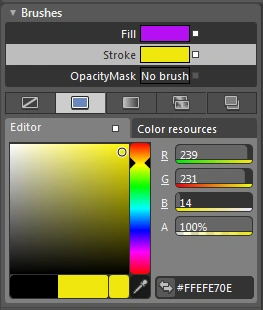
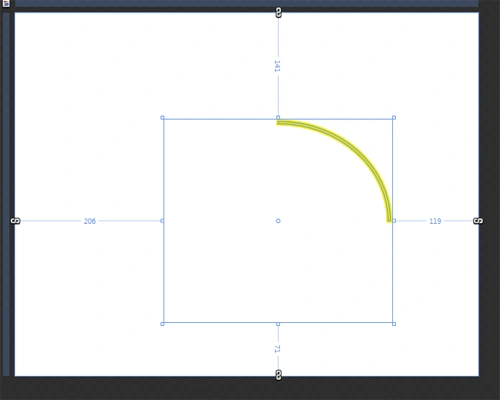
Step 6: Select Stroke -> Select Solid Color Brush and choose the color Yellow and fill it in and the effects are as shown below:
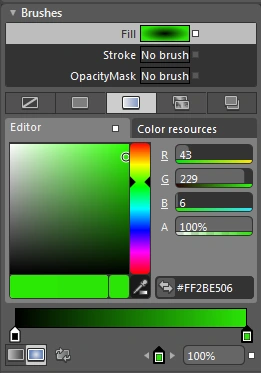
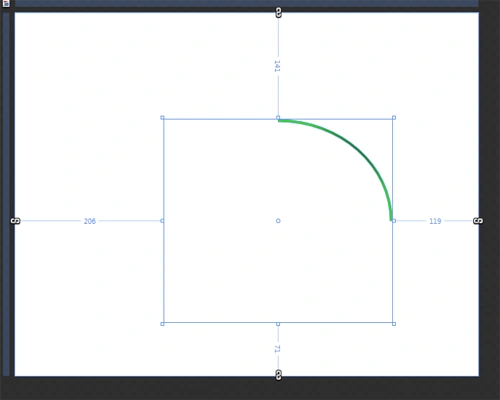
Step 7: Select Gradient Brush -> Select Radial Gradient Brush -> Select Fill -> Select Green Color and effects are as shown below:
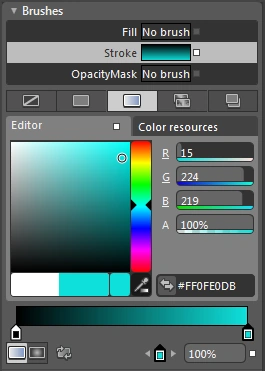
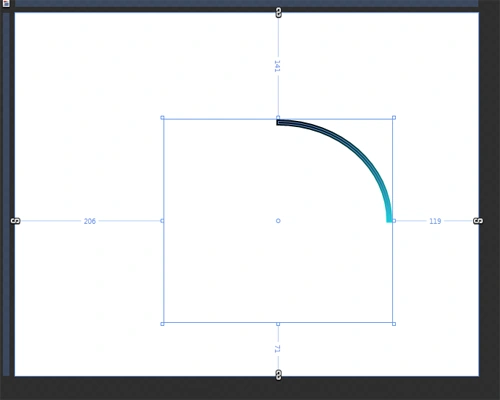
Step 8: Select Gradient Brush -> Select Radial Gradient Brush -> Select Stroke -> Select Sky Blue Color and effects are as shown below:
Step 9: Select Gradient Brush -> Select Linear Gradient Brush -> Select Fill -> Select Purple Color and effects are as shown below:
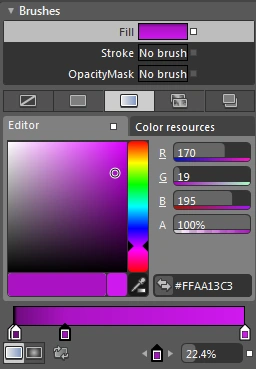
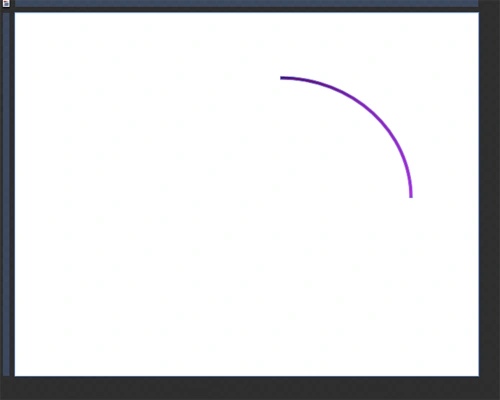
Step 10: Select Gradient Brush -> Select Linear Gradient Brush -> Select Stroke -> Select Orange Color and effects are as shown below:
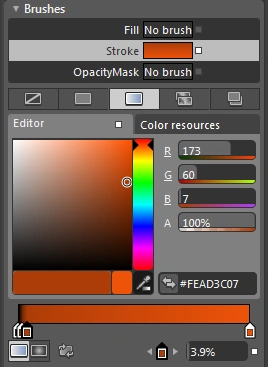
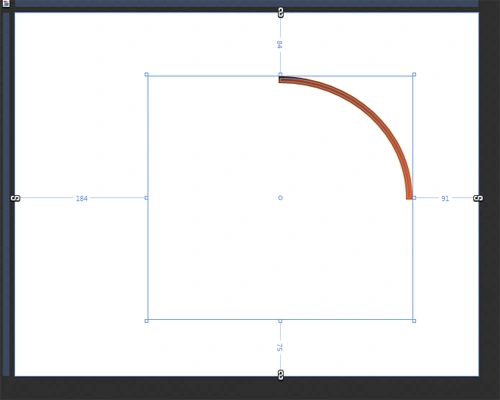
Note: Here, the Gradient Brush contains 2 types; they are Radial and Linear.
Step 11: Appearance: It contains 17 properties as shown below:
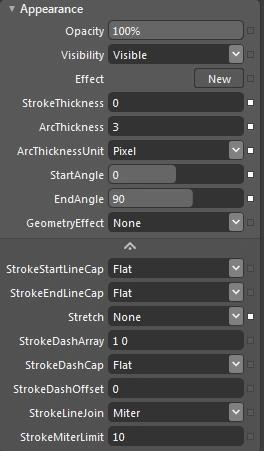
Select Appearance -> Select Opacity and see the effect as shown below:
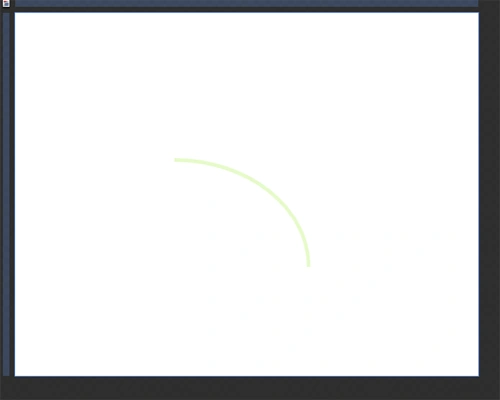
Select Visibility -> Select Visible or Collapsed.
Note: Here, when we select the Visible Option we are able to see the same image as shown above and if we select the Collapsed Option the image becomes invisible.
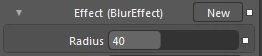
Select Effects -> Select New, a dialog box appears which contains 2 options ie; BlurEffect and DropShadowEffect
Select BlurEffect -> Select Radius and see the effect as shown below:
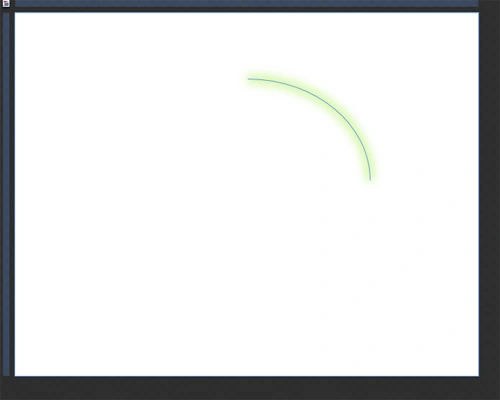
Select DropShadowEffect and see the effect as shown below:
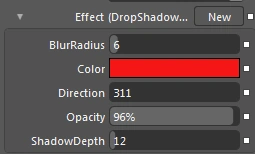
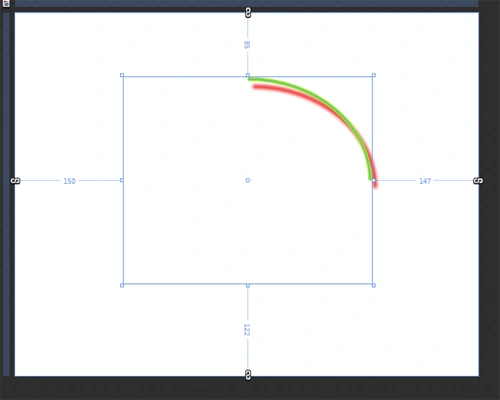
Note: Here, we have to manage the Arc Shape by applying BlurRadius, Color, Direction, Opacity and ShadowDepth as shown above.
Select StrokeThickness -> Increase or Decrease the StrokeThickness and see the effect as shown below:

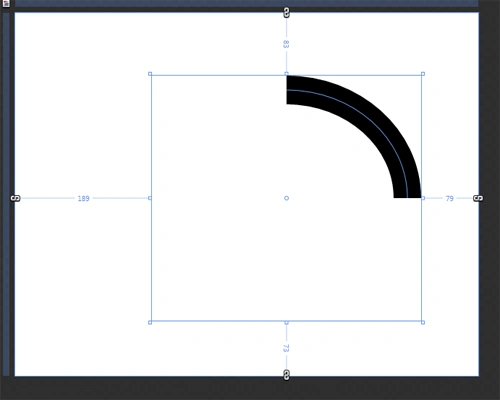
Select ArcThickness -> Increase or Decrease the thickness and see the effect as shown below:

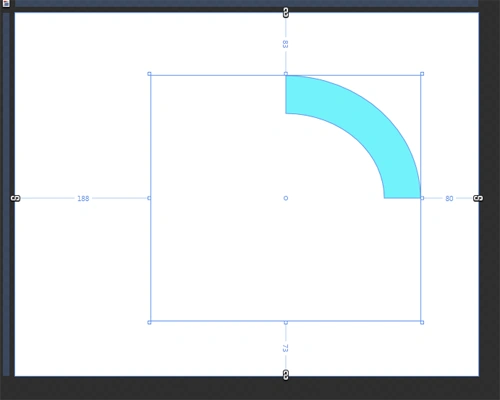
Note: Here, we can manage the ArcThicknessUnit also as shown above.
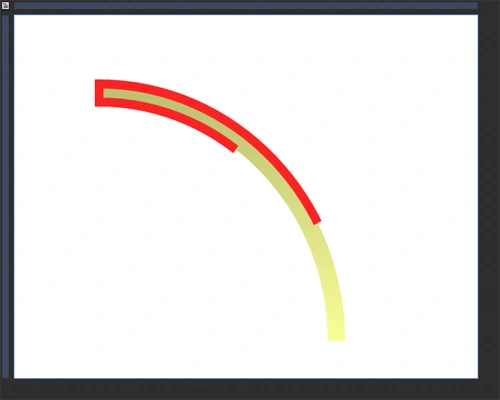
Select StartAngle and EndAngle -> Increase or Decrease the units and see the effect as shown below:

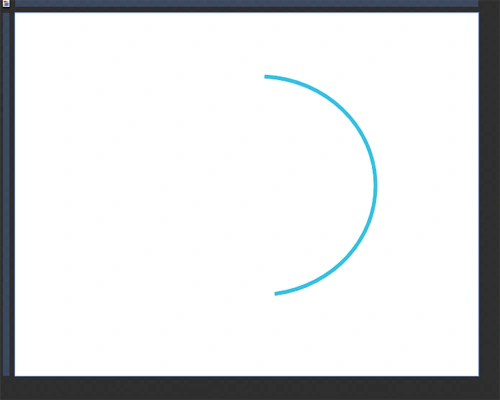
Select GeometryEffect -> Select Sketch and see the effect as shown below:

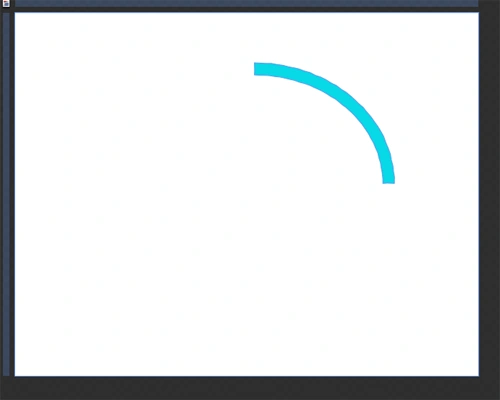
Note: GeometryEffect contains 2 Options ie; None and Sketch.
Select Stretch -> Fill and see the effect as shown below:

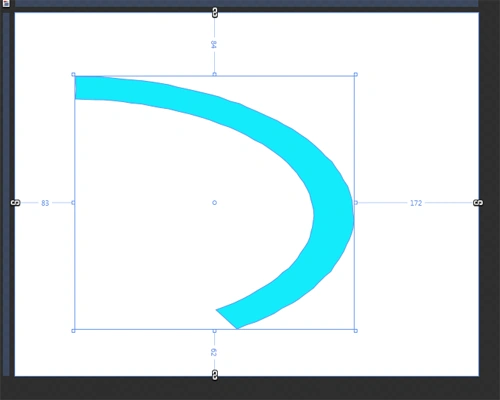
Select Stretch -> Select Uniform and see the effect as shown below:
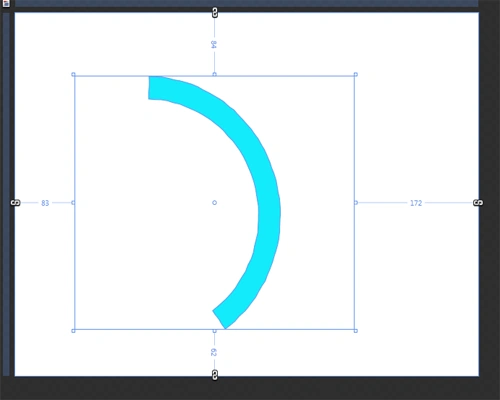
Select Stretch -> Select UniformToFill and see the effect as shown below:
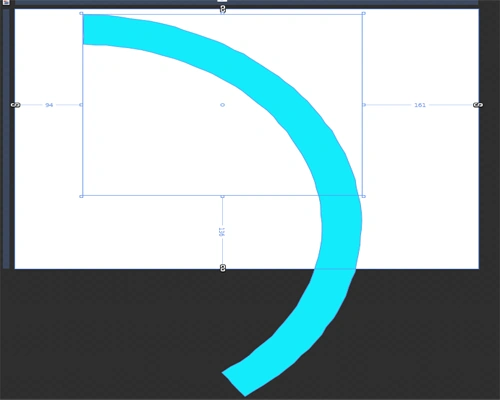
StrokeLineJoin contains 2-Properties ie; Bevel and Round.
Select StrokeLineJoin -> Select Bevel and see the effect as shown below:

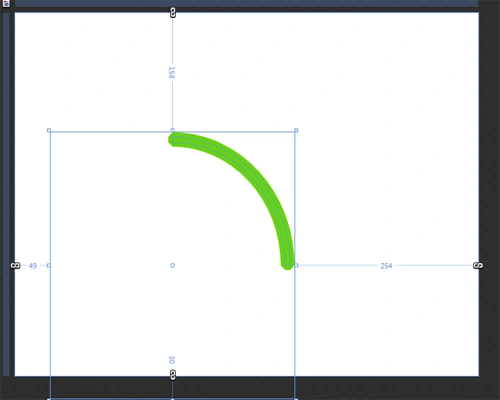
Select StrokeLineJoin -> Select Round and see the effect as shown below:

Select StrokeDashArray -> Increase or Decrease the range and see the effect as shown below: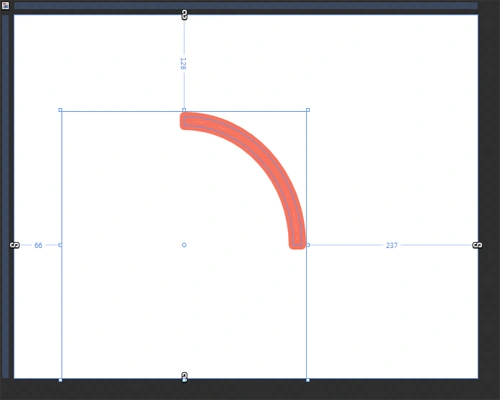

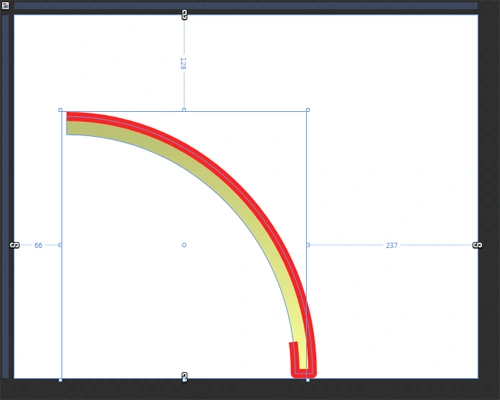
Select StrokeDashCap -> Select Flat and see the effect as shown below:

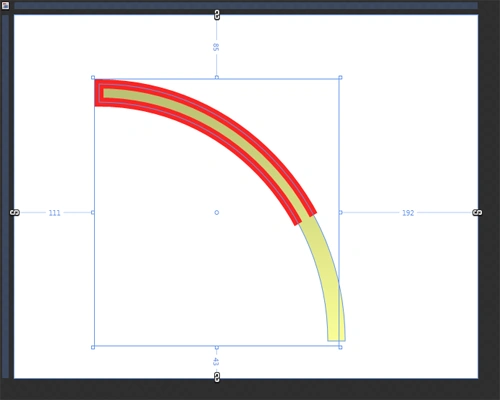
Select StrokeDashCap -> Select Square and see the effect as shown below:
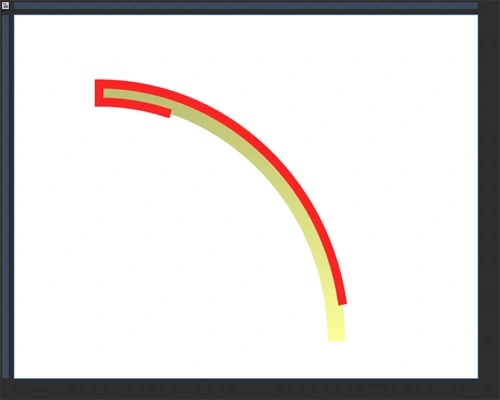
Select StrokeDashCap -> Select Round and see the effect as shown below:
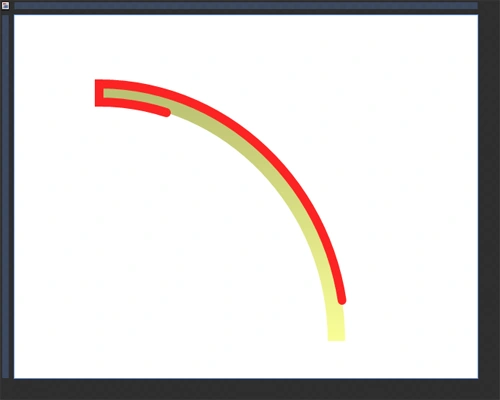
Select StrokeDasgCap -> Select Triangle and see the effect as shown below:
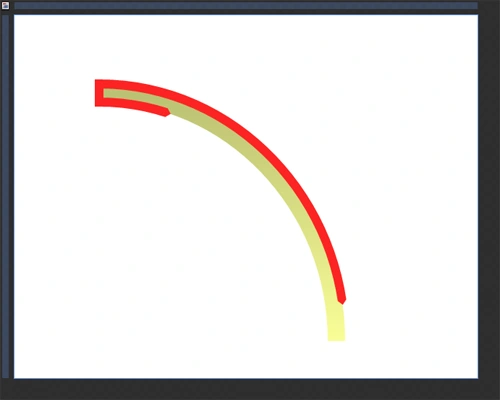
Select StrokeDashOffset -> Increase or Decrease the range and see the effect as shown below:

Summary
Through this article we are able to learn usage of an Arc Shape to design various types of shapes using the appearance property.
Join the conversation! Your thoughts help the community grow.