

Showing an Existing Screen as a Dialog in LightSwitch Visual Studio 2012
In this article I describe how to show an existing screen as a dialog for a LightSwitch Application.
In my previous article (http://www.c-sharpcorner.com/UploadFile/18ddf7/creating-a-dialog-in-lightswitch-visual-studio-2012/) I described how to create a dialog using LightSwitch Visual Studio 2012.
Steps for Showing an Existing Screen as a Dialog
Step 1
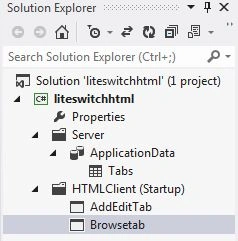
Open the Solution Explorer.
Step 2
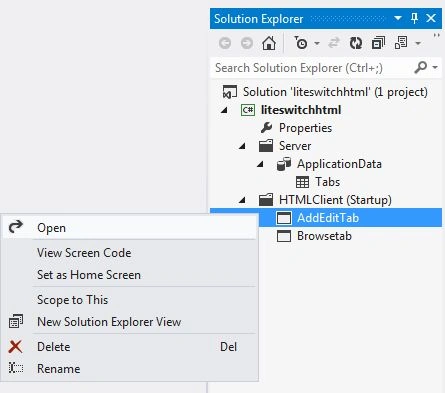
In Solution Explorer, open the HTML client screen for which you want to show as a dialog.
Step 3
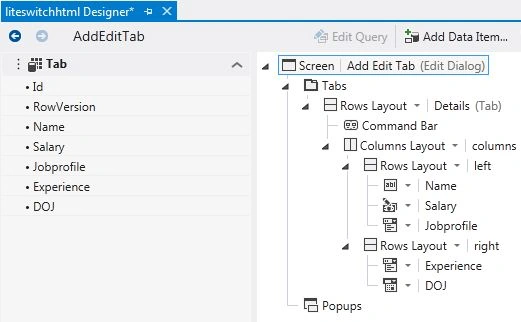
The Screen Designer appears.
Step 4
In the screen designer, choose the topmost node.
Step 5
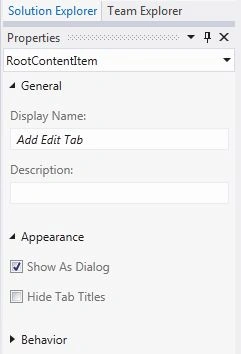
Open the properties window.
Step 6
In the properties window, select the "Show As Dialog" check box.
Step 7
When we start debugging we get:
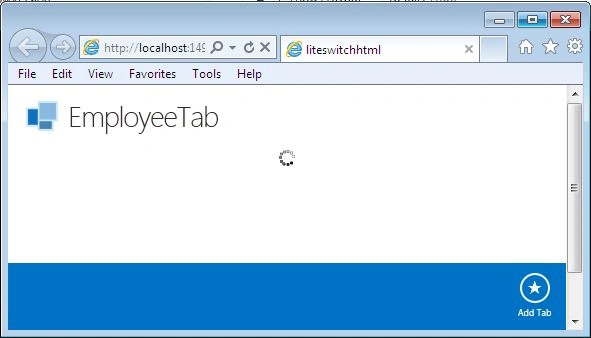
Click on the "Add" Tab and we will see:
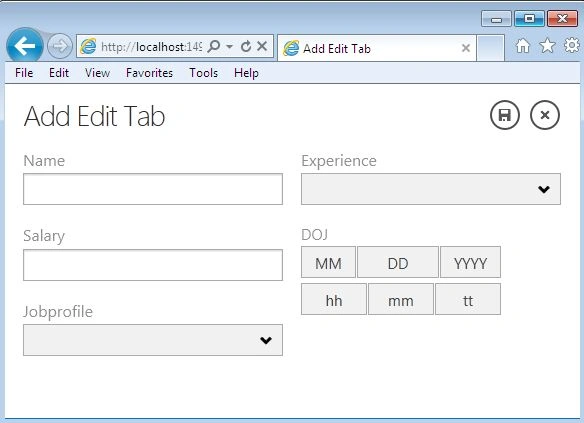
Insert the data in the following fields:
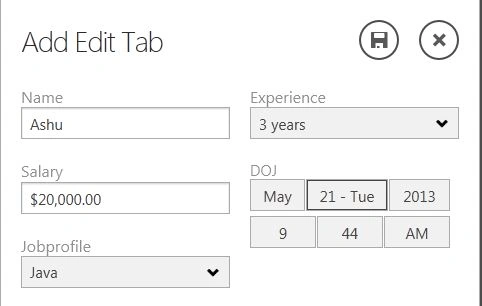
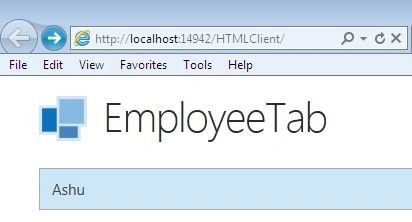
Click on the "Save" button.
Join the conversation! Your thoughts help the community grow.