

This article shows how to create a table, add a screen and add buttons in a LightSwitch Application (Visual C#) in Visual Studio 2012.
The following is the procedure of adding tables and screens in LightSwitch.
Step 1
Open the Solution Explorer.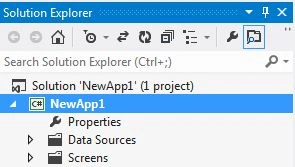
Step 2
In the Solution Explorer, right-click on the Server and choose "Add Table". 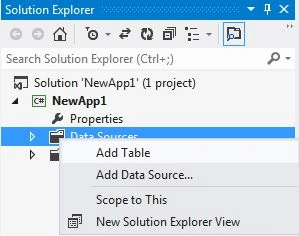
Step 3
The table appears.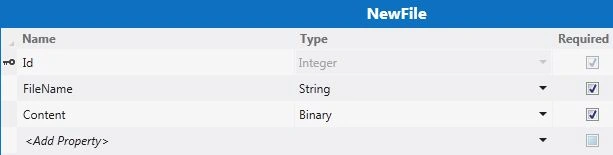
Step 4
In the Solution Explorer, right-click on the Screens and choose "Add Screen".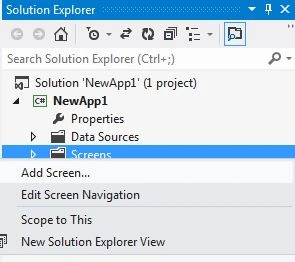
Step 5
The Add New Screen dialog box appears. Select "Editable Grid Screen" from the Screen Template, then under screen information, choose "New Files" under screen data and provide a name to the Screen and click the "OK" button.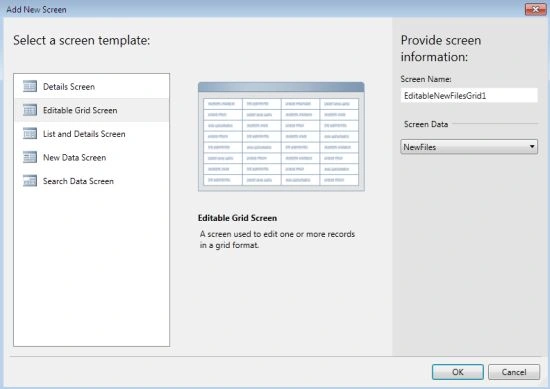
The screen designer appears.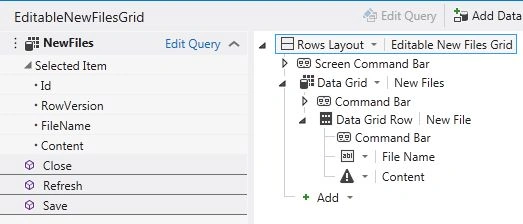
Step 6
Remove the Content field from the Screen Designer.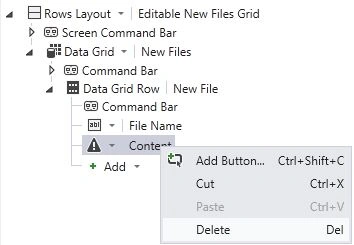
To add a button, click on the "Add" drop down list, and choose "New Button".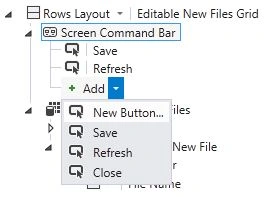
The Add button dialog box appears. (This is for the upload button).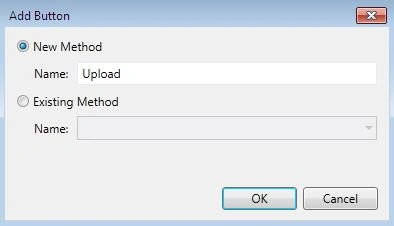
In this way we will add two more buttons.
One is a "Save" Button and the other is the "Download" button.
Now the screen designer will look as in the following: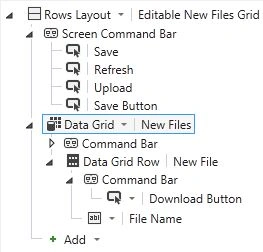
Step 7
Press F5 to run the application.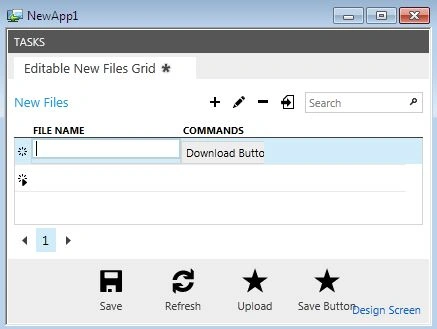
Johann Alexander Quintero CortesPosted Feb 21, 2014, 12:06 PM
And the part 2?