

Changing the Size of an Item in LightSwitch Visual Studio 2012
In this article I describe how to change the size of an item in LightSwitch Visual Studio 2012.
Procedure for Changing the Size of an Item
Step 1
Open the Solution Explorer.
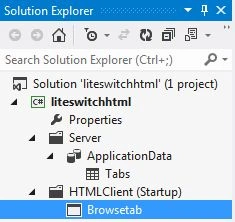
Step 2
In Solution Explorer, open the HTML client screen to which you want to add a group of information.
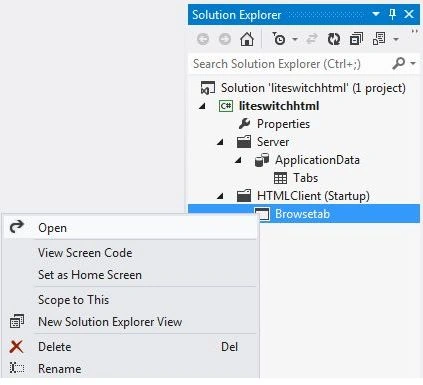
Step 3
The Screen Designer appears.
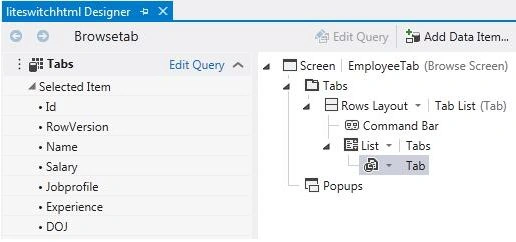
Step 4
In the Screen Designer, choose "Add List".
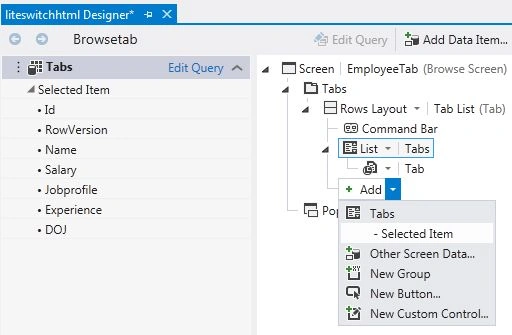
Step 5
In the Screen Designer the drop down list appears.
Step 6
In the Screen Designer, choose the item (for example, Name).
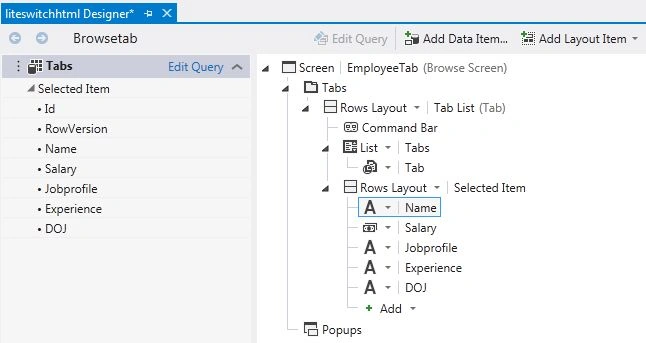
Step 7
Open the Property window.
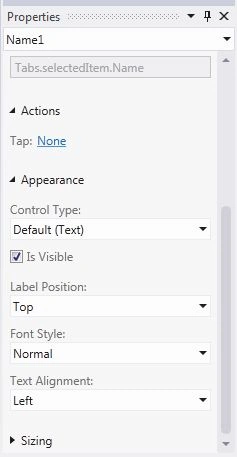
Step 8
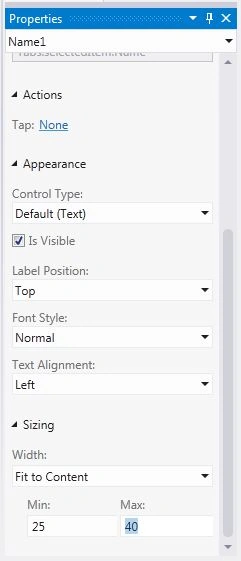
In the Properties window, expand the Sizing node.
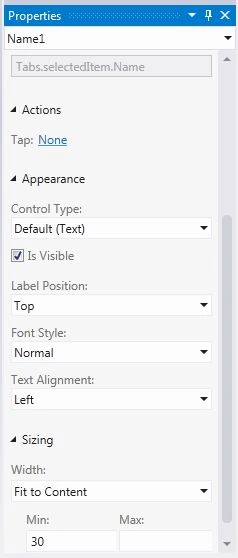
In the Properties window, under Sizing, choose a different size for the width and height of the control.
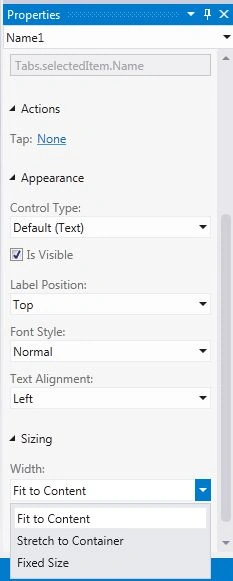
Some controls don't support the height properties.
Join the conversation! Your thoughts help the community grow.