

Adding a group of information to a screen in LightSwitch Visual Studio 2012
In this article I describe how to add a group of information to a screen in LightSwitch Visual Studio 2012.
Procedure for adding a group of information to a screen
Step 1
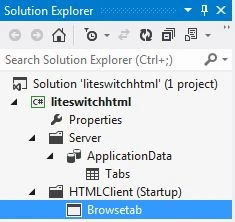
Open the Solution Explorer.
Step 2
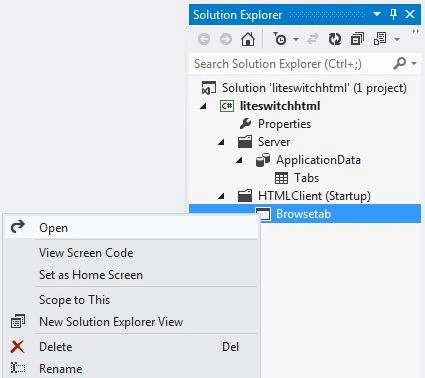
In Solution Explorer, open the HTML client screen to which you want to add a group of information.
Step 3
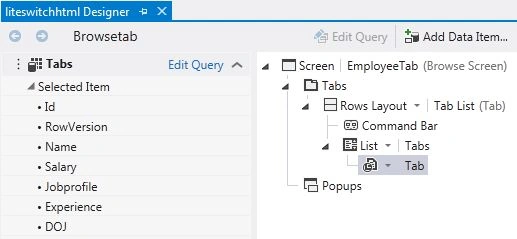
The Screen Designer appears.
Step 4
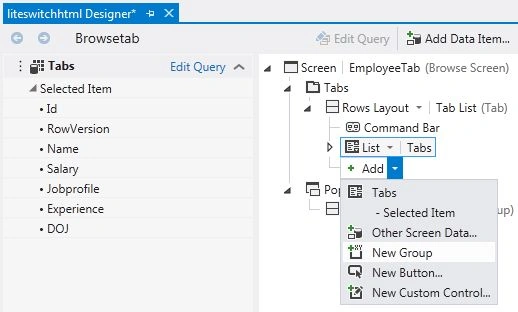
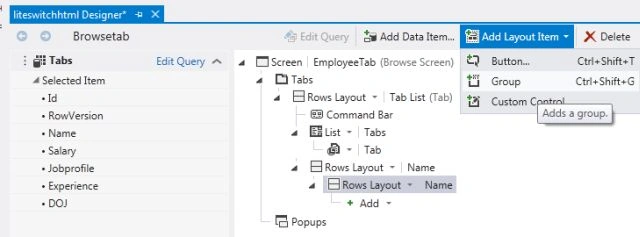
In the Screen Designer, go to Add Layout item and choose Group.
Step 5
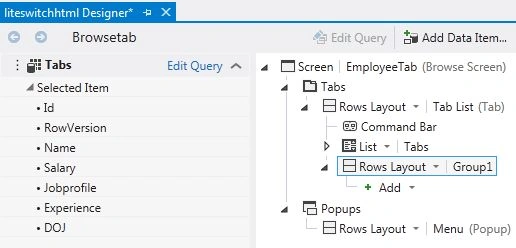
A new Group appears.
Step 6
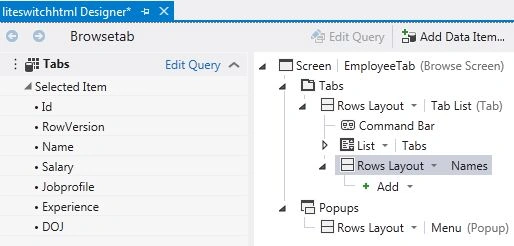
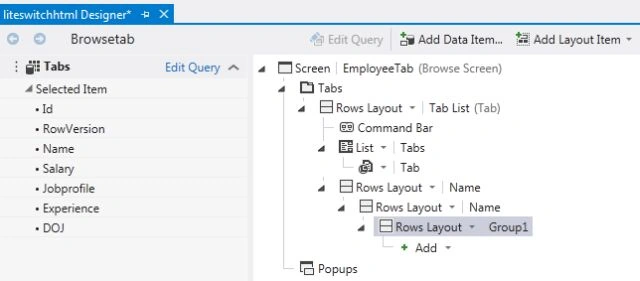
In the Properties window, in the Name text box, enter a name for the group.
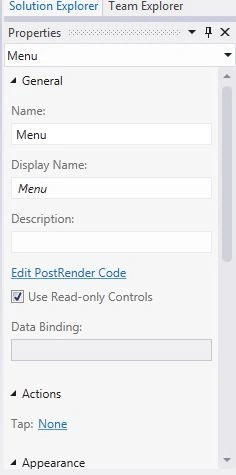
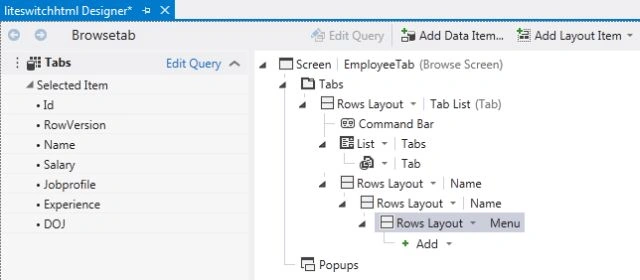
After naming the group, Screen Designer will look like this:
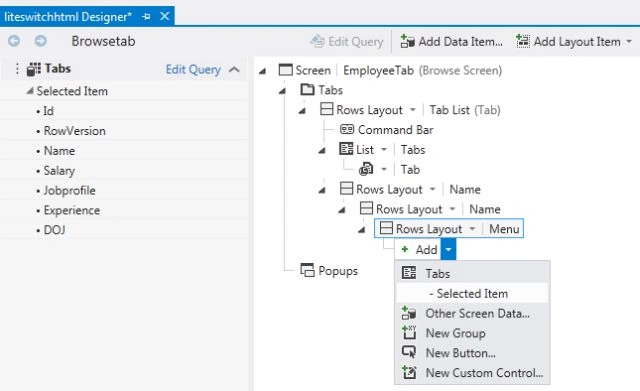
Step 7
In the Screen Designer, open the Add list, and then choose the items that you want to display in a group.
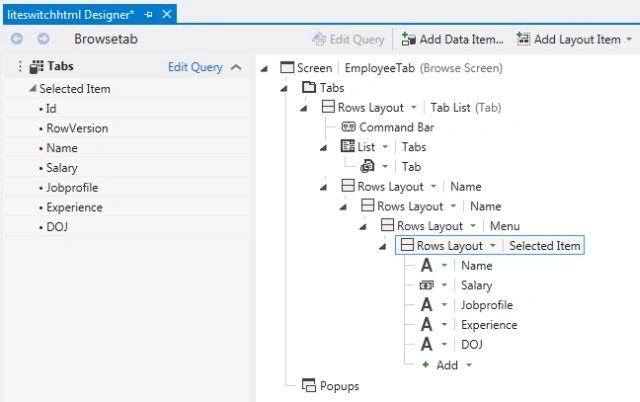
After clicking on the selected item we get:
Join the conversation! Your thoughts help the community grow.