Introduction
In this article we will see how can we write simple styles for any control and use it effectively.
Crating Silverlight Project
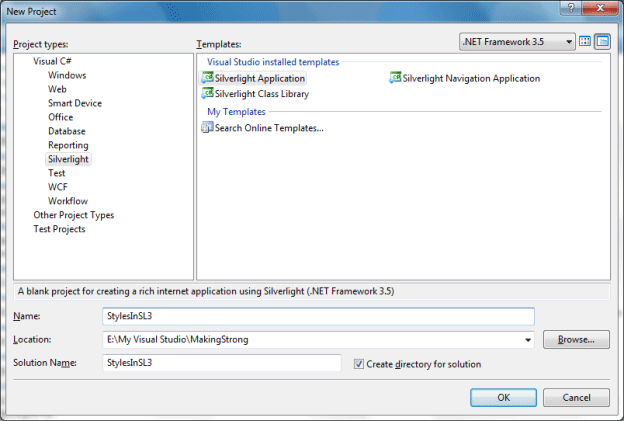
Fire up Visual Studio 2008 and create a Silverlight Application. Name it as StylesInSL3.

Open MainPage.xaml in design mode. In xaml code behind, you can see by default a grid is added to the User Control.
To make it simple I am going to put the styles inside the Grid, otherwise we can use User Control also.
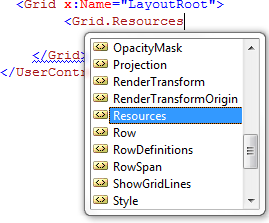
Inside Grid tag type <Grid. And you will find the following:

You guessed it right; we can use User Control Resources also. But for the time being we wil stick with Grid.Resources.
Inside Grid.Resources insert a Style tag.
<Grid.Resources>
<Style>
</Style>
</Grid.Resources>
To make it simple we will be setting a Style for TextBlock. So go ahead and properties to the Style tag.
Name the Style and set the TargetType to TextBlock.
<Style x:Name="MyTextBlockStyle" TargetType="TextBlock">
</Style>
Now we will add a Setter. Setter is nothing but to set a specific property of the target control type to a value.
Suppose we want to change the FontSize of the TextBlock to value 32. So we need to write as follows:
<Setter Property="FontSize" Value="32" />
Add a TextBlock to the Grid and change the Style property.
<TextBlock Width="Auto" Height="Auto" Style="{StaticResource MyTextBlockStyle}" HorizontalAlignment="Center" Text="Styled Text" />
See this is as simple as that. Now Press F5 and you can see the output as the Style is applied to the TextBlock.

Now we will change the ForeGround Color to Red. Add another Setter tag and add the Property and Value.
<Setter Property="ForeGround" Value="Red"/>

Now that you know how to add Style a control in xaml code behind, play with other Properties and other Controls.
Enjoy Coding.