

In this blog, we will see how we can create a new Angular project from scratch with a step by step procedure.
Software requirements
Step 1
Create a folder on your Desktop and name it "First-Angular-Project".
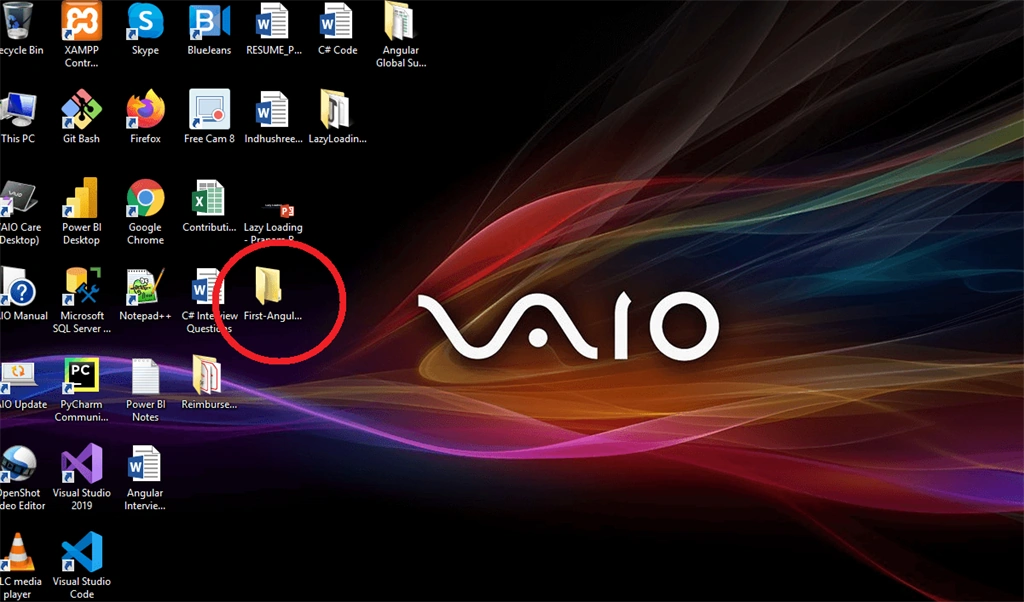
Step 2
Open this folder and copy the folder path from the clipboard. (For example - C:\Users\Indhu\Desktop\First-Angular-Project).
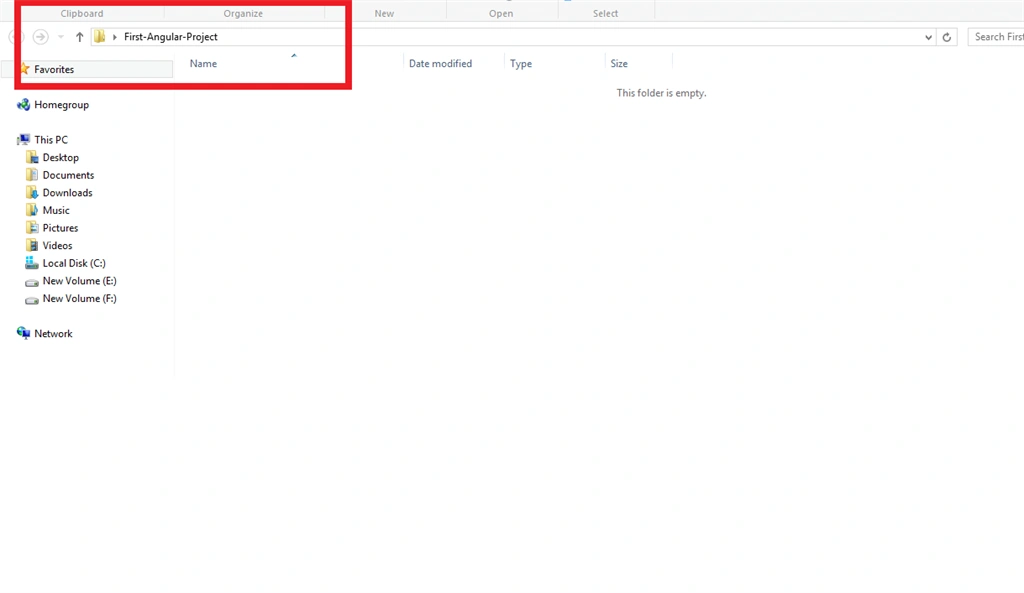
Step 3
Now open Visual Studio Code.
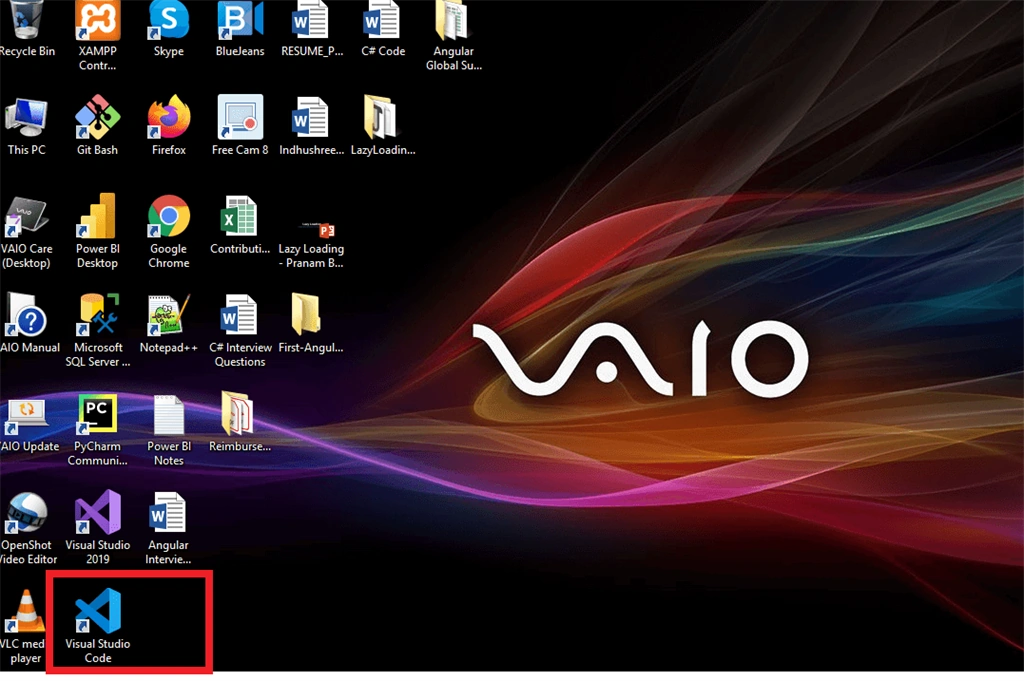
Step 4
Go to "File" > "Open Folder" and select "First-Angular-Project" from the "Desktop".
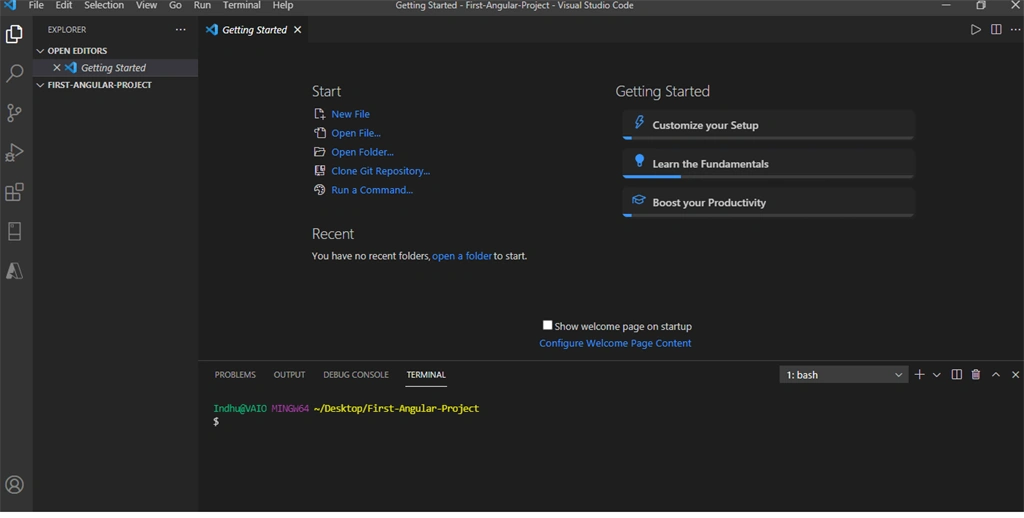
Step 5
Now in the "TERMINAL" run ng new Angular-Project-Demo.
Whenever it prompts with something like "Would you like to add Angular routing? (y/N)" press "y" and hit "ENTER".
Now you will see the structure of your application like this,

Make sure the "node-modules" folder is reflecting in the project structure. If not, you have to navigate to Angular-Project-Demo and "npm install" command.
Step 6
Now go to the "TERMINAL" and run cd Angular-Project-Demo/.
Step 7
Run "ng serve" command,

Note
We can also run "ng serve --open" command rather than "ng serve" to open the default browser directly.
Step 8
Now open the browser and open http://localhost:4200/.

Meantime, you can also open the "Developer Tools" (CTRL + Shift + I) to see if you have any Console errors.
That's all. We have successfully created a new Angular project from scratch. Now we can modify the files as per our need and keep checking the result on the browser instantly.
Conclusion
In this blog, we have seen a step-by-step guide to create an Angular project from the beginning. Thank you.
Join the conversation! Your thoughts help the community grow.