

Introduction - Managing the page navigation experience
Xamarin.Forms provides a number of different page navigation experiences depending upon the Page type being used. Read More here.
Xamarin.Forms provides a number of different page navigation experiences depending upon the Page type being used. Read More here.
Navigating between pages using tabs
The Xamarin.Forms TabbedPage consists of a list of tabs and a larger detail area with each tab loading content into the detail area. This article demonstrates how to use a TabbedPage to navigate through a collection of pages.
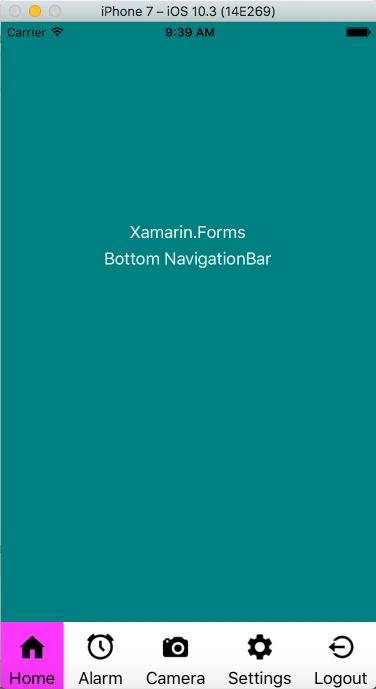
The Xamarin.Forms TabbedPage consists of a list of tabs and a larger detail area with each tab loading content into the detail area. This article demonstrates how to use a TabbedPage to navigate through a collection of pages.
Prerequisites
- Visual Studio 2017(Windows or Mac)
The steps given below are required to be followed in order to create a Bottom NavigationBar in Xamarin.Forms, using Visual Studio.
Setting up a Xamarin.Forms Project
Start by creating a new Xamarin.Forms project. You’ll learn more by going through the steps yourself. Choose the Xamarin.Forms App project type under Cross-platform/App in the "New Project" dialog.
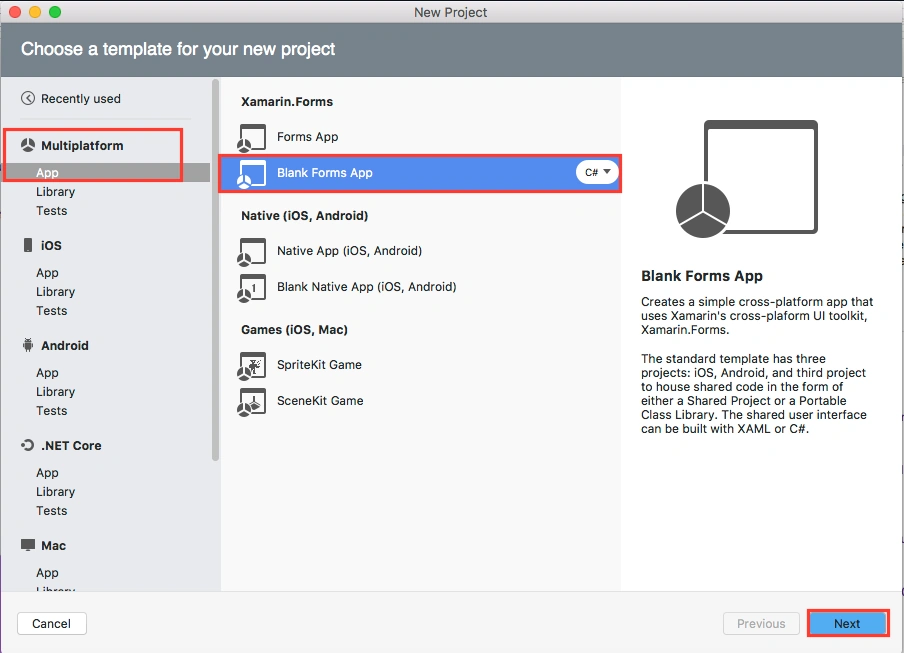
Setting up a Xamarin.Forms Project
Start by creating a new Xamarin.Forms project. You’ll learn more by going through the steps yourself. Choose the Xamarin.Forms App project type under Cross-platform/App in the "New Project" dialog.
Name your app, select “Use Portable Class Library” for shared code, and target both - Android and iOS.
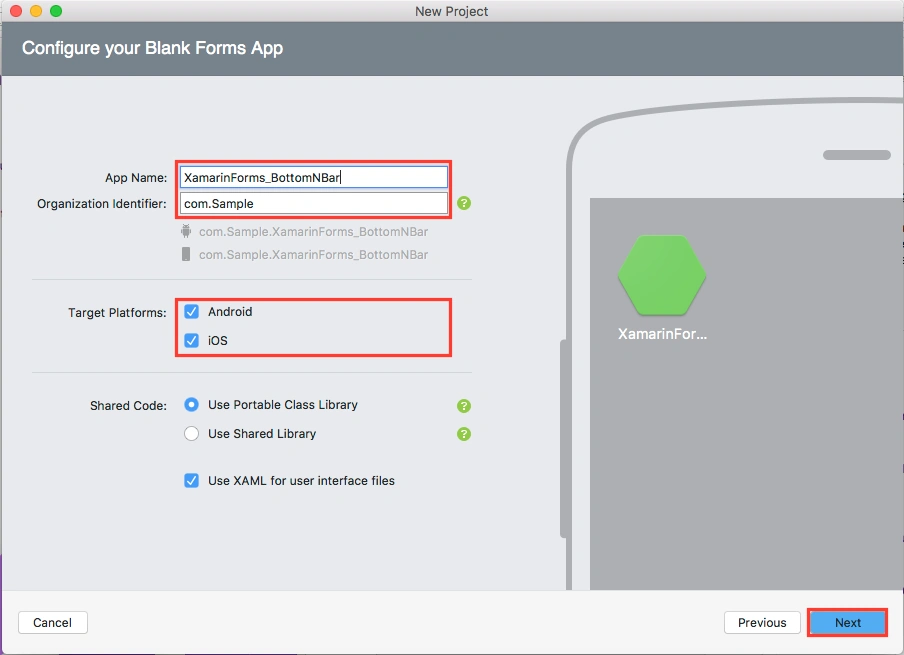
You probably want your project and solution to use the same name as your app. Put it in your preferred folder for projects and click "Create".
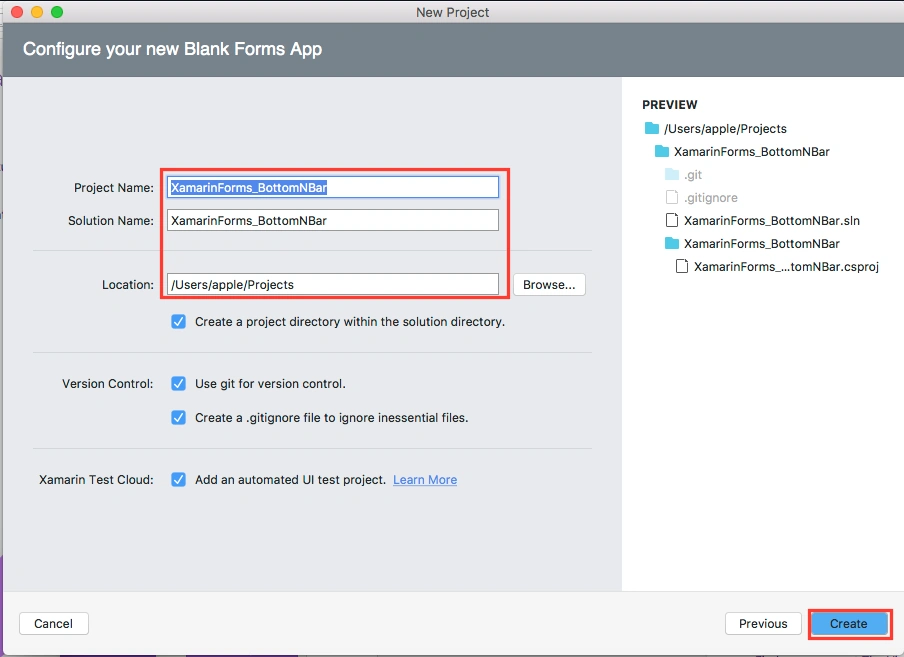
You now have a basic Xamarin.Forms app. Click the Play button to try it out.
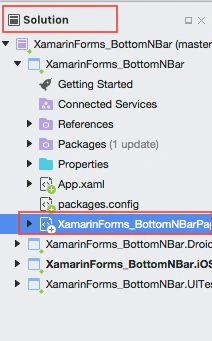
You probably want your project and solution to use the same name as your app. Put it in your preferred folder for projects and click "Create".
You now have a basic Xamarin.Forms app. Click the Play button to try it out.
Add Icons
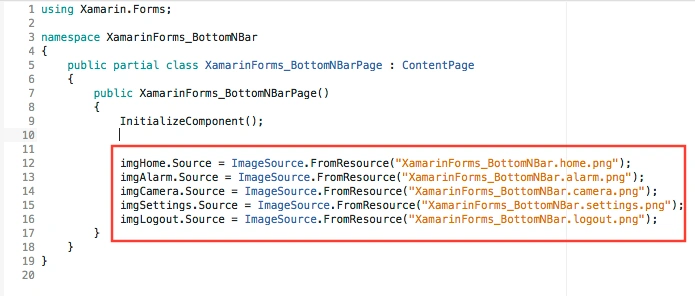
Go to Solution—>PCL—>Right click—>Add Files. After adding the images, set BuildAction EmbddedResource.
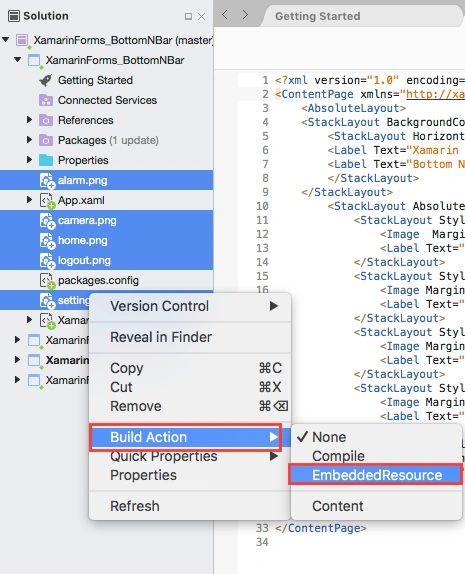
Go to Solution—>PCL—>Right click—>Add Files. After adding the images, set BuildAction EmbddedResource.
Setting up the User Interface.
Go to MainPage.Xaml and write the following code.
Go to MainPage.Xaml and write the following code.
MainPage.Xaml
- <?xml version="1.0" encoding="utf-8"?>
- <ContentPage xmlns="http://xamarin.com/schemas/2014/forms" xmlns:x="http://schemas.microsoft.com/winfx/2009/xaml" xmlns:local="clr-namespace:XamarinForms_BottomNBar" x:Class="XamarinForms_BottomNBar.XamarinForms_BottomNBarPage">
- <AbsoluteLayout>
- <StackLayout BackgroundColor="Teal" AbsoluteLayout.LayoutBounds="0, 0, 1, 1" AbsoluteLayout.LayoutFlags="All">
- <StackLayout Margin="0,200,0,0" HorizontalOptions="Center">
- <Label Text="Xamarin.Forms" HorizontalTextAlignment="Center" TextColor="White"></Label>
- <Label Text="Bottom NavigationBar" HorizontalTextAlignment="Center" TextColor="White"></Label> </StackLayout>
- </StackLayout>
- <StackLayout AbsoluteLayout.LayoutBounds=".20,1,1,.1" AbsoluteLayout.LayoutFlags="All" BackgroundColor="White" HorizontalOptions="FillAndExpand" Orientation="Horizontal">
- <StackLayout Style="{StaticResource ButtonNavigationBarStackLayoutStyle}" x:Name="stckHome">
- <Image Margin="0,10,0,10" x:Name="imgHome" Style="{StaticResource ButtonNavigationBarImageStyle}" />
- <Label Text="Home" Style="{StaticResource ButtonNavigationBarLabelStyle}"></Label> </StackLayout>
- <StackLayout Style="{StaticResource ButtonNavigationBarStackLayoutStyle}" x:Name="stckAlarm">
- <Image Margin="0,10,0,10" x:Name="imgAlarm" Style="{StaticResource ButtonNavigationBarImageStyle}" />
- <Label Text="Alarm" Style="{StaticResource ButtonNavigationBarLabelStyle}"></Label> </StackLayout>
- <StackLayout Style="{StaticResource ButtonNavigationBarStackLayoutStyle}" x:Name="stckCamera">
- <Image Margin="0,10,0,10" x:Name="imgCamera" Style="{StaticResource ButtonNavigationBarImageStyle}" />
- <Label Text="Camera" Style="{StaticResource ButtonNavigationBarLabelStyle}"></Label> </StackLayout>
- <StackLayout Style="{StaticResource ButtonNavigationBarStackLayoutStyle}" x:Name="stckSettings">
- <Image Margin="0,10,0,10" x:Name="imgSettings" Style="{StaticResource ButtonNavigationBarImageStyle}" />
- <Label Text="Settings" Style="{StaticResource ButtonNavigationBarLabelStyle}"></Label> </StackLayout>
- <StackLayout Style="{StaticResource ButtonNavigationBarStackLayoutStyle}" x:Name="stckLogout">
- <Image Margin="0,10,0,10" x:Name="imgLogout" Style="{StaticResource ButtonNavigationBarImageStyle}" />
- <Label Text="Logout" Style="{StaticResource ButtonNavigationBarLabelStyle}"></Label> </StackLayout>
- </StackLayout>
- </AbsoluteLayout>
- </ContentPage>
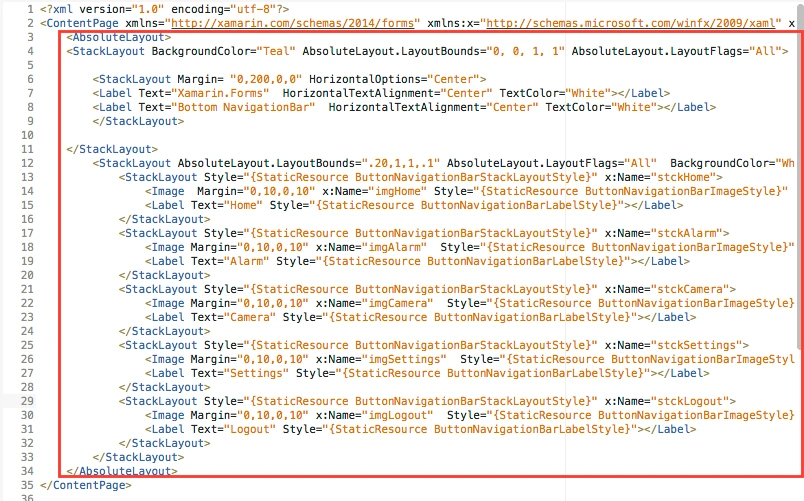
In this step, write common design for Bottom NavigationBar.
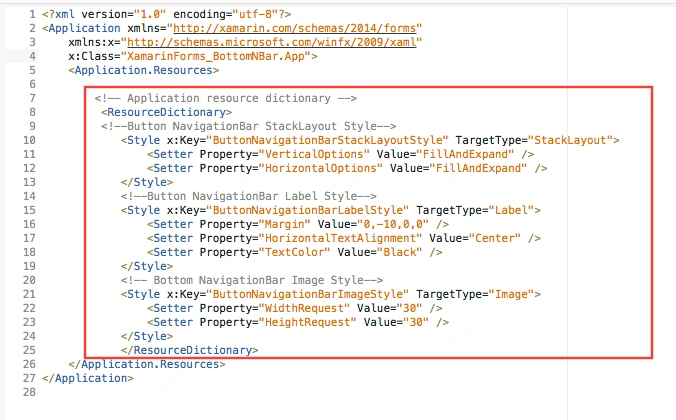
App.Xaml

Arvind ChourasiyaPosted Mar 13, 2018, 10:06 AM
Hi bro, How can i set "new page" on first tab at the time of loading and it should't hide the bottom tabs. When I Push new page inside OnTapped event, It is hiding bottom tabs. Thank you
Delpin Susai RajPosted Feb 15, 2018, 6:42 AM
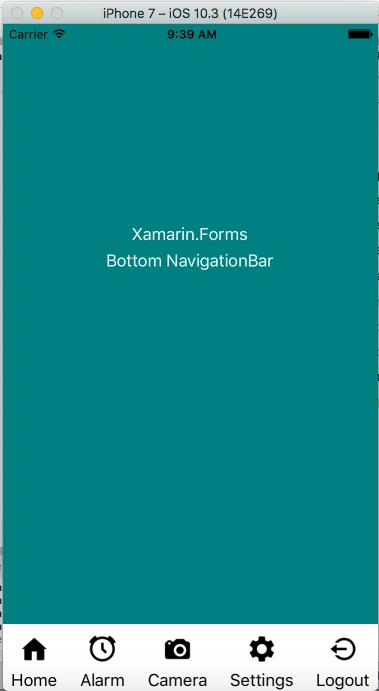
Arvind Chourasiya it will display at the bottom.
Arvind ChourasiyaPosted Feb 13, 2018, 8:24 AM
@Susna nice artical. How it look when we execute it on android, tabs will be display at bottom or top side