

Introduction
With the release of .NET 9, Microsoft announced that they will no longer provide the default Swagger gen UI with any .NET API project. Previously, when we created a .NET API project, Microsoft automatically added the Swagger Swashbuckle package, which provided methods like apps.UseSwagger() and app.UseSwaggerUI(). These methods showed API documentation with a predefined UI for testing directly in the browser without using any third-party apps like Postman. However, Swagger is no longer integrated with .NET 9 web API projects. This decision was made because the package hasn't been maintained properly recently, and many user-reported issues remain unresolved.
The Microsoft team has created a new package called Microsoft.AspNetCore.OpenApi, which provides built-in OpenAPI documentation generation similar to Swagger. However, this only provides JSON documentation of all endpoints and schema definitions without any UI showing in the browser. The main goal of this change is to let users implement their preferred UI library, whether it's Swagger or any other alternative. Microsoft removing the default Swagger package doesn't mean you can't install Swagger again in your project - you can add it and perform all the same operations as before.
There are many alternatives to Swagger available currently, but in this article, we're going to discuss and implement Scalar in our API project. After Swagger, Scalar has become increasingly popular among developers.
Creating New Project
When you create new projects with .NET 9, it will ask if you want to configure OpenAPI support. If you check this checkbox, it will add the Microsoft.AspNetCore.OpenApi package to your project and register the OpenAPI service in the program.cs file like this.
var builder = WebApplication.CreateBuilder(args);
builder.Services.AddOpenApi();

var app = builder.Build();

if (app.Environment.IsDevelopment())
{
    app.MapOpenApi();
}
Now, when you run your API and navigate to /OpenApi/v1.json, it will show the documentation generated by default, which contains information about your endpoints and all the schemas you have used, as shown in the image below.

Configure Scalar.NET
First, open your package manager and install Scalar.AspNetCore.
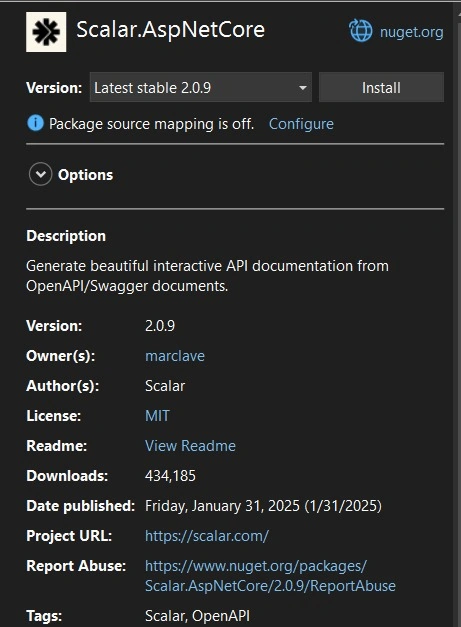
Then, just add the app.MapScalarApiReference(); in your program.cs file to map all the API references and routes of Scalar UI.
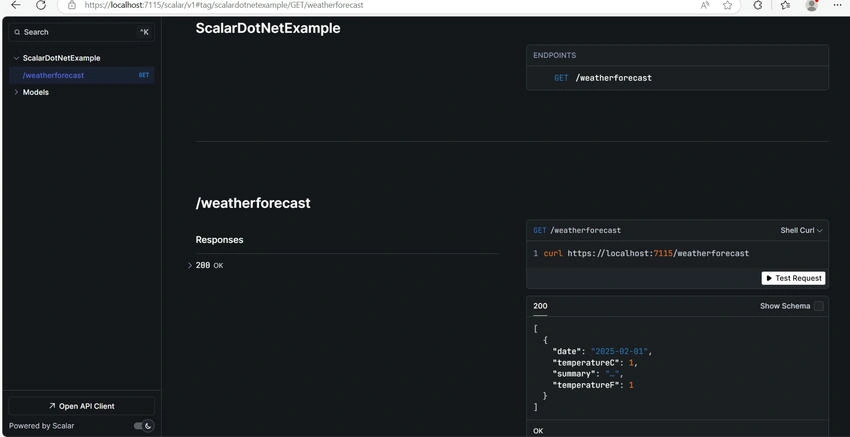
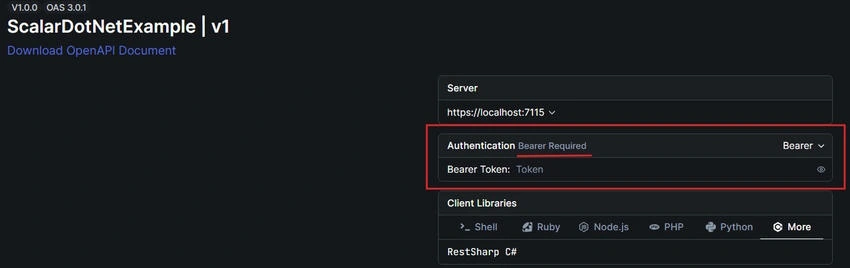
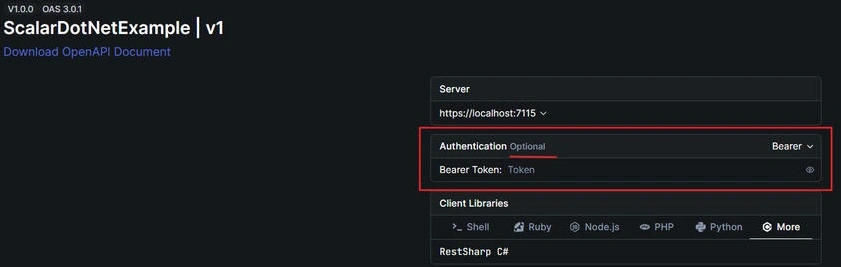
Now, if you go to /Scalar/V1, you will see a beautiful UI for your endpoints. Here, I only have one endpoint, so it looks like this.
Configure Options of Scalar
You can configure multiple options and change the settings of your UI. Some configurations include.
- Title: Set the document title which shows on top of the browser tab
- DarkMode: true/false to enable and disable dark mode
- Favicon: Set the favicon of the document
- DefaultHttpClient: Show the default HTTP client when UI loads in the browser. It shows the code implementation for the respective programming language.
- HideModels: true/false to set whether to show model definitions
- Layout: Set the layout/theme of Scalar UI
- ShowSidebar: true/false to set whether to show sidebar. This only works when you have chosen the modern layout.
And many more.
Open Scalar UI by Default
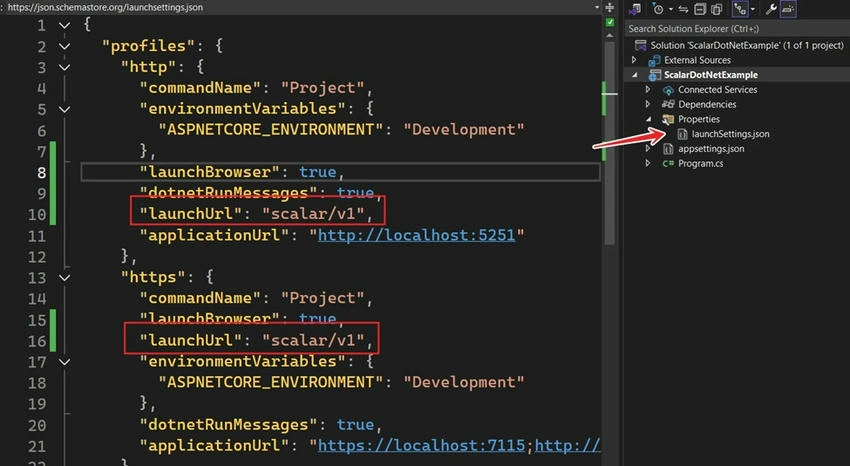
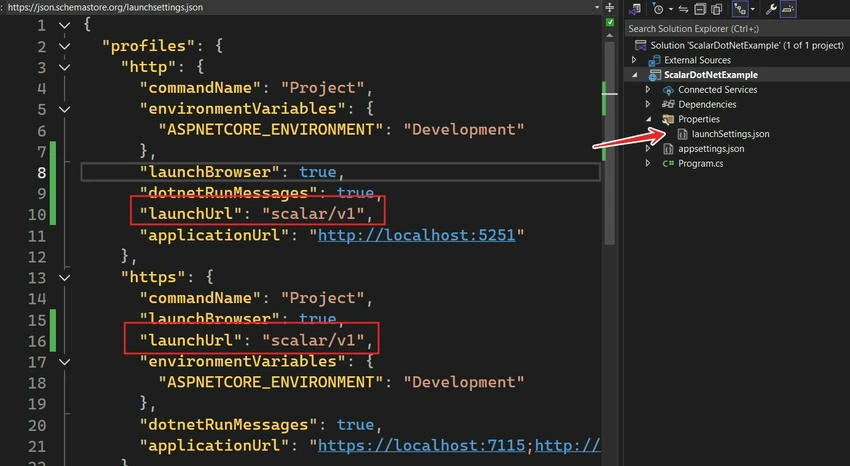
You might have noticed that we have to type scalar/v1 every time in the URL to see the Scalar UI. We can change the launch URL so we don't have to do this repeatedly. Open the launchsettings.json file and add the launch URL to your profile. I have added it for both HTTP and HTTPS. You can configure it as per your requirements.
Working with Authorization and JWT Token
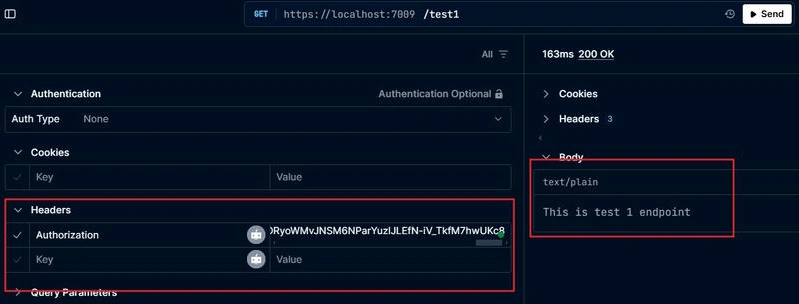
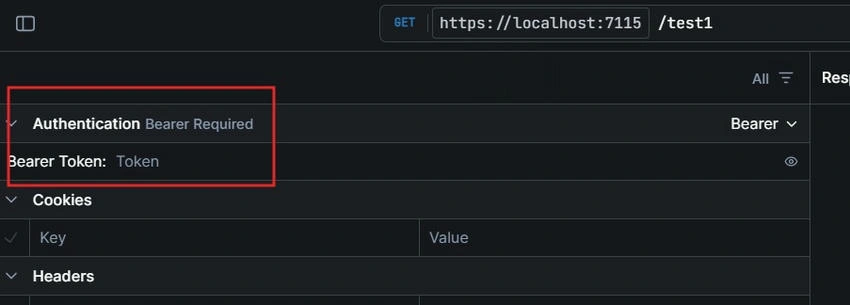
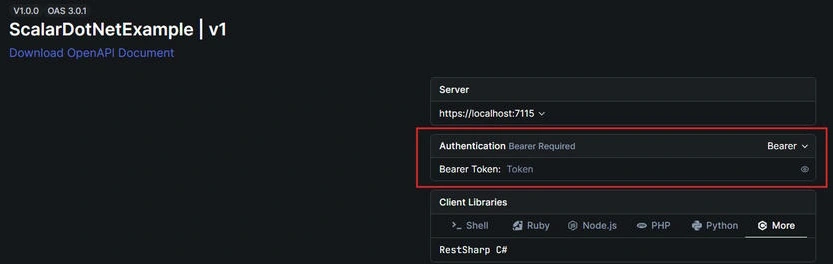
In most APIs, we implement JWT tokens or other types of token authentication. So, I have added a few lines of code to implement authorization using the JWT token. I have also installed Microsoft.AspNetCore.Authentication.JwtBearer package for this.
builder.Services
    .AddAuthorization()
    .AddAuthentication(x =>
    {
        x.DefaultAuthenticateScheme = JwtBearerDefaults.AuthenticationScheme;
        x.DefaultChallengeScheme = JwtBearerDefaults.AuthenticationScheme;
    })
    .AddJwtBearer(x =>
    {
        x.RequireHttpsMetadata = false;
        x.SaveToken = true;
        x.TokenValidationParameters = new TokenValidationParameters
        {
            ValidateIssuerSigningKey = false,
            IssuerSigningKey = new SymmetricSecurityKey(Encoding.ASCII.GetBytes("your_jwt_key")),
            ValidateIssuer = false,
            ValidateAudience = false
        };
    });

app.UseAuthentication();
app.UseAuthorization();

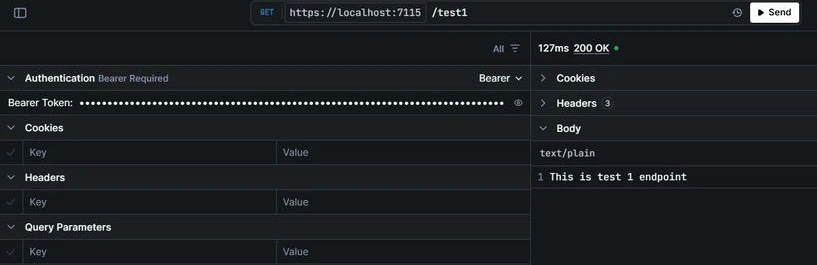
app.MapGet("/test1", () => "This is test 1 endpoint")
    .WithName("Test1")
    .RequireAuthorization();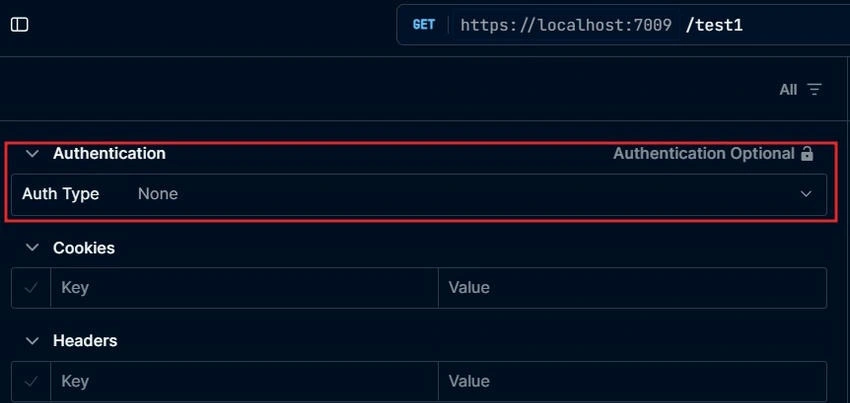
Join the conversation! Your thoughts help the community grow.