

Previous part: Setting Up and Using a Local SQLite Database in MAUI .NET 9 [GamesCatalog] - Part 9
Step 1. Now that we have our local database set up, let's use it to store game reviews.
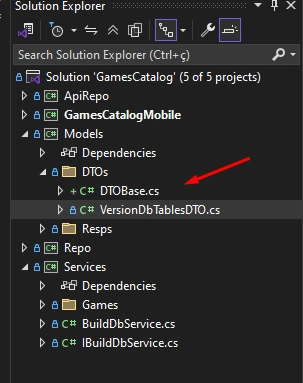
Step 1.1. Code:
using System.ComponentModel.DataAnnotations;

namespace Models.DTOs;

public class DTOBase
{
    [Key]

    public int? Id { get; set; }
    public int? ExternalId { get; set; }
    public DateTime CreatedAt { get; set; }
    public DateTime UpdatedAt { get; set; }
    public bool Inactive { get; set; }
}
Step 1.2. In the same folder, let's create GameDTO.
namespace Models.DTOs;

[Microsoft.EntityFrameworkCore.Index(nameof(IGDBId), IsUnique = true)]
public class GameDTO : DTOBase
{
    public int? IGDBId { get; set; }
    public int UserId { get; set; }
    public required string Name { get; set; }
    public string? ReleaseDate { get; set; }
    public string? Platforms { get; set; }
    public string? Summary { get; set; }
    public string? CoverUrl { get; set; }
    public required GameStatus Status { get; set; }
    public int? Rate { get; set; }
}

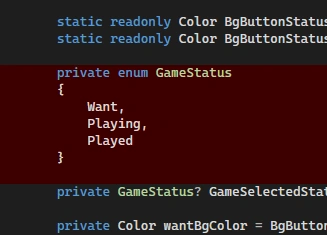
public enum GameStatus
{
    Want,
    Playing,
    Played
}
Step 2. In DbCtx.cs, add the Games table.
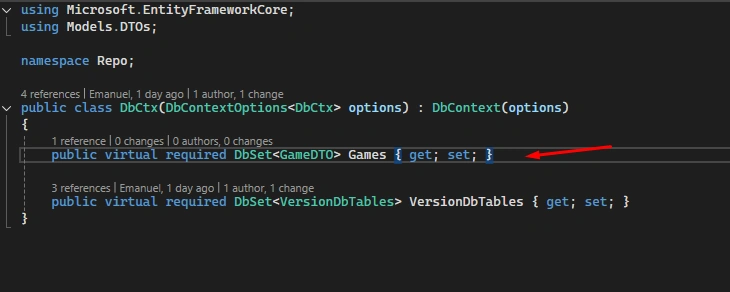
Step 2.1. Code:
public virtual required DbSet<GameDTO> Games { get; set; }
Step 3. In the repo project, create the GameRepo.cs.
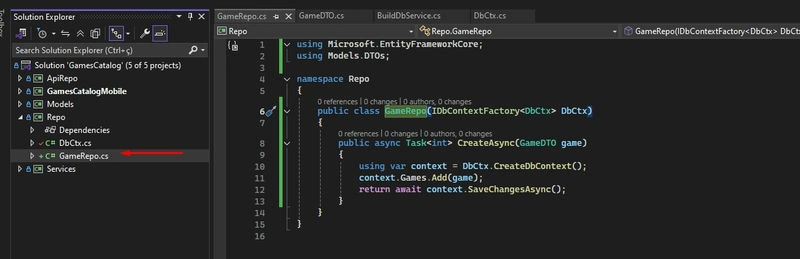
Step 4. In the repo project, create the GameRepo.cs:
using Microsoft.EntityFrameworkCore;
using Models.DTOs;

namespace Repo
{
    public class GameRepo(IDbContextFactory<DbCtx> DbCtx)
    {
        public async Task<int> CreateAsync(GameDTO game)
        {
            using var context = DbCtx.CreateDbContext();
            await context.Games.AddAsync(game);
            return await context.SaveChangesAsync();
        }
    }
}
Step 4.1. Extract the interface from this class.
Step 5. Save the image locally so that, after adding the game, we can retrieve it without relying on an internet connection. In the ApiRepo project, inside the IGDBGamesAPIRepo class, create the GetGameImageAsync function.
public static async Task<byte[]> GetGameImageAsync(string imageUrl)
{
    try
    {
        using HttpClient httpClient = new();
        var response = await httpClient.GetAsync(imageUrl);

        if (!response.IsSuccessStatusCode)
            throw new Exception($"Exception downloading image URL: {imageUrl}");

        return await response.Content.ReadAsByteArrayAsync();
    }
    catch (Exception ex)
    {
        throw new Exception($"Error fetching image: {ex.Message}", ex);
    }
}
Step 5.1. In the Services project, inside the IGDBGamesApiService class, create the SaveImageAsync function.
public static async Task SaveImageAsync(string imageUrl, string fileName)
{
    try
    {
        byte[] imageBytes = await IGDBGamesAPIRepo.GetGameImageAsync(imageUrl);
        string filePath = Path.Combine(GameService.ImagesPath, fileName);

        if (File.Exists(filePath))
            return;

        await File.WriteAllBytesAsync(filePath, imageBytes);
    }
    catch (Exception)
    {
        throw; // Consider logging the exception instead of rethrowing it blindly
    }
}
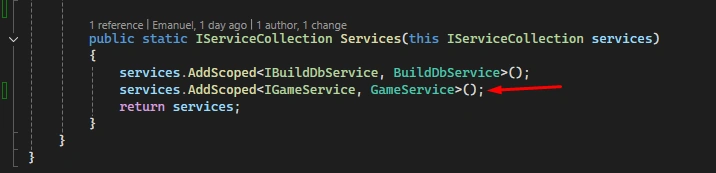
Step 6. Create a function to add the repositories in MauiProgram.
public static IServiceCollection Repositories(this IServiceCollection services)
{
    services.AddScoped<IGameRepo, GameRepo>();
    return services;
}
Step 7. Call this function inside CreateMauiApp().
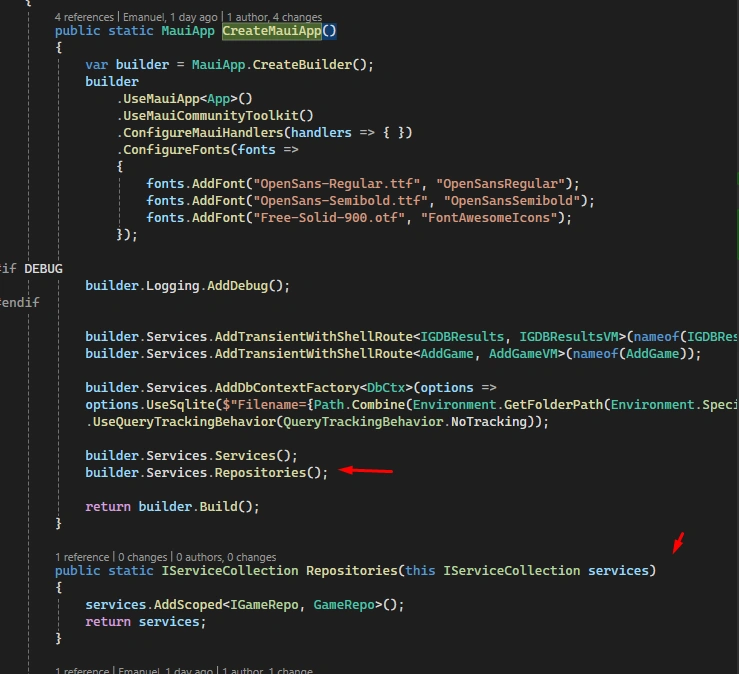
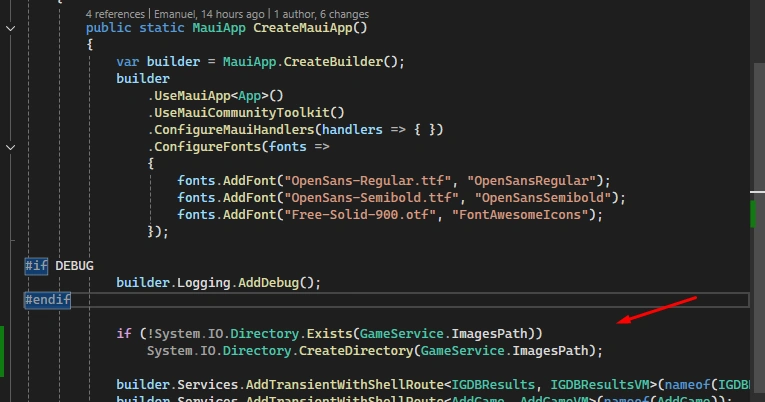
Step 7.1. Add a function to create the image path.
Step 7.2. Code:
     if (!System.IO.Directory.Exists(GameService.ImagesPath))
         System.IO.Directory.CreateDirectory(GameService.ImagesPath);
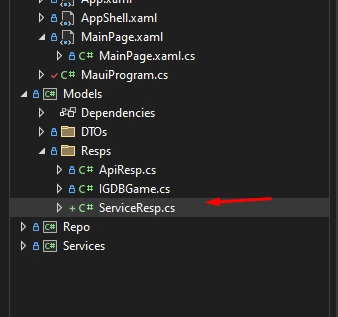
Step 8. In Models.Resps, create an object to handle the service response for the mobile project.




Join the conversation! Your thoughts help the community grow.