

Introduction
This article explains how to access the social providers in a MVC based ASP.NET Web Application. Facebook is used for the example of a social provider. There are various types of social providers available to be accessed, such as Google, Twitter and Microsoft. You can access your information in your social account such as you can access your friend's photos in your Facebook account.
In that context, I am creating a MVC based ASP.NET Web Application and I am also assuming that you have the knowledge necessary to configure the social login provider in your Web Application. You can visit Configure the External Login Options in MVC as a reference to access the external authentication for your ASP.NET Web Application.
Prerequisites
The following are the prerequisites:
- Create an ASP.NET MVC Web Application in Visual Studio 2013.
- Enable the Facebook Provider
Now let's follow the sections mentioned below to proceed:
- Facebook Authentication
- Controller and Model Editing
- Adding View
- Access Application
Facebook Authentication
To authenticate the Facebook provider, use the following procedure.
Step 1: In your Solution Explorer, open the Startup authentication file as shown below:
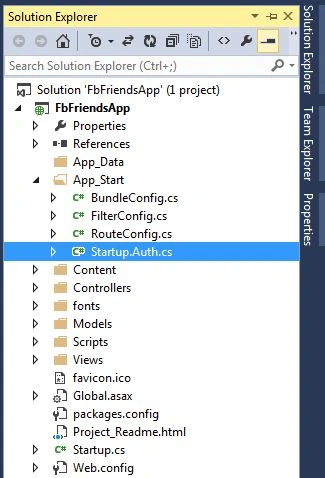
Step 2: Find the ConfigureAuth() method and modify your code with the following code:
- //app.UseTwitterAuthentication(
- // consumerKey: "",
- // consumerSecret: "");
- List<string> Social = new List<string>() { "email", "friends_about_me", "friends_photos" };
- var FbFriends = new FacebookAuthenticationOptions();
- FbFriends.Scope.Add("email");
- FbFriends.Scope.Add("friends_about_me");
- FbFriends.Scope.Add("friends_photos");
- FbFriends.AppId = "App ID Value";
- FbFriends.AppSecret="App Secret Value";
- FbFriends.Provider=new FacebookAuthenticationProvider()
- {
- OnAuthenticated = async FbContext =>
- {
- FbContext.Identity.AddClaim(
- new System.Security.Claims.Claim("FacebookAccessToken", FbContext.AccessToken));
- }
- }; FbFriends.SignInAsAuthenticationType=DefaultAuthenticationTypes.ExternalCookie;
- app.UseFacebookAuthentication(FbFriends);
- //app.UseGoogleAuthentication();
In the code above, FacebookAuthenticationProvider() is called each time the user authenticates with Facebook and the data is to be stored in the FbContext.FacebookAccessToken to access the friends of the user.
Controller and Model Editing
Now we need to edit our Controller and Model to access the information of User Facebook Account. Use the following procedure to do that.
Step 1: At first open your Login file to create an Action.
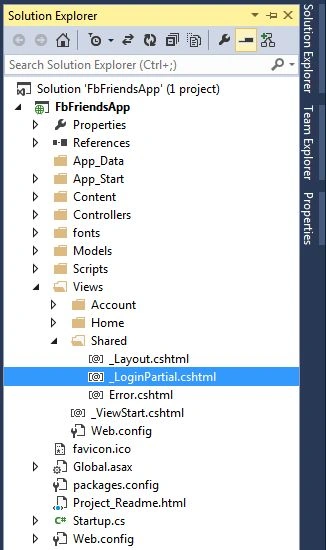
Step 2: Modify your code with the following code:
- <ul class="nav navbar-nav navbar-right">
- <li>
- @Html.ActionLink("Hello " + User.Identity.GetUserName() + "!", "Manage", "Account", routeValues: null, htmlAttributes: new { title = "Manage" })
- </li>
- <li>
- @Html.ActionLink("Facebook Friends", "FacebookFriends", "Account")
- </li>
- <li><a href="javascript:document.getElementById('logoutForm').submit()">Log off</a></li>
- </ul>
Step 3: Now open the AccountController.cs file from the Solution Explorer and proceed with the following sections to edit the controller:
- Adding Task
Add the following Task in your Account Controller:- private async Task FbAuthenticationToken(ApplicationUser User)
- {
- var claims = await AuthenticationManager.GetExternalIdentityAsync(DefaultAuthenticationTypes.ExternalCookie);
- if (claims != null)
- {
- var getclaim = await UserManager.GetClaimsAsync(User.Id);
- var FbToken = claims.FindAll("FacebookAccessToken").First();
- if (getclaim.Count() <= 0)
- {
- await UserManager.AddClaimAsync(User.Id, FbToken);
- }
- }
- }
-
Modify the ExternalLoginCallback()
Modify the external login provider in this method with the following code:- // Sign in the user with this external login provider if the user already has a login
- var user = await UserManager.FindAsync(loginInfo.Login);
- if (user != null)
- {
- await FbAuthenticationToken(user);
- await SignInAsync(user, isPersistent: false);
- return RedirectToLocal(returnUrl);
- }
-
Modify the LinkLoginCallback()
Modify this method with this code:- // GET: /Account/LinkLoginCallback
- publicasyncTask<ActionResult> LinkLoginCallback()
- {
- var loginInfo = await AuthenticationManager.GetExternalLoginInfoAsync(XsrfKey, User.Identity.GetUserId());
- if (loginInfo == null)
- {
- return RedirectToAction("Manage",new { Message = ManageMessageId.Error });
- }
- var result = await UserManager.AddLoginAsync(User.Identity.GetUserId(), loginInfo.Login);
- if (result.Succeeded)
- {
- var FbUser = await UserManager.FindByIdAsync(User.Identity.GetUserId());
- await FbAuthenticationToken(FbUser);
- return RedirectToAction("Manage");
- }
- return RedirectToAction("Manage",new { Message = ManageMessageId.Error });
- }
-
Modify the ExternalLoginConfirmation()
Modify the external login provider in this method with the following code:- // Get the information about the user from the external login provider
- var info = await AuthenticationManager.GetExternalLoginInfoAsync();
- if (info == null)
- {
- return View("ExternalLoginFailure");
- }
- var user = newApplicationUser() { UserName = model.UserName };
- var result = await UserManager.CreateAsync(user);
- if (result.Succeeded)
- {
- result = await UserManager.AddLoginAsync(user.Id, info.Login);
- if (result.Succeeded)
- {
- await FbAuthenticationToken(user);
- await SignInAsync(user, isPersistent: false);
- return RedirectToLocal(returnUrl);
- }
- }
- AddErrors(result);
-
Facebook Package
Install the Facebook NuGet Package in your application. -
Modify the AccountViewModel
Add the following code in your AccountViewModel.cs file in the Account Folder:- public class FacebookViewModel
- {
- [Required]
- [Display(Name = "Friend's name")]
- public string Name { get;set; }
- public string Image { get;set; }
- }
-
Modify Controller
Add the following code in the Account Controller to access the Facebook Friends Information:- public async Task<ActionResult> FacebookFriends()
- {
- var UserClaim = await
- UserManager.GetClaimsAsync(User.Identity.GetUserId());
- var token = UserClaim.FirstOrDefault(fb => fb.Type == "FacebookAccessToken").Value;
- var FbClient = newFacebookClient(token);
- dynamic FacebookFriends = FbClient.Get("/me/friends");
- var FbFriends=newList<FacebookViewModel>();
- foreach (dynamic MyFriend in FacebookFriends.data)
- {
- FbFriends.Add(newFacebookViewModel()
- {
- Name=MyFriend.name,
- Image= @"https://graph.facebook.com/" + MyFriend.id + "/picture?type=large"
- });
- }
- return View(FbFriends);
- }
Adding View
The final step is to add the View to access Facebook. So, proceed with the following procedure.
Step 1: Add a View to your Account Folder:
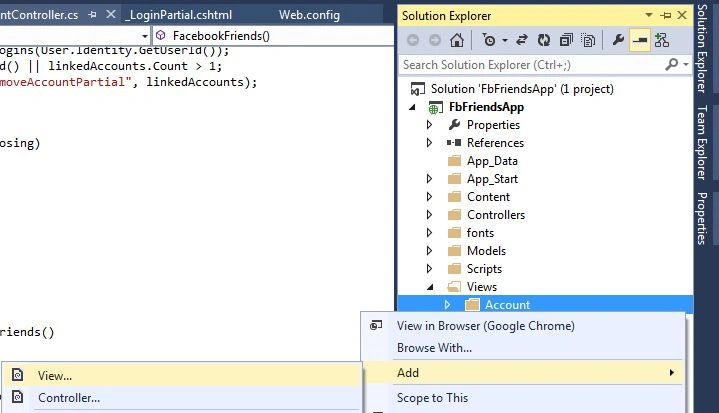
Step 2: In the wizard, enter the View name:
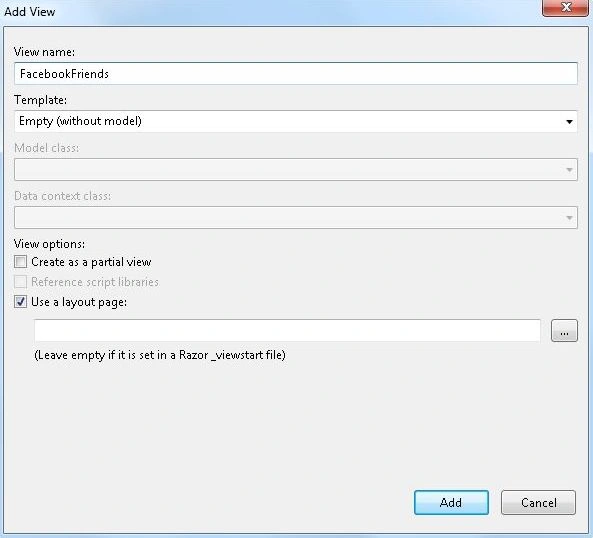
Step 3: Replace the boilerplate code with the following code:
- @model IList<FbFriendsApp.Models.FacebookViewModel>
- @{
- ViewBag.Title = "Facebook Friends";
- }
- <h2>My Facebook Friends</h2>
- @if (Model.Count > 0)
- {
- <div class="row">
- @foreach (var MyFriend in Model)
- {
- <div class="col-md-3">
- <a href="#" class="thumbnail">
- <img [email protected] [email protected] />
- </a>
- </div>
- }
- </div>
- }
Access Application
Use the following procedure to run the application.
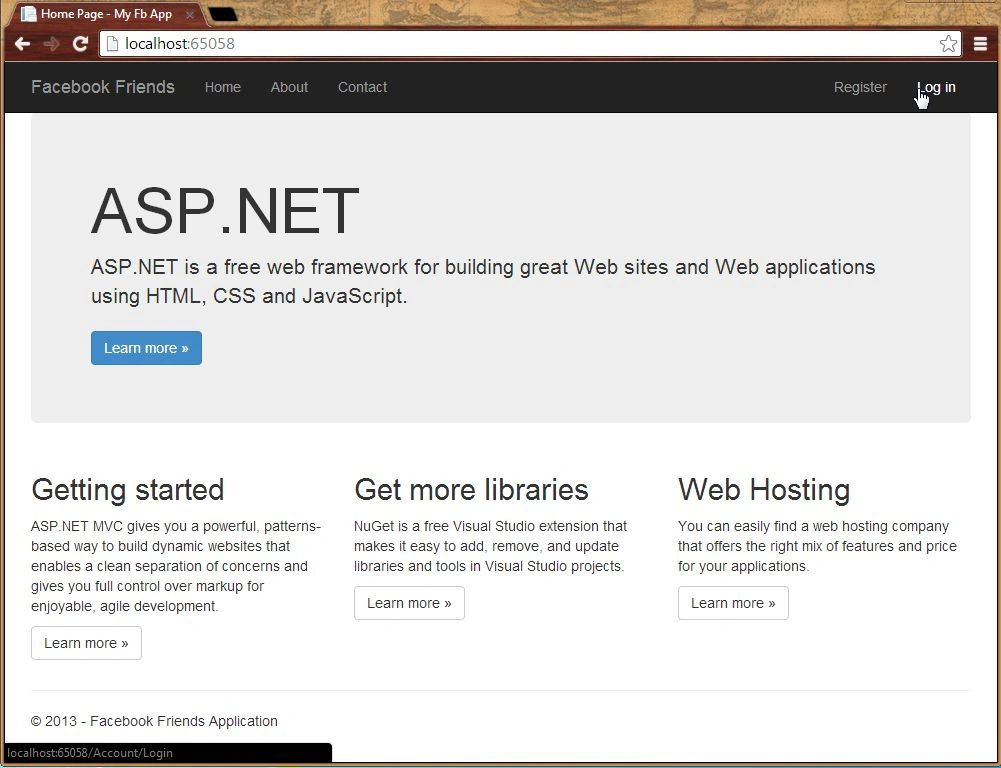
Step 1: Click on the LogIn link on your Home Page:
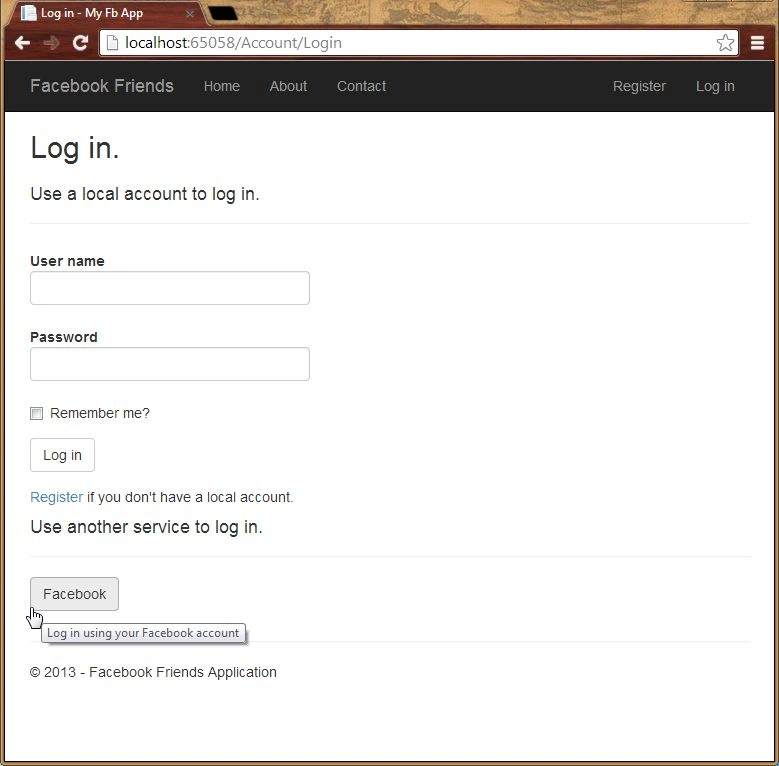
Step 2: Click on Facebook to proceed.
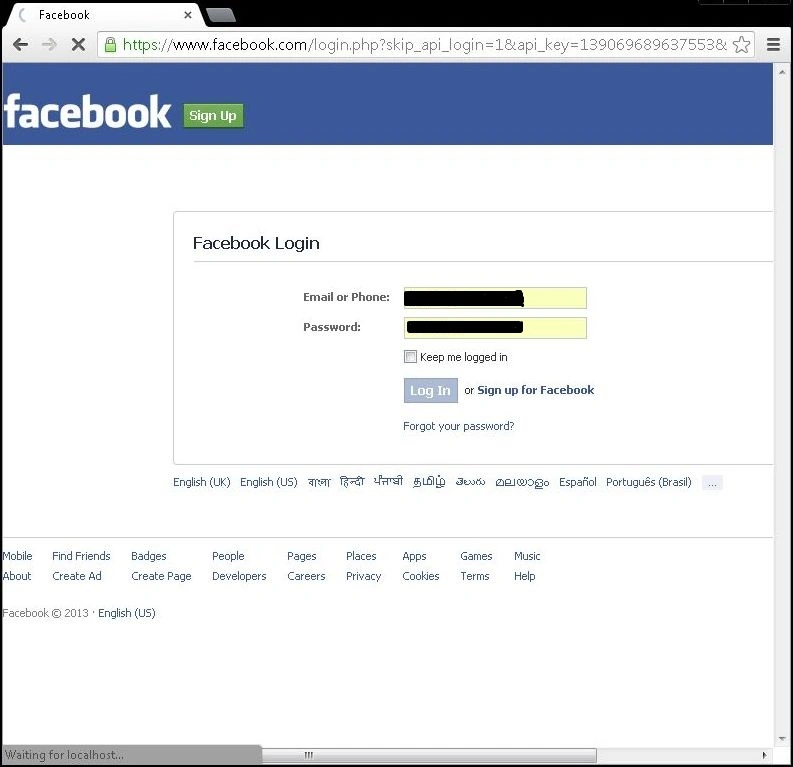
Step 3: Enter the Facebook Credentials.
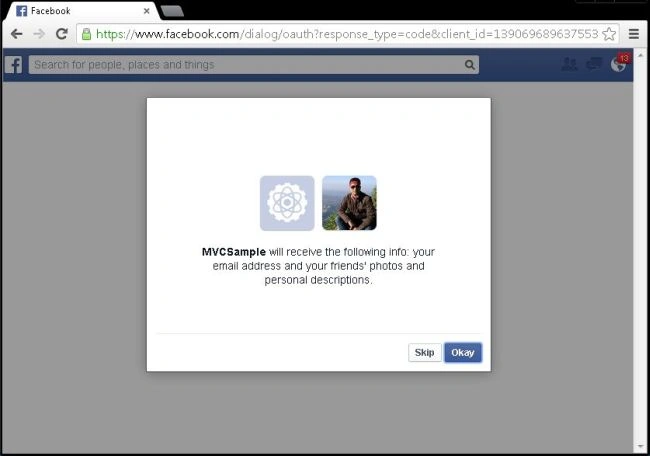
Step 4: Authenticate the Facebook App.
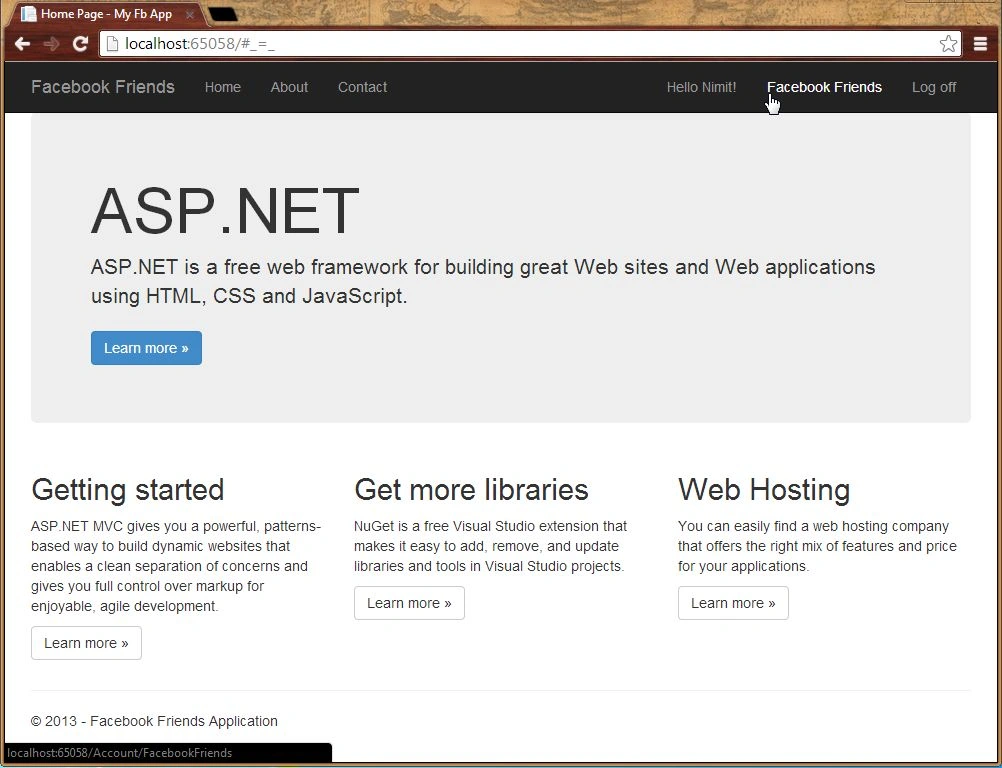
Step 5: Register yourself and click on the Facebook Friends to proceed.
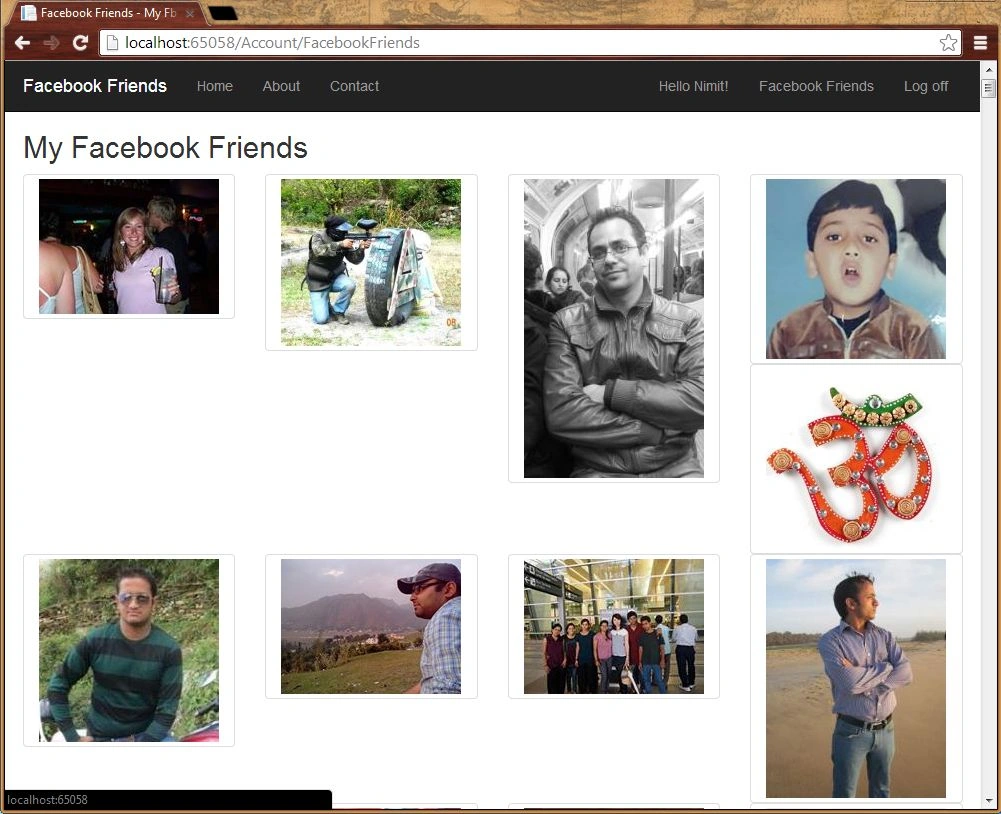
Step 6: Now you can view your Facebook Friends in your Web Application.
Step 7: Please log off.
That's it.
Summary
This article will help you to access social providers such as Facebook in your ASP.NET Web Application. You can also create views to display them in a sleek way. Thanks for reading.
Yovana PantojaPosted Apr 10, 2019, 10:11 PM
Thank you very much for the information provided. But I still have a doubt.Is it possible to add the photo of a registered user through facebook on mvc .net?
Marco TugnoliPosted Jul 7, 2016, 1:26 PM
Where i can find the sources ?