

Introduction
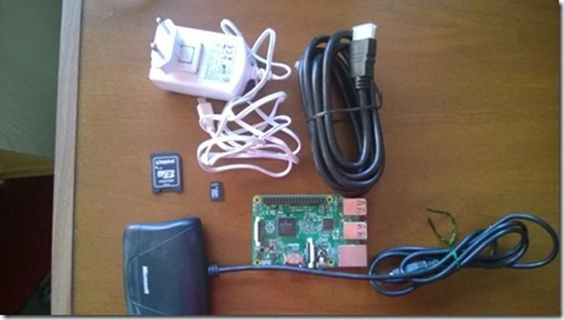
Figure 1: Hardware required
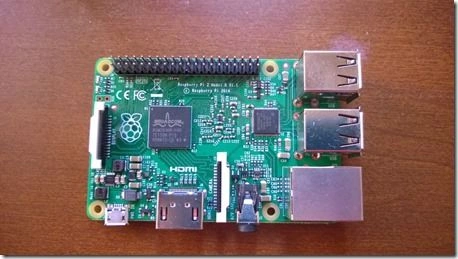
Figure 2: The Raspberry Pi2
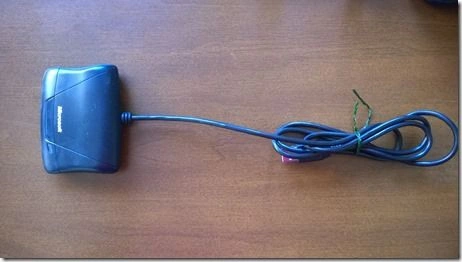
Figure 3: USB keyboard and mouse (or even in a single USB as in my case)
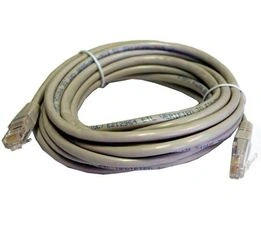
Figure 4: Ethernet cable
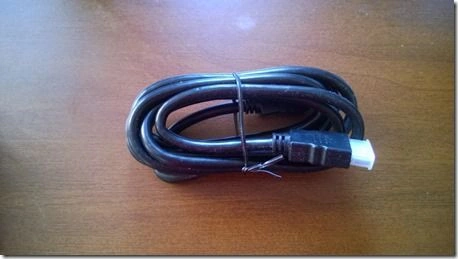
Figure 5: HDMI cable
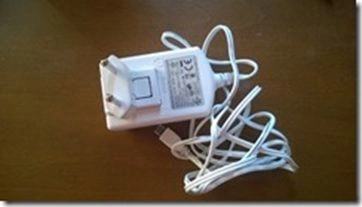
Figure 6: Power cord that came with the card
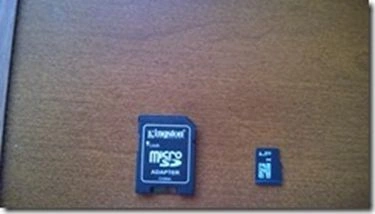
Figure 7: Micro SD card at least eight GB with adapter

Figure 8: Windows_10_IoT_Core_RPi2 to install
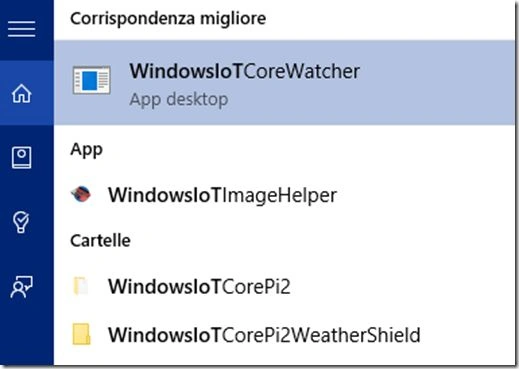
Figure 9: WindowsIoT system
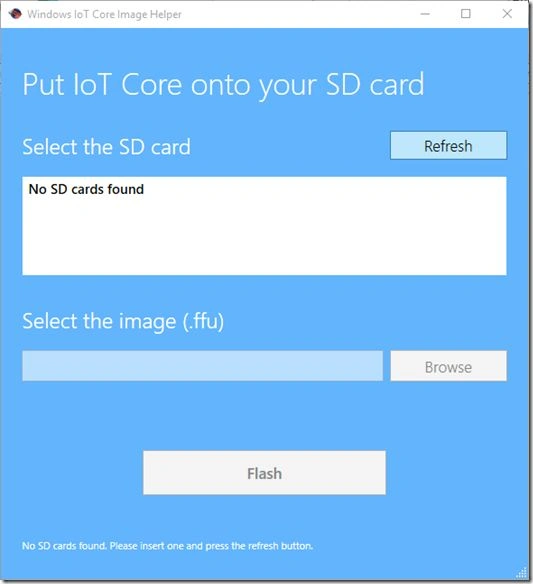
Figure 10: WindowsIoTImageHelper
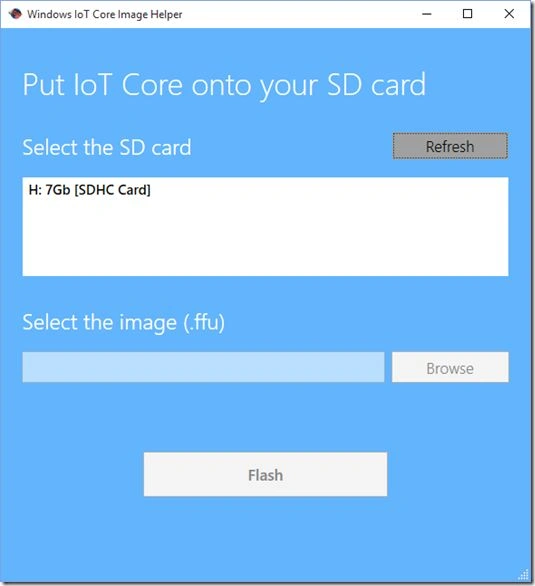
Figure 11: Click with the mouse on the Refresh button
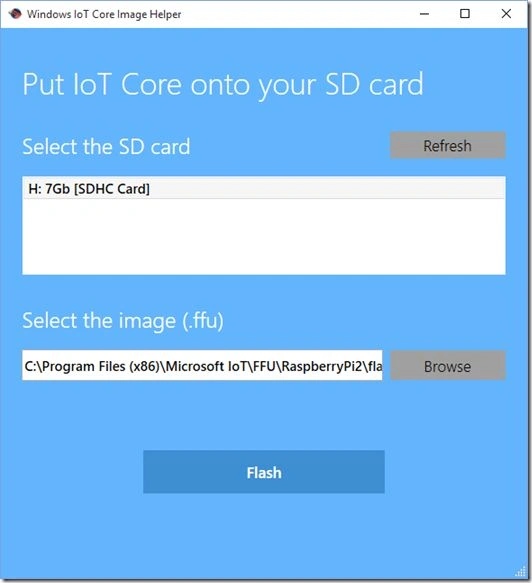
Figure 12: Click with the mouse on button Flash
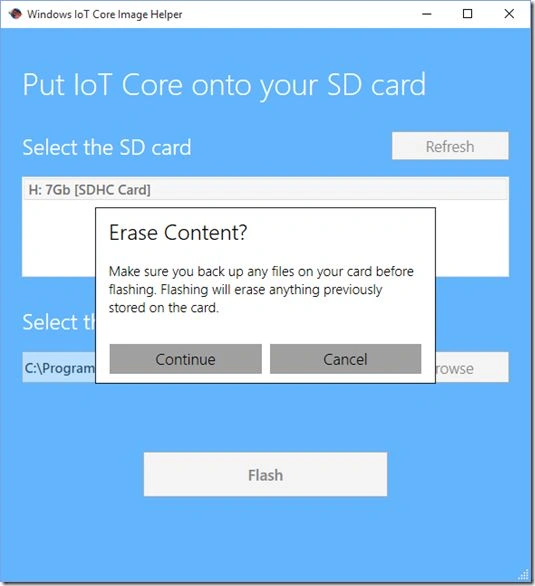
Figure 13: Erase Content
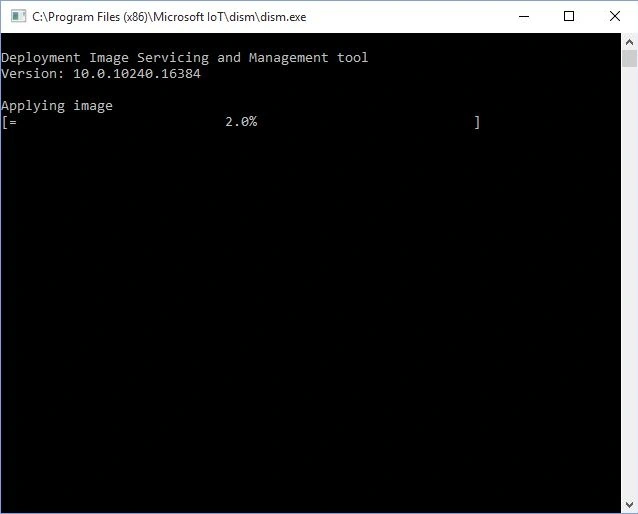
Figure 14: Start the installation process
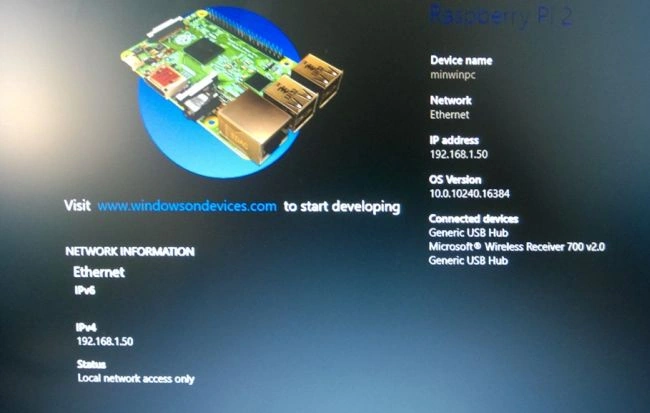
Figure 15: Micro SD slot present on Raspberry Pi2
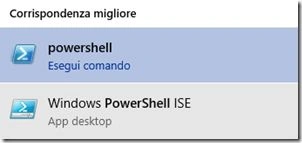
Figure 16: Powershell
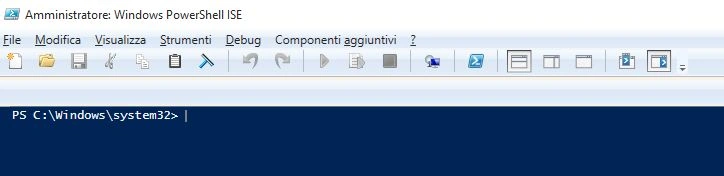
Figure 17: Open Powershell
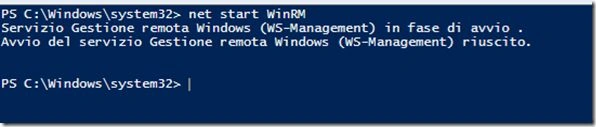
Figure 18: Powershell WinRM
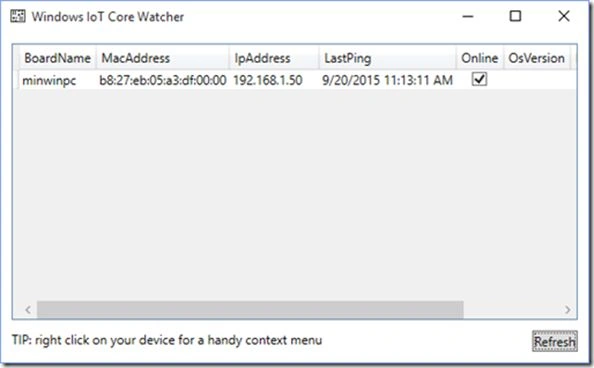
Figure 19: Available tabs on the network
Set-Item WSMan:\localhost\Client\TrustedHosts -Value <machine-name or IP Address>
Where instead of <machine-name or IP Address> we have to type the IP address or the name of the machine. In my case, the command would be:
Set-Item WSMan:\localhost\Client\TrustedHosts -Value 192.168.1.50
We will display a window as shown below, we will respond Yes.
 Following these steps, we can now connect to the Raspberry Pi2 by this command:
Figure 20: IP address or the name of the machine
Enter-PSSession -ComputerName <machine-name or IP Address> -Credential <machine-name or IP Address or localhost>\Administrator
Where will we put our name or IP of the machine:
Enter-PSSession -ComputerName 192.168.1.50 -Credential 192.168.1.50\Administrator
You will request the access password:
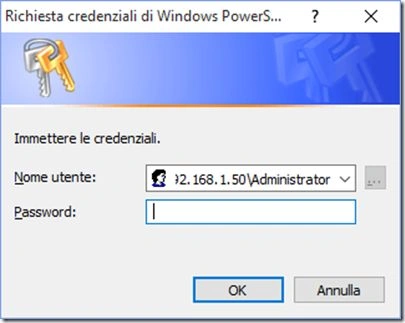 The default password is p@ssw0rd, but we can always change it later. The operation can take up to several tens of seconds. We must be patient and wait. If we ran everything, and correctly, we now connected to the Raspberry Pi2. We realize that at the beginning of the line because we will have the device's IP address (or name).
 To change the name of the device, we proceed with the following commands:
Figure 21: Connect to the Raspberry Pi2
Figure 22: IP address
setcomputername <new-name>
Where instead of <new-name> will put the new name.
You must then restart the device with education.
shutdown /r /t 0
And finally, reconnect remotely by typing Powershell.
Set-Item WSMan:\localhost\Client\TrustedHosts -Value <new-name>
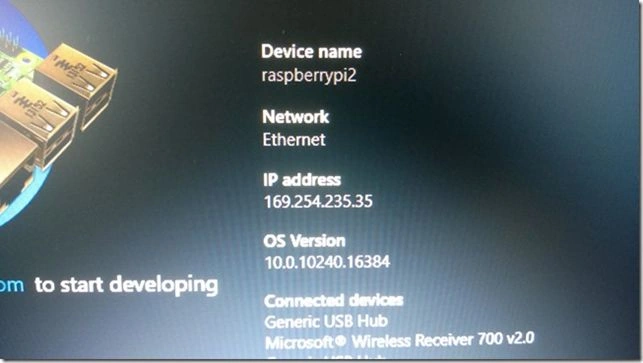
If all are done in an exact manner, we will see that under Device's name we have the name of the PC that we have chosen previously.
 We have now completed the installation phase of Windows 10 IoT Core and performed changing the name of the computer. We are now ready to start creating and test projects by using Visual Studio 2015 that we will see later.
The article was written by Piero Sbressa And Carmelo La Monica, Microsoft Contributor.
We have now completed the installation phase of Windows 10 IoT Core and performed changing the name of the computer. We are now ready to start creating and test projects by using Visual Studio 2015 that we will see later.
The article was written by Piero Sbressa And Carmelo La Monica, Microsoft Contributor.
Figure 23: Device name
Sr KarthigaPosted Jan 23, 2016, 6:02 AM
Good one
Dev ConceptPosted Nov 4, 2015, 1:36 AM
Thanks for sharing, i am a newbie and will be provide more details and examples.
Pooja BaraskarPosted Oct 31, 2015, 4:48 PM
Really helpful :)
Sumit JoshiPosted Oct 3, 2015, 4:46 PM
thanks for sharing.
Karthikeyan KPosted Oct 2, 2015, 1:37 AM
Good one sir..Thanks for sharing
Harshad PansuriyaPosted Oct 2, 2015, 1:11 AM
Nice
Humayun Kabir MamunPosted Oct 2, 2015, 12:50 AM
Nice...
Nilesh JadavPosted Oct 2, 2015, 12:13 AM
Great article sir !
Santhakumar MunuswamyPosted Oct 1, 2015, 4:02 PM
Good Article. Thanks for sharing us