This article is updated to RTM from Beta 2.
Data From Wizard is one of the useful wizards offered by Visual Studio .NET to develop fully functioning database applications. Although, using a Data Form Wizard is not a big deal, but what if you don't know any thing about it. That's why I thought to write this tutorial.
A Data Form Wizard is the fastest way to develop database applications without writing a single line of code. The only drawback of using this wizard is it provides you limited functionality. Sometimes customizing wizard generated code could be harder than writing your own code.
You can add a data form wizard from Project -> Add New Item menu item and then selecting "Data Form Wizard" template from template list.
You can type your name in the Name text box. See below fig. A.
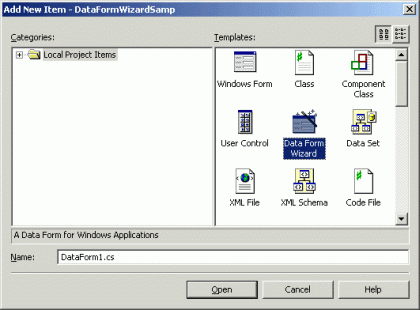
Fig A. Selecting Data Form Wizard Template
Now click Open, which calls Data Form Wizard.
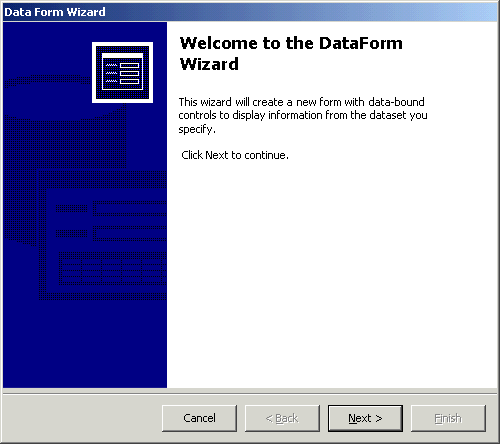
The first page of the wizard is a welcome page.
On second page, you can choose a dataset name, which will be used later to access the data. You can either create a new dataset name or select an existing one.
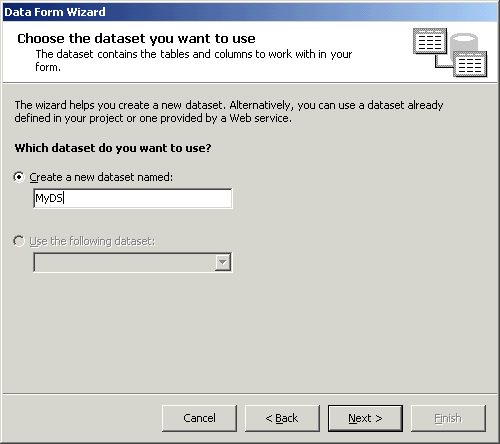
We create a new dataset MyDS. See above fig.
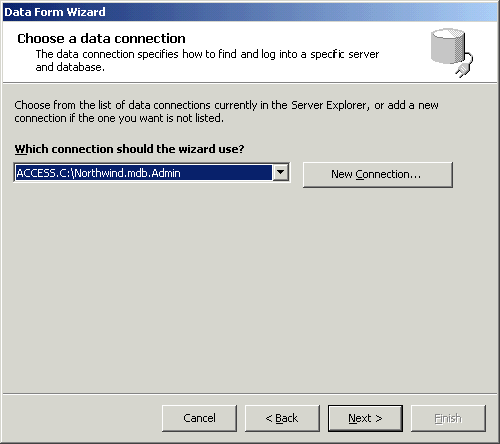
The next page of the wizard asks you to provide a connection. The combo box displays your available connection. If you didn't create a connection, use New Connection button, which launches the Server Explorer, which we've discussed in the beginning of this chapter.
The next page of the wizard let you pick tables and views you want to connect to the dataset.
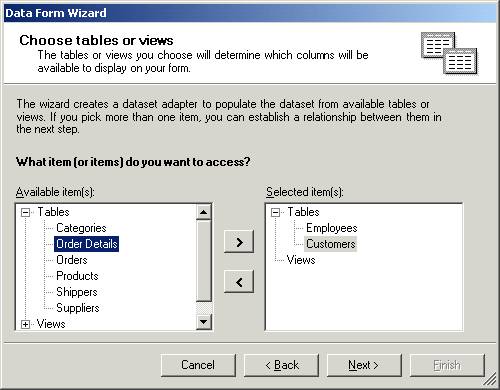
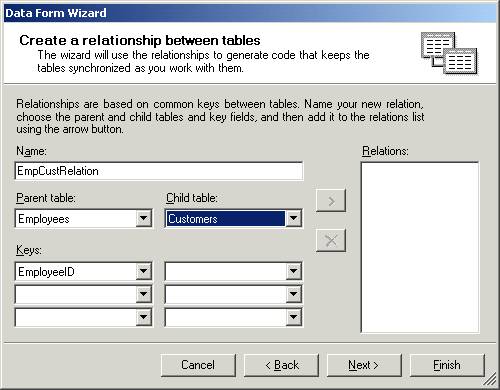
The next page will let you define relationship between tables. It is useful when you've a master detail relationship database.
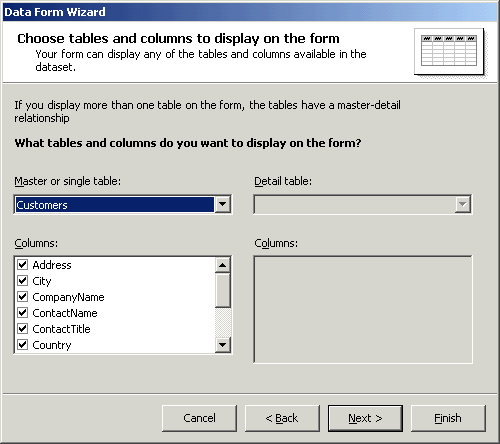
This page (below fig) let you select table columns, which you want to work with.
This page is important. You can display data in two ways:
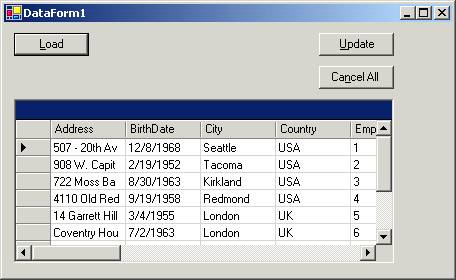
All records in a grid
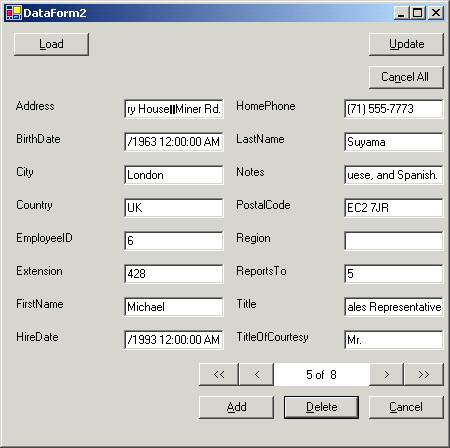
Single record in individual control
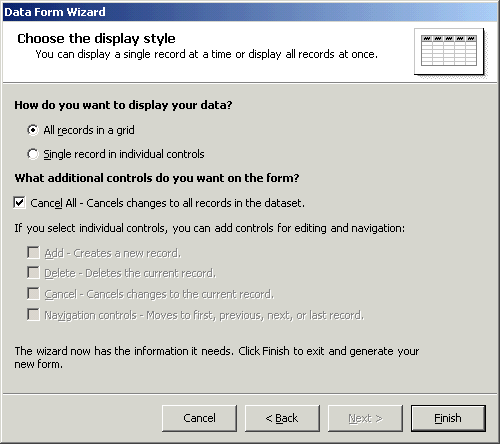
First option shows all data in a grid form. See fig.
The second option shows data in text boxes and provides you navigation controls. See fig.
Now compile and run your application. So without writing a single line of code, you've a full database application running.
The Load button on the form loads the data and add, update, delete buttons inserts, updates, and deletes records.
Note: Don't forget to call DataForm1 from the Main method to call DataForm1. The original Main method of a Windows application looks like following:
static void Main()
{
Application.Run(new Form1());
}
Call DataForm1 from Main method and now Main method looks like following:
static void Main()
{
Application.Run(new DataForm1());
}